5thGenRams Forums

Register a free account today to become a member! Once signed in, you'll be able to participate on this site by adding your own topics and posts, as well as connect with other members through your own private inbox!

VICE design

Trusted RAM Truck Adventure Gear
5thGenRams Vendor
Joined
Jul 16, 2019
Messages
75
Reaction score
203
Location
Canada
It's a 2020 1500 5.7 Lone Star, or big horn I guess they're called not in Texas

Yup I see no issues there. Have a couple kits in stock right now too!


VICE design

Trusted RAM Truck Adventure Gear
5thGenRams Vendor
Joined
Jul 16, 2019
Messages
75
Reaction score
203
Location
Canada
Question for those who have already installed. How far was the fairlead mount from the bumper?

I would assume it is extremely close if not touching. Due to the filler plate just being sandwiched between the fairlead and mount.

The center of the fairlead mount sits just inside the front face of the bumper by about 1/4"-3/8". The bumper curves, and the fairlead mount is flat so towards the edges of the fairlead mount its about flush with the front of the bumper. Hope that helps
-Q
 

JBeckman

Well-Known Member
Joined
Oct 5, 2018
Messages
251
Reaction score
214
Location
Michigan City, In
The center of the fairlead mount sits just inside the front face of the bumper by about 1/4"-3/8". The bumper curves, and the fairlead mount is flat so towards the edges of the fairlead mount its about flush with the front of the bumper. Hope that helps
-Q

Perfect, thanks Quinton!
 
Last edited:

Tex_Ram

Active Member
Joined
Oct 9, 2019
Messages
150
Reaction score
216
Location
Houston, TX
Yup I see no issues there. Have a couple kits in stock right now too!


I'll be orderin' cause you're the only one selling! Just trying to decide whether or not I wanna go with a Smittybilt (Will need the clutch relocation kit) or a Warn Zeon Platinum that has the electronic clutch..
 

BmoreStew

Active Member
Joined
Feb 11, 2019
Messages
131
Reaction score
185
Hi All,

Finished up the install yesterday and thought I’d post a quick review And a couple photos.

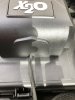
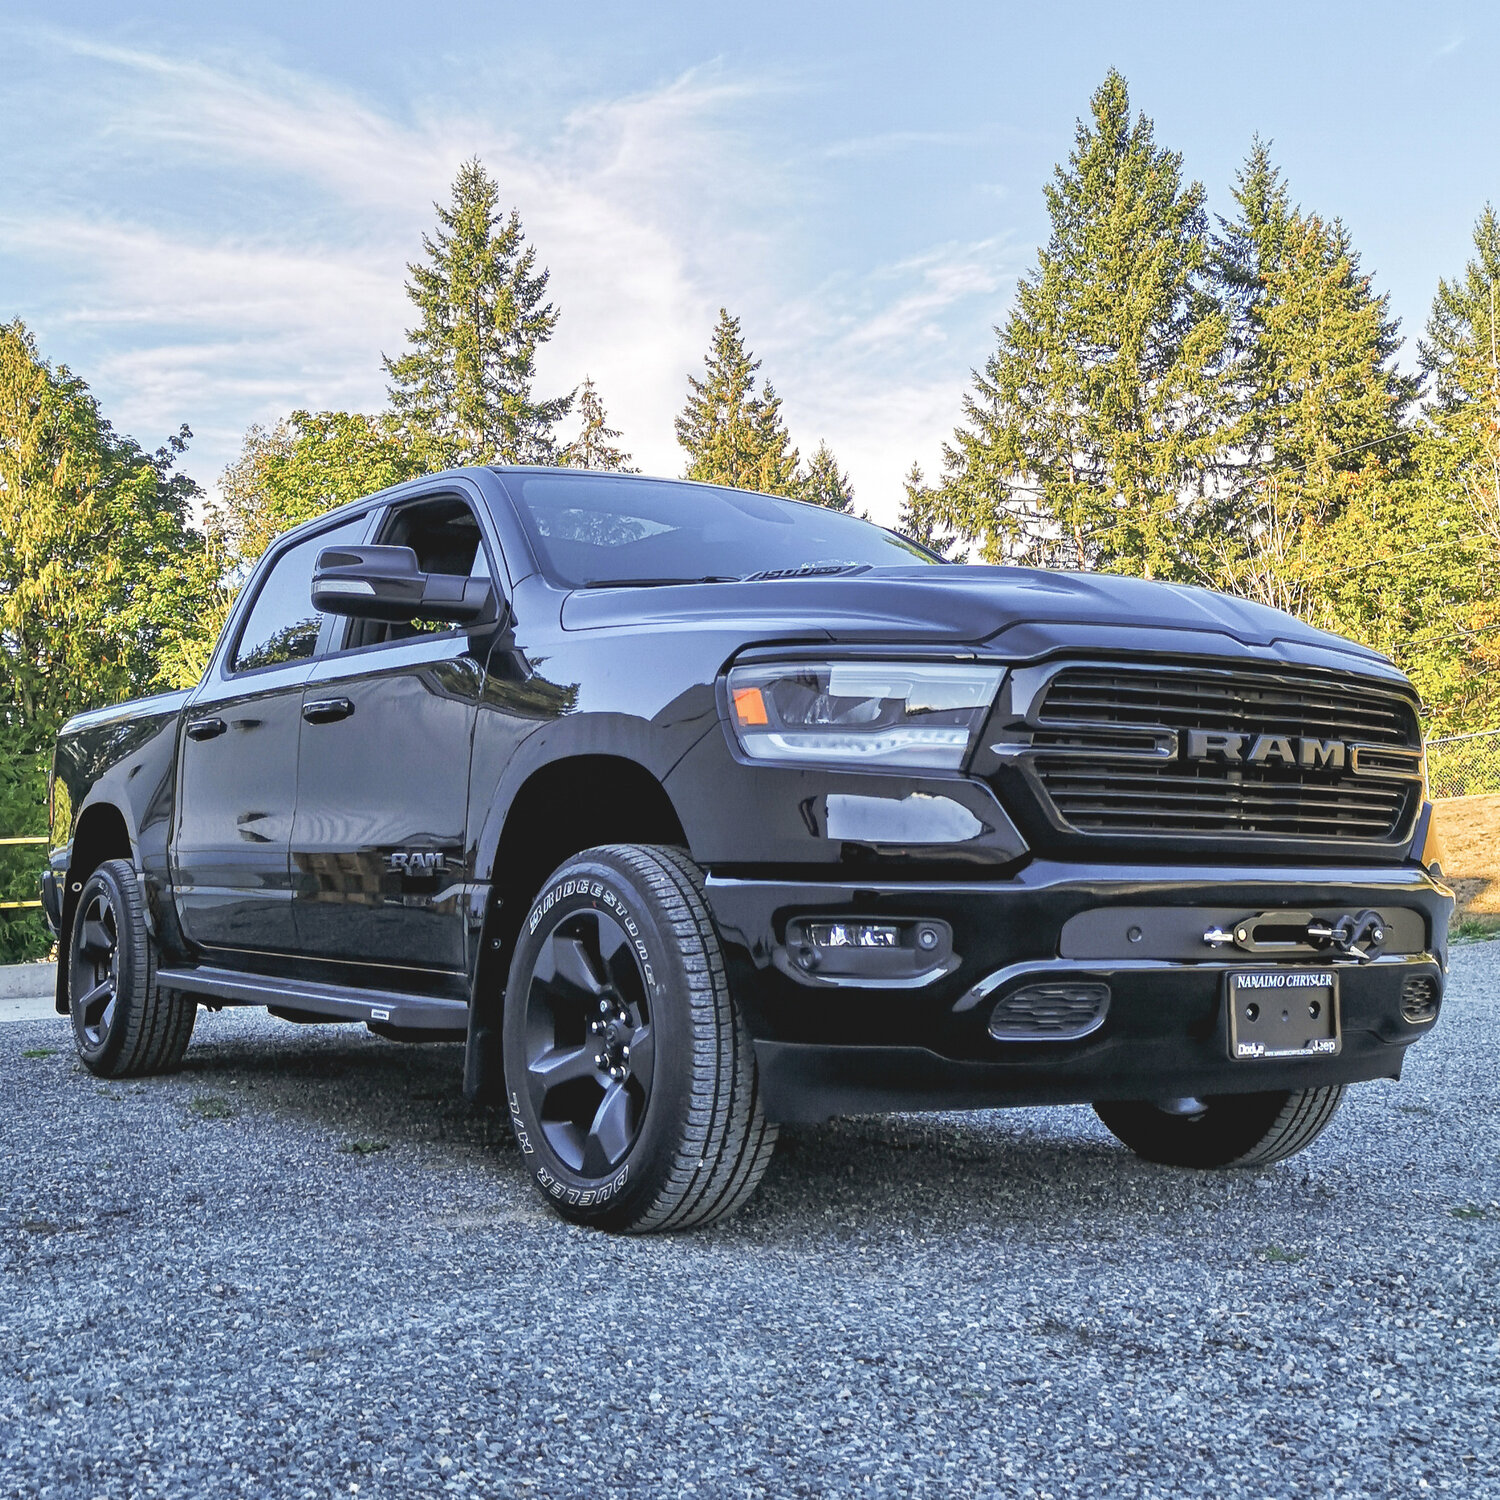
The good: The mount is top notch! Very high quality and everything is exactly where it should be, making it an easy bolt-on.

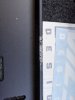
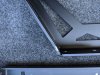
The bad: The replacement facia is a disappointment; fit and finish doesn’t stack up to the mount itself. The anchor points are little too far outside and so it flexes out in the middle and leaves some gaps on the outside vertical edges. The edges themselves are sharp; Without any reason, I had expected the facia to be plastic, but it’s metal, so be wary of scratching your painted bumper. I’ll say though, when everything is buttoned up, it looks much better than I had expected while assembling it and I’m betting no one will ever give it a second look.

The Install: Simple! It’s a full days work; maybe a day and a half if you’re taking your time, but there’s nothing complicated or difficult. Took me about 8 hours. Again, due to the quality of the mount; everything lines up and the supplied hardware fits as it should.

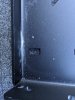
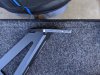
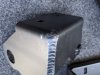
I missed installing the clutch block mount (hard rubber/plastic donut) until the bumper was back on and I discovered it sitting on the workbench. I blame my assistant, as he’ll never see this and can’t defend himself. It kinda worked out though; I mounted the block on the outside of the bumper, which gives a more finished look, and put some redneck ingenuity into making a “custom” block for behind. Had to drill a hole through the radius of the supplied donut to fit the clutch handle screw, but drilling through hard rubber/plastic is easy. The clutch handle and all floats a bit when you turn it, but it’s tight enough that it doesn’t move by itself or hamper functionality. ...there was no chance in hell that I was going to take the bumper back off to install it properly. (FYI the 2 screws you see in the clutch block are simply plugging the holes. They’re not fastened to the bumper, as the whole thing has to rotate in my setup.)

965AE41C-AC92-46E5-9C58-032CB077D89F.jpeg
2E8830F3-7842-4E32-A562-DAAE9E2B8BC7.jpeg
06DB95EA-67A1-41A0-9202-D1BD804B3F66.jpeg
 
Last edited:

Chippy

Ram Guru
Joined
Nov 16, 2018
Messages
551
Reaction score
607
I had pulled the bumper off without pulling the panels under the lights. That’s the mistake which makes bumper hard. I pulled the panels to re install and that makes it easy.
 

BmoreStew

Active Member
Joined
Feb 11, 2019
Messages
131
Reaction score
185
I had pulled the bumper off without pulling the panels under the lights. That’s the mistake which makes bumper hard. I pulled the panels to re install and that makes it easy.

I left the panels on. I had help and so didn’t run into any problems rotating the bumper under and behind them. If I had been by myself, I definitely would have removed them.
 

BmoreStew

Active Member
Joined
Feb 11, 2019
Messages
131
Reaction score
185
Oh, forgot to mention. To whomever suggested mounting the controller on the fuse block; thanks! Worked great. Drilled a couple holes, put a washer under one corner so it sat flat, spread some silicone around to prevent leaks, and cut a small hole in the side of the unit so I could run the supplied ground (the small, 18 gauge ground) directly to the battery.
 

Attachments

  • 0FDD3960-1072-4717-ABC7-ECE03E2BF0E1.jpeg
    0FDD3960-1072-4717-ABC7-ECE03E2BF0E1.jpeg
    138.1 KB · Views: 247

Diamondback

Ram Guru
Joined
Jun 9, 2019
Messages
1,282
Reaction score
586
Location
Midwest
Ok working on my plan to re use the factory plastic mesh grill is looking like it’s not going to happen firstly it’s ridiculously difficult to remove. A tip is to wedge out the silver bolts after you have taken the nut off and removed the push pins on the bottom. This allows for the grill to be pulled out through the front of the bumper.
The grill itself is very recessed and I do not believe there is a way to re use it as looking at the panel vice provides is more flush to the front of the bumper to allow for the fair lead mount.
also things like closed shackles would need to suck into the recessed factory grill face which my factor 55 barely does and a Smitty built shackle which is larger definitely would not fit up against the fairlead mounted against the factory mesh.
Just waiting on truck with mount but it’s looking like panel from Vice will be way to go with this install.

It was decently difficult to remove. I swapped my stock out with the mesh version while laying under the front bumper.
 

AnthonyD1978

Well-Known Member
Joined
Nov 5, 2018
Messages
427
Reaction score
688
Location
Prescott, AZ
You could probably run some weather-stripping/molding around the vice facia if you wanted to. It may clean up the look for some. For those with painted bumpers, tape up the facia opening.
 

BmoreStew

Active Member
Joined
Feb 11, 2019
Messages
131
Reaction score
185
Have only put a few miles on the truck since the install, but definitely noticed a bit more roll through corners and heavier steering. Of course I had expected this, but it was still a bit of a disappointment; must of been a small part of me that hoped adding a buck fifty to the very front of the truck wouldn’t have any impact at all....

BUT moving the Hellwig sway bar from the middle to the most aggressive setting and bumping the front tire pressure from 35 to 40 pounds seems to have totally erased the added weight. I wasn’t sure it’d help all that much, but it damn well did.

This winch should be handy around the property and will pay for itself the first time it get’s me or someone else out of a ditch, but until then, the Hellwig sway bar has been the best bang-for-the-buck upgrade, hands down.
 

VICE design

Trusted RAM Truck Adventure Gear
5thGenRams Vendor
Joined
Jul 16, 2019
Messages
75
Reaction score
203
Location
Canada
I'll be orderin' cause you're the only one selling! Just trying to decide whether or not I wanna go with a Smittybilt (Will need the clutch relocation kit) or a Warn Zeon Platinum that has the electronic clutch..

Have you looked at the new WARN VR EVO? not the powerhouse the ZEON is, but its definitely up to the task! Ive had one for a month now and am happy with how its all put together. Easy to clock, the clutch handle has a detent built in so you can feel when its engaged, has an IP68 waterproof rating, comes prespooled, and comes with a wireless controller. I also have a clutch relocation kit for these as well. Its a nice package definitely worth considering.

Link: https://www.warn.com/vr-evo-12-s-103255


Tex_Ram

Active Member
Joined
Oct 9, 2019
Messages
150
Reaction score
216
Location
Houston, TX
Have you looked at the new WARN VR EVO? not the powerhouse the ZEON is, but its definitely up to the task! Ive had one for a month now and am happy with how its all put together. Easy to clock, the clutch handle has a detent built in so you can feel when its engaged, has an IP68 waterproof rating, comes prespooled, and comes with a wireless controller. I also have a clutch relocation kit for these as well. Its a nice package definitely worth considering.

Link: https://www.warn.com/vr-evo-12-s-103255

I haven't seen one in person, looked at them online though. The only benefit I was seeing with the zeon was I wouldn't have to deal with the clutch relocation kit since the clutch is electronic on them.. Then only thing I have to worry about is that electronic part failing lol... More electronics, more chance to fail.. Between the Smitty and the warn vr evo I was leaning more towards the evo and you may of just sold me on it.
 

RebelWraith

Polymath
Joined
May 3, 2019
Messages
849
Reaction score
711
Location
Montclair, Va.
If anyone has their kit, but has yet to open it up go ahead and break open the box. The parts that were shipped to me could have been packaged just a bit better and the powder coating was removed on multiple locations. Nothing a little sanding, primer, and satin black paint couldn't fix. But, for the price of this kit this could have been avoided.

Other than that the kit is great! I'm still working on trimming up the factory mesh grill to fit back in place as I did not like the look of the flat metal plate provided.
 

Attachments

  • IMG_20191015_105931.jpg
    IMG_20191015_105931.jpg
    137.1 KB · Views: 142
  • IMG_20191015_110004.jpg
    IMG_20191015_110004.jpg
    262.8 KB · Views: 143
  • IMG_20191015_110034.jpg
    IMG_20191015_110034.jpg
    198.3 KB · Views: 141
  • IMG_20191015_110045.jpg
    IMG_20191015_110045.jpg
    183.6 KB · Views: 138
  • IMG_20191015_110107.jpg
    IMG_20191015_110107.jpg
    127.7 KB · Views: 134

Tex_Ram

Active Member
Joined
Oct 9, 2019
Messages
150
Reaction score
216
Location
Houston, TX
If anyone has their kit, but has yet to open it up go ahead and break open the box. The parts that were shipped to me could have been packaged just a bit better and the powder coating was removed on multiple locations. Nothing a little sanding, primer, and satin black paint couldn't fix. But, for the price of this kit this could have been avoided.

Other than that the kit is great! I'm still working on trimming up the factory mesh grill to fit back in place as I did not like the look of the flat metal plate provided.
I'd like to see it with the factory mesh trimmed. I was considering doing that as well because nothing on the front of my truck has that flat black look. Also what are you planning to do for hanging the winch hook I'm assuming you can't use the part that comes with the kit to hook the winch hook onto?
 

RebelWraith

Polymath
Joined
May 3, 2019
Messages
849
Reaction score
711
Location
Montclair, Va.
I'd like to see it with the factory mesh trimmed. I was considering doing that as well because nothing on the front of my truck has that flat black look. Also what are you planning to do for hanging the winch hook I'm assuming you can't use the part that comes with the kit to hook the winch hook onto?
May not have it complete till the weekend when I can put some quality time in to it. Still going to use the hook portion. Probably just use a longer bolt and a spacer to make it fit properly with the mesh grill if it doesn't fit already. Pic below for reference. IMG_20191015_144401.jpg
 

Tex_Ram

Active Member
Joined
Oct 9, 2019
Messages
150
Reaction score
216
Location
Houston, TX
May not have it complete till the weekend when I can put some quality time in to it. Still going to use the hook portion. Probably just use a longer bolt and a spacer to make it fit properly with the mesh grill if it doesn't fit already. Pic below for reference. View attachment 37894
Awesome, will be watching for an update!
 

RichT

Well-Known Member
Joined
Dec 21, 2018
Messages
206
Reaction score
218
Here is a bumper removal video I came across. It notes to make sure and not start the truck with the wire harness disconnected or a dealer code will be required.

whew! I was planning on having my truck half-in my garage and likely will not finish in a day


Users who are viewing this thread

Site Vendors

https://www.jasonlewisautomotive.com/
Top