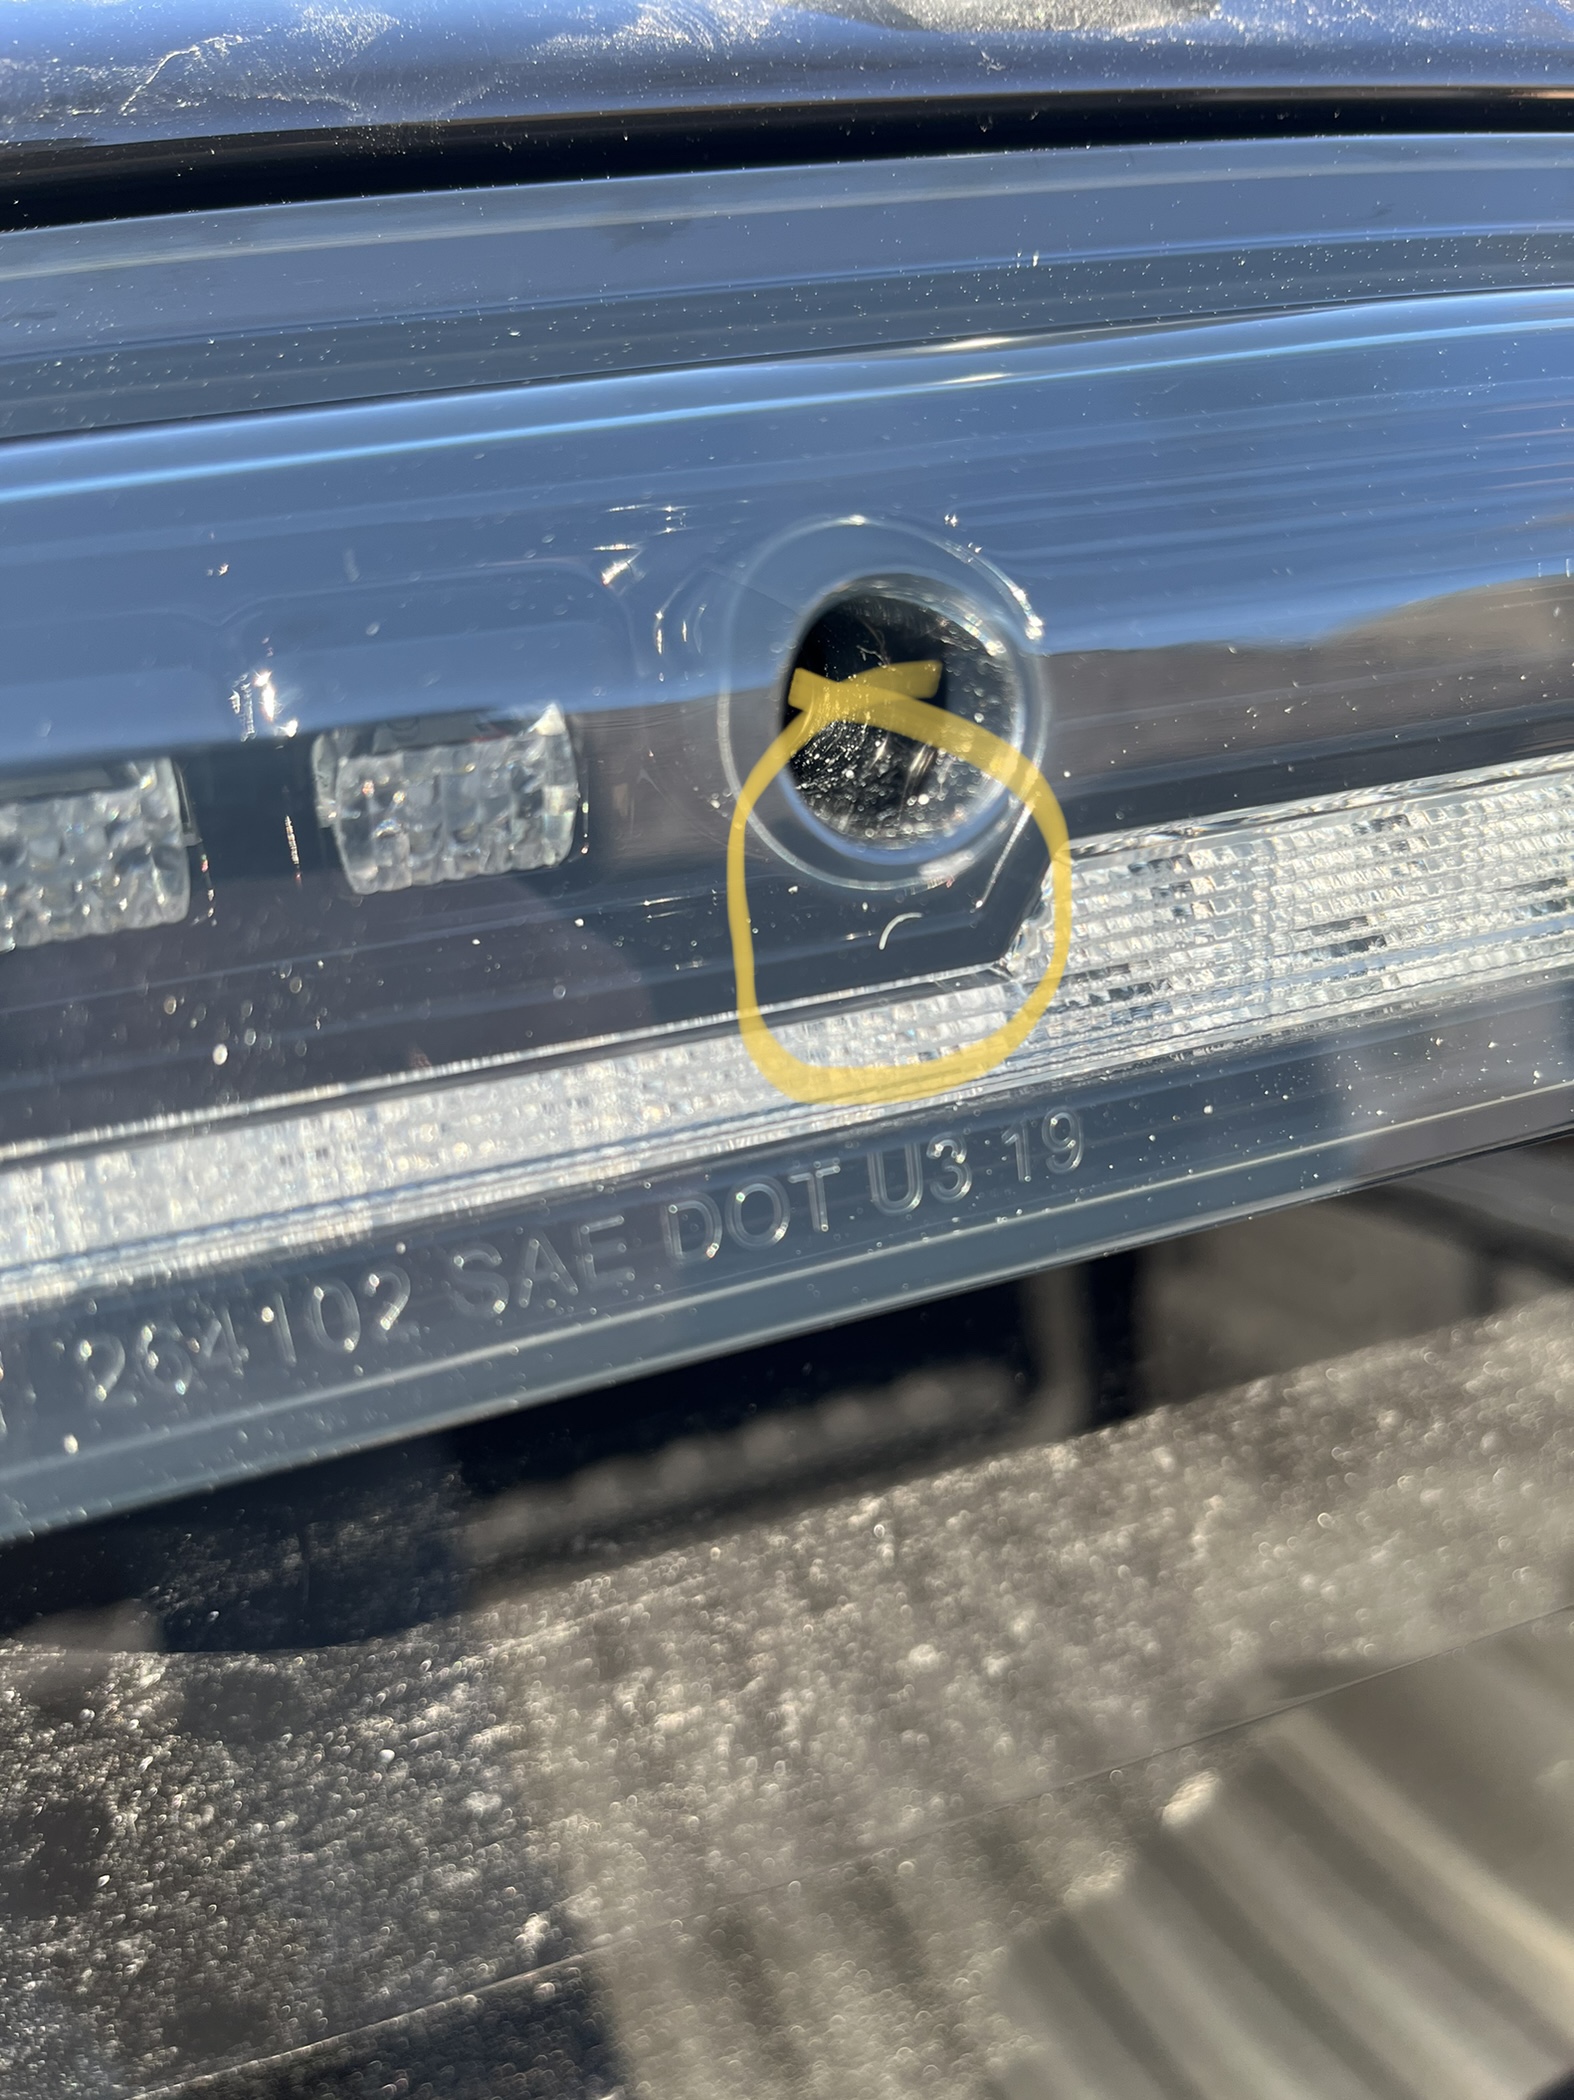
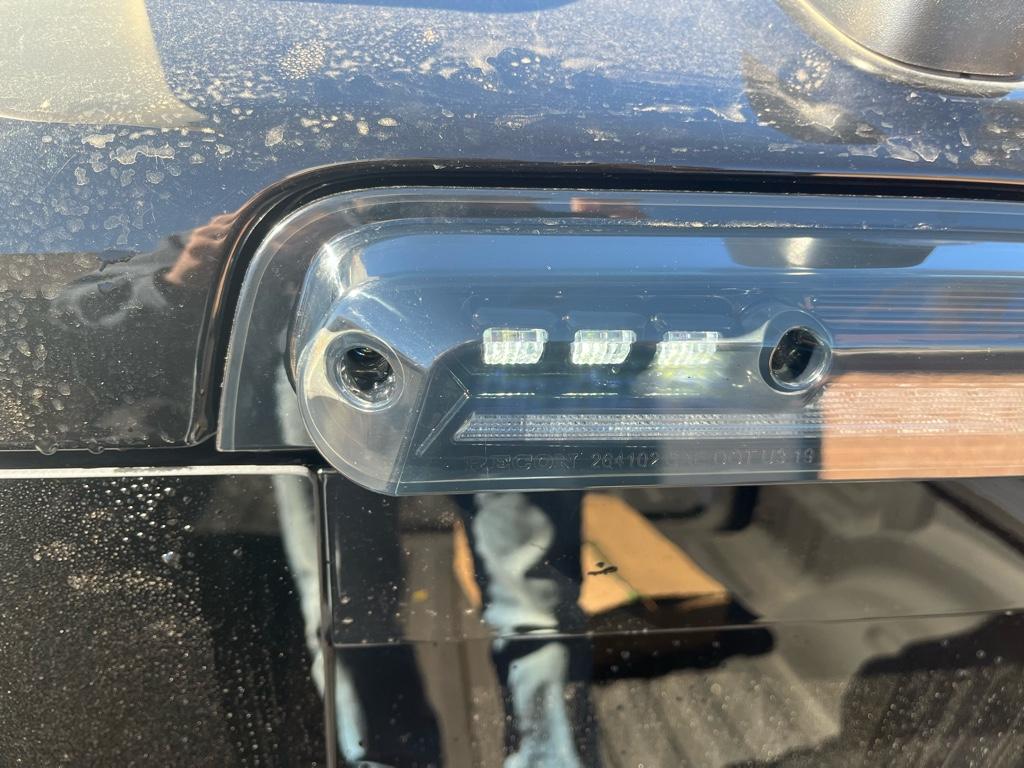
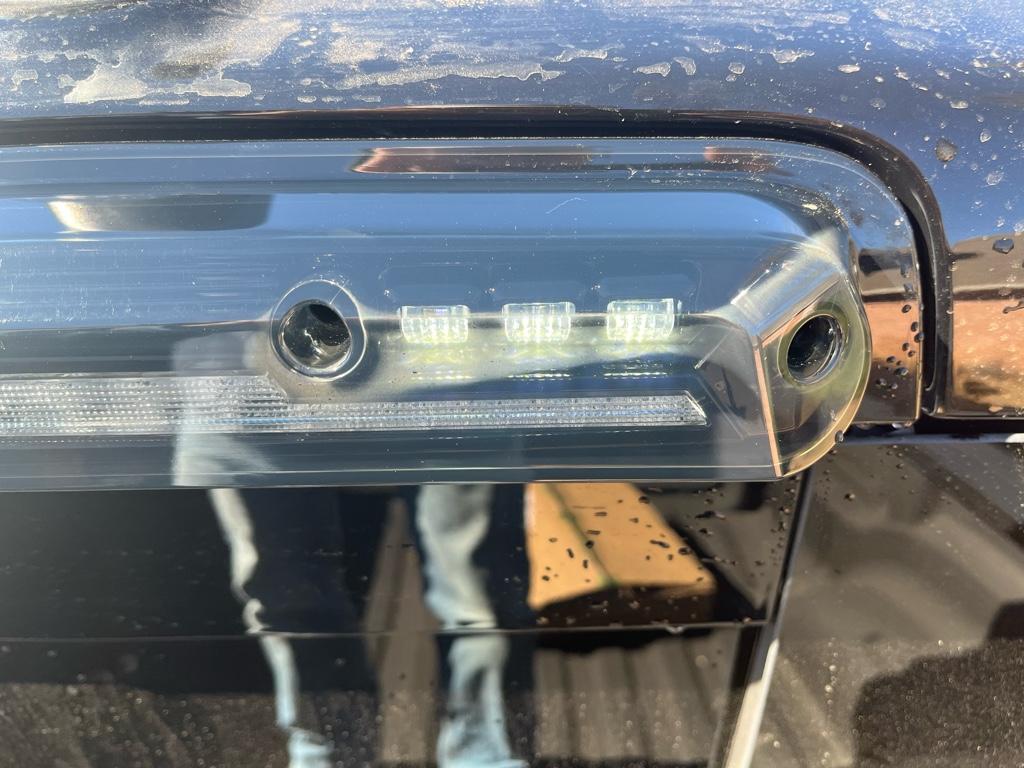
Alright, so I’m a cheapskate and couldn’t stomach the idea of an OEM $400 light. I decided to silicone the hell out of the screw holes. I hit it from both sides of the light. Front and back. I used a q-tip on the front to keep from getting any silicone on the front of anywhere visible in the screw hole. Pushed the screws through a bit, reset the silicone to make sure everything was covered. Then added some more to the back so when I torqued it down it would mash everywhere and hopefully fill in any gaps.
For those of you who have bought the light you’ll know why I’m talking about with the front and the back. Just really get it in good around the foam seal in between the front and back of the screw hole.
I let it sit for 24 hours and hit it with a spray bottle and an air compressor. No leaking and no moisture inside. I think that solves the problem. We’ll see. A huge pain but overall if this holds it’s worth not spending two hundred more on an OEM unit and not having to deal with FOB issues.