Realized I left out what I ordered to tap the fuse for power, but it’s just a micro2 fuse tap. You can get one at most auto parts stores, or get one on Amazon. I ordered the little set linked below just to have some extras. You want to tap into position F66 (10A fuse) for switched accessory power.
BioFuse Micro2 17 Piece Automotive Fuse Assortment and Holders Pack (2 Add-a-Circuit Fuse Tap Adapters, 14 Blade Fuses + Fuse Puller) 5A 7.5A 10A 15A 20A 25A 30A https://www.amazon.com/dp/B08HPKJFZ2/ref=cm_sw_r_cp_api_fabc_kMrWFbQ61NZTS?_encoding=UTF8&psc=1
The most challenging part is the physical mounting of the camera. I didn’t wanna take my entire grill off, and I managed to get it done without doing that. I basically just loosened up the top part of the grill so I could wedge my arm between it and the radiator, and get done what I needed to get done. For reference, I did everything up until 1:12 in this video, then stopped. The last thing you see is him sort of unhook the grill and it falls slightly forward. That’s what I worked with.
It was VERY tight to work in and I bruised/scratched my arm up a little bit squeezing in and out of there, but again, I didn’t wanna take the whole grill off. If you ARE willing to take it all the way off, it will certainly make it easier to work.
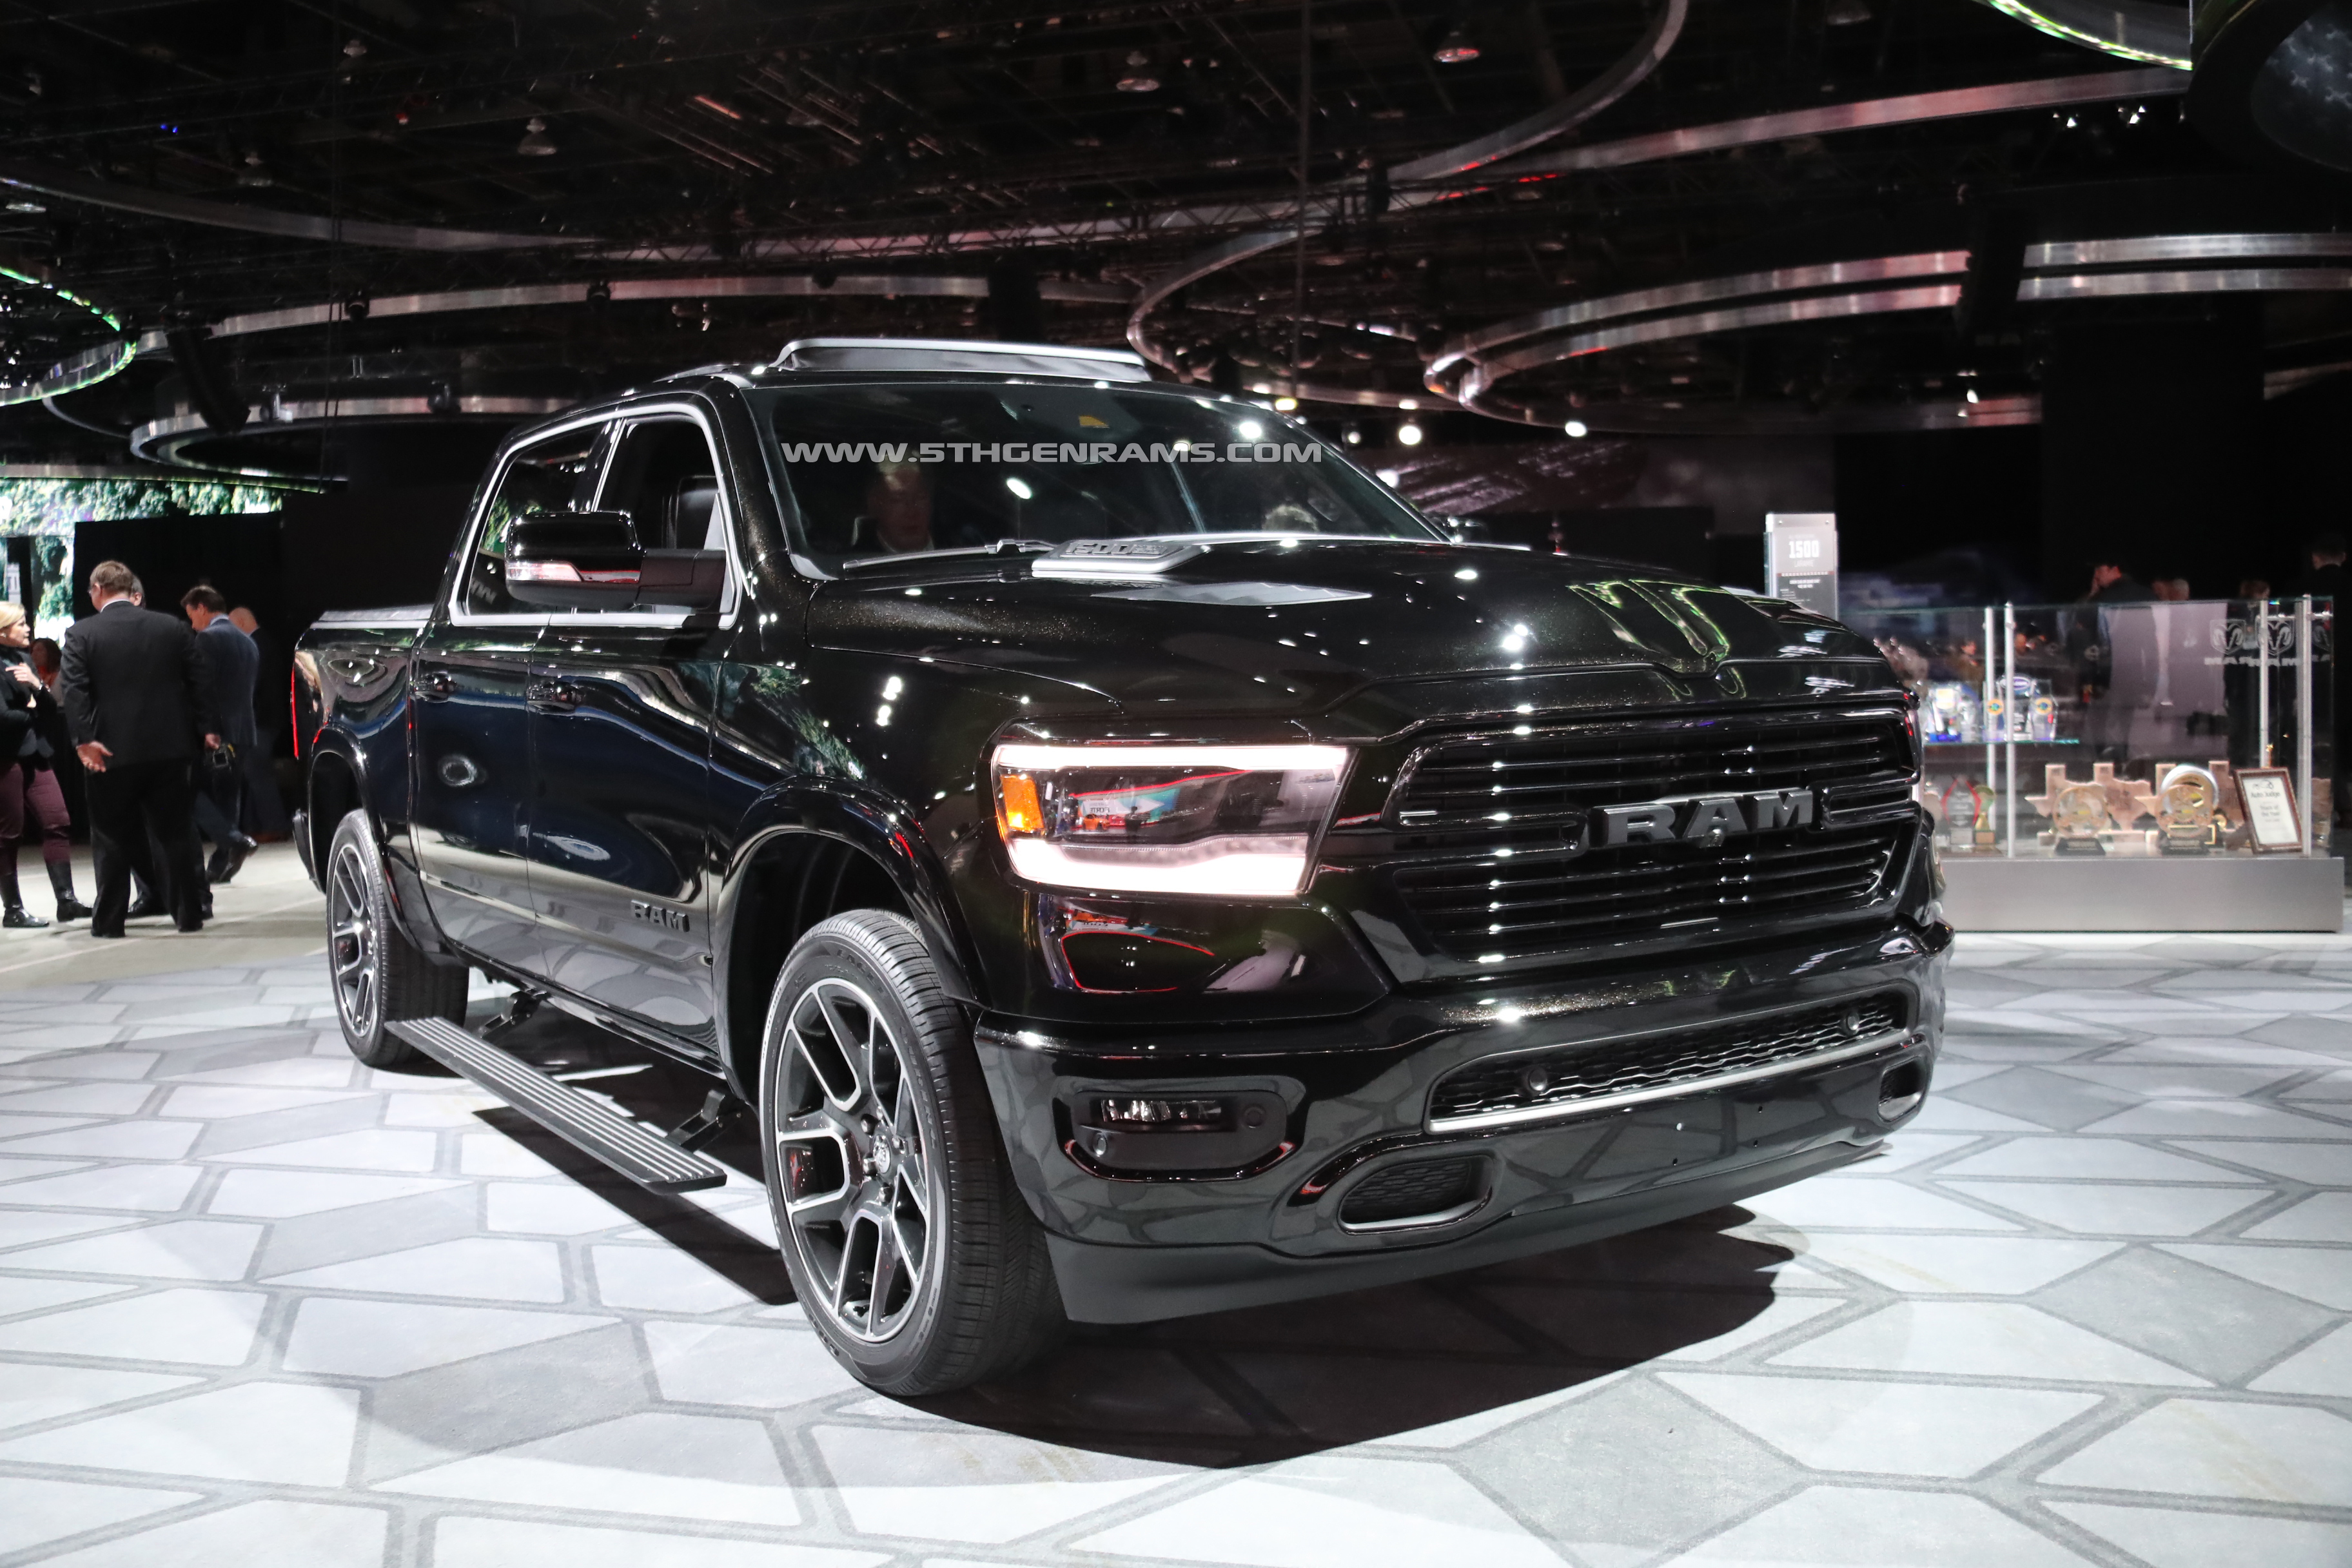
Also, I did a bunch of messing around with the actual mounting position, angle, etc. Tons of back and forth looking at the screen. I started out with a grill mounting spot underneath the A, but I ultimately wound up mounting it to the bottom of the A in the RAM logo. Drilled up through the bottom of it for the mounting post on the camera. The A is hollow, so you can pull the wire through and also have room to tighten up the nut on the backside of it. Again it’s crazy tight working back there, but it can be done. I wanted an angle that still showed the top of the bumper for positional reference, but with basically the same ratio of bumper-to-rest-of-image that the back camera has. Mounting it here achieved that. Picture below for reference.
Taking the head unit out and doing the pins was probably the easiest part of the whole thing. To give you details, my truck is a 2020 Rebel, and it was indeed pins/positions 21 and 22. 21 being signal, and 22 being ground. I included a picture below showing those positions. There are plenty of videos showing how to remove the headunit, but you basically remove the two screws under the mat by your 12v port on top of the dash, and just yank firmly forward. It’s easier to work if you unhook the connectors from the back of the screen module and get it out of the way. You’ll then unscrew the silver brain module (4 screws), and the harness you need to access for pins is on the back of that.
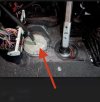
Regarding running wires through the firewall, there is actually an extra/empty pass through spot available to use. Check this thread for details...

Factory Hood Wiring Grommet
Another Gem while perusing the instructions for the Remote Start Accessory! Ram gave us an open grommet location behind the battery on the firewall to pull at least one wire through the factory grommet:5thgenrams.com
Hope this helps. Happy to answer any other questions/details that I might have left out.
Did you completely pull the wheel well liner out or did you just wrestle it out of the way to get to the grommet?


