PaulieWalnutz
Well-Known Member
- Joined
- Dec 7, 2020
- Messages
- 201
- Reaction score
- 120
- Points
- 43
- Age
- 39
Yea was able to pull off with the other 2 cars that ram it over tooDamn! I hope you were able to pull off safely!
Yea was able to pull off with the other 2 cars that ram it over tooDamn! I hope you were able to pull off safely!


$350 for spray in bed liner? What brand and where do you live? I was quoted $700 and up depending on material and if I wanted color match.
Whoa I want that truxedo expedition1) Put on a Diamondback HD cover - the only problem, I bought it used on Craigslist and I didn't realize that it didn't work with the multifunction tailgate because of the thick corner brackets (I think the newer DB covers for the Ram 1500 account for this)... I got around that by getting RightOn Bracket RAM Brackets (https://rightonbracket.com/product/ram-truck-bed-brackets/) to replace the stock corner brackets and got some 2" x 1/8" aluminum from Home Depot and drilled some holes to extend the guides for the locking bars to get around the thick/wide corner brackets. Still saved a few hundred on the cover in the end despite spending $90 on the brackets and a few dollars on hardware and a strip of aluminum. I bought and installed a gasket for the front of the bed as well.
View attachment 82573
View attachment 82582
View attachment 82574
2) Installed the Truxedo Expedition by Truck Luggage (https://truxedo.com/expedition-by-truck-luggage) - I have the bed utility group and couldn't use the clamps that came with the rack, I also wanted to be able to easily move the rack back and forth and to remove if needed without tools. I realized that they don't sell extra Mopar OEM tie downs for the bed rails and so I got some on amazon that were for a Tundra/Tacoma and they fit great. The tie-down loop got in the way so I cut them off and now I can easily slide the rack to the front or back of the bed along the rails and remove the whole thing in a few minutes without tools. It works a lot better than I anticipated. You can probably find a cheaper solution with generic t-nuts and such, but this works really well and so, no regrets and money well spent in my mind.
View attachment 82575
View attachment 82577
View attachment 82578
3) Bedrug. Since I have a cover I just placed it down without securing it to the spray-in liner with the velcro kit. It was nice having it while rolling around on my back to adjust the Diamondback cover. First Bedrug for me and I'm glad to have it.
Just wanted to share since I encountered a lot of unintended problems along the way and was able to find some workable solutions that I'm happy with- maybe it'll save someone some time or headaches.
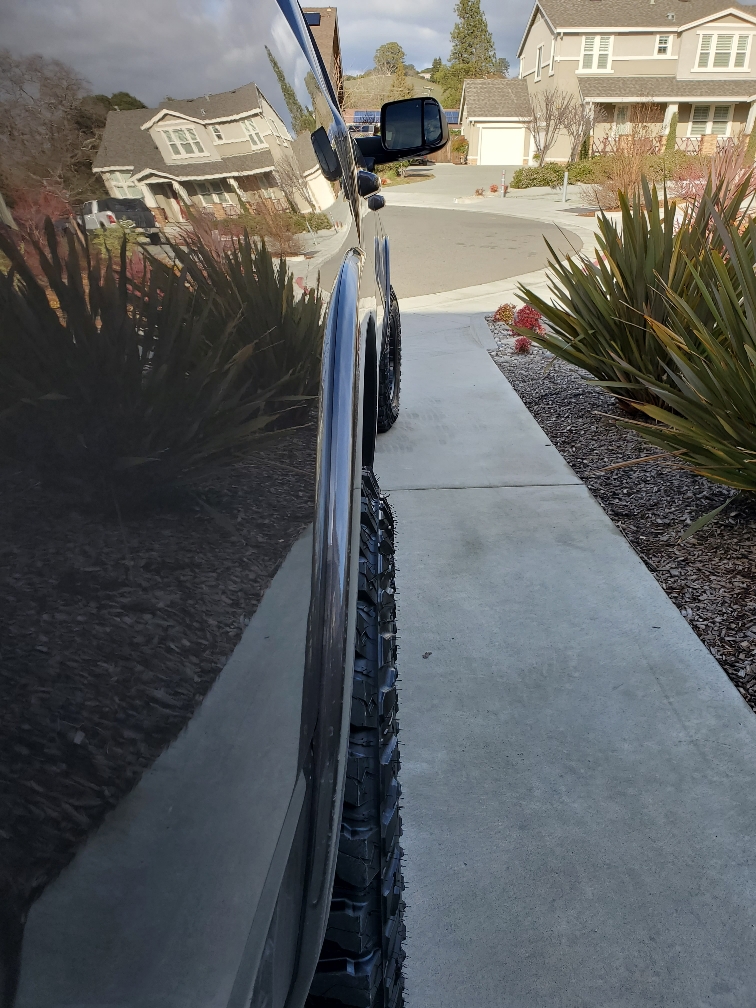
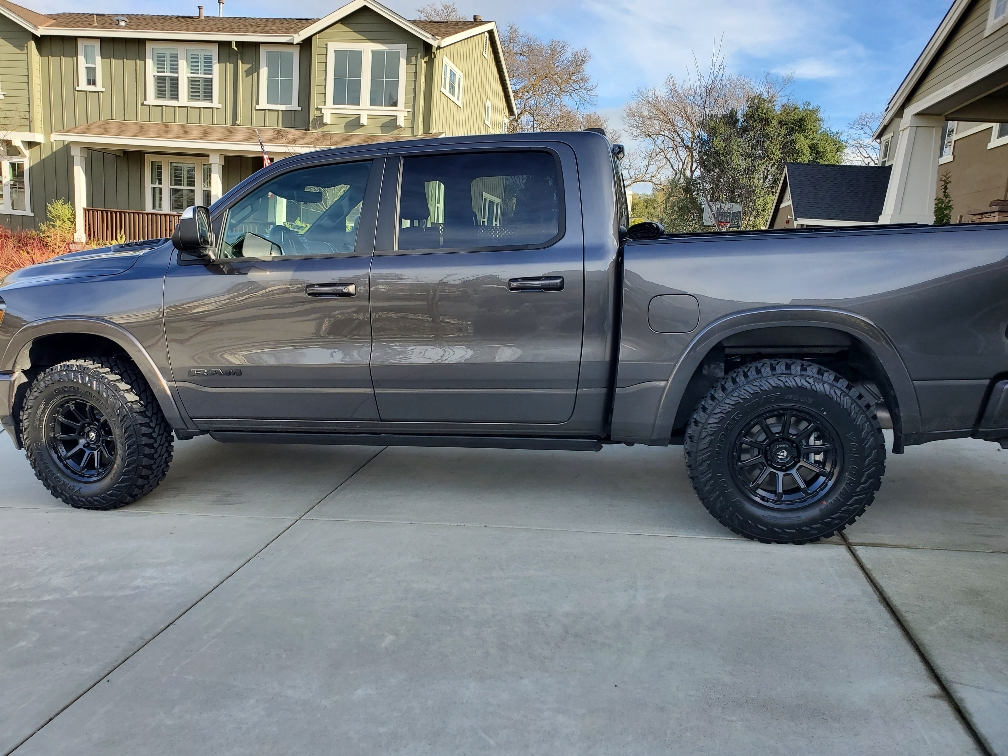
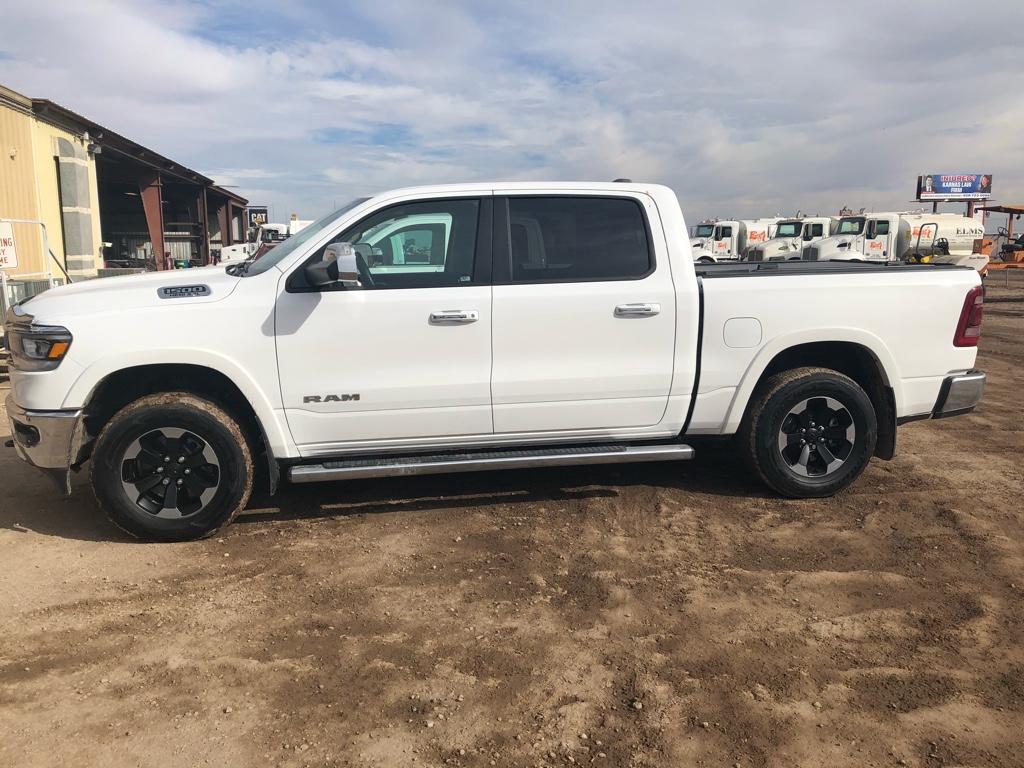
I got the Rebel wheels on my truck too, but have not done a leveling kit. I have some rubbing on the right front wheel. Did you happen to notice any rubbing before you leveled it?Rough Country Leveling Kit and some Rebel wheels and tires. Think I'm done with the exterior for now. Last pic is what I started with. A Lonestar (Bighorn). Only option I looked for was the Alpine system.
Blacked out badges
LED headlights and taillights
Tint
Leveling Kit
Rebel wheels and tires
Was able to get the headlights and rebel wheels and tires from members on this forum.
View attachment 56080View attachment 56081View attachment 56085View attachment 56086View attachment 56084
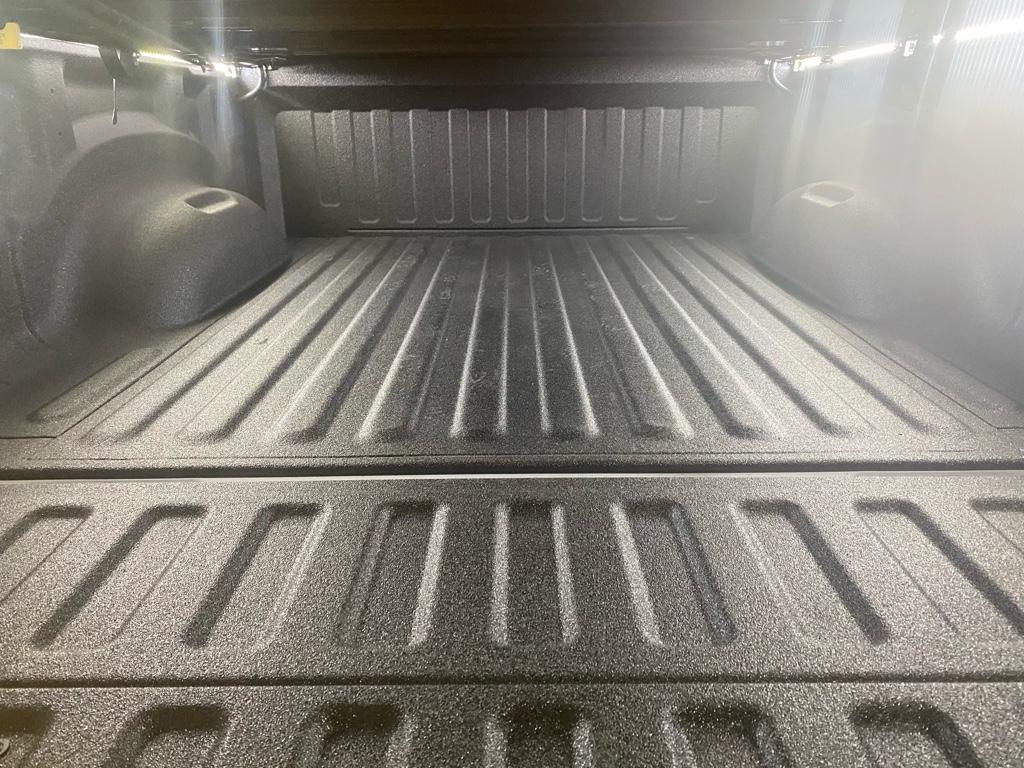
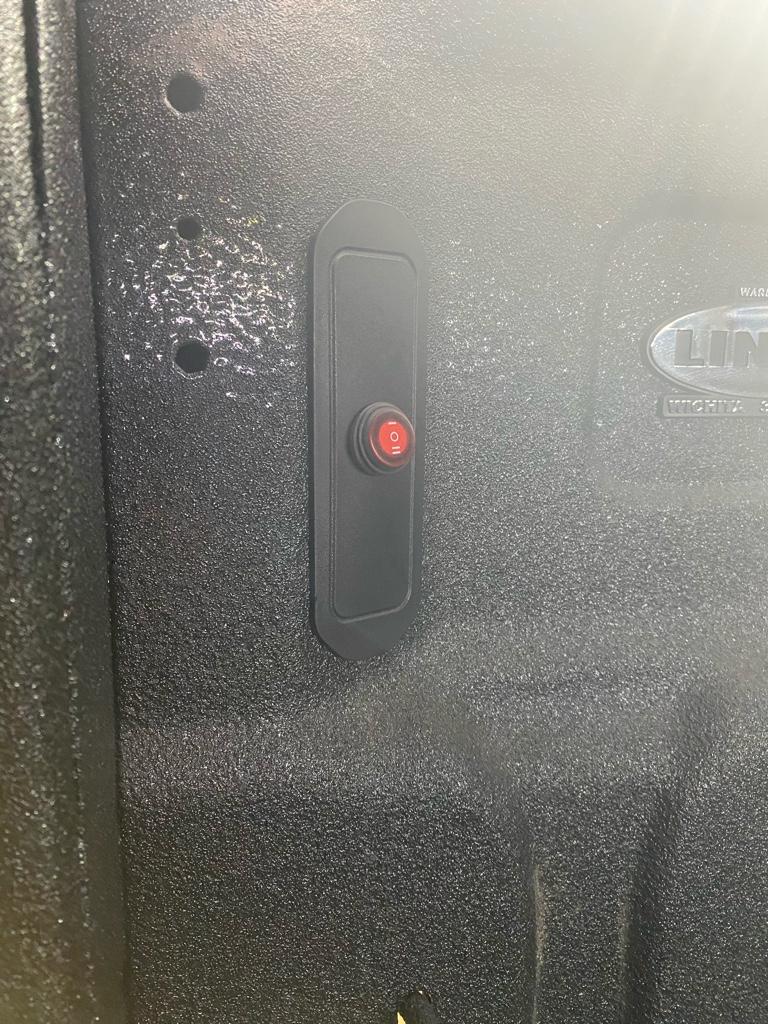
Finished up my led strips in the bed, put the B2 resonator delete pipes on, and installed a seal around the tailgate gap.
For the lights I pulled constant power from just behind the connector for the rear fascia harness (from the wire that feeds the trailer connector), and ran it to a spdt switch mounted in the cover where the oem lights would go. Once it’s not so filthy under the truck I’ll run a wire from the factory overhead cargo light to the other side of my switch. Then I’ll have the option of having the lights off, manually on, or set to come on with the overhead light.
Sent from my iPhone using Tapatalk
I know the feeling, it like figuring out my iPhone. I can’t do that either!I set up my SiriusXM Guardian....the truck is at the dealer, so about all I can do is read the PDF manual and play with the app.
The site does only list to '19, but I figured there wouldn't likely be a major difference between the two, since I just have the plain 8.4, and I could always return it if it didn't work. I ran the cable along the inside of the console up to the front, and plug it in to the right side usb port (I use the left port for my carplay hookup, and they both work fine plugged in at the same time). The indexing delay occurs each time you plug it in, tho I hardly notice it. By the time I buckle up and plug my phone in, the player is ready to go.Great find HemiDude. The manufacturer's website doesn't list compatibility for 2020 or 2021 trucks. Your profile says that you've got a 2020 so I assume that you've had no problems. Where did you route the cable connection, I assume to one of the front USB-A slots? The center console slot is just for power if I remember correctly?
How is the delay? The manual says that you need to let a CD load for 15-20 seconds. Is that only initially or every time you play a CD?
Nice set up. Send the link please for the lights.
Sent from my iPhone using Tapatalk
I've got rebel wheels on mine and don't have any rubbing at all, even at full lockI got the Rebel wheels on my truck too, but have not done a leveling kit. I have some rubbing on the right front wheel. Did you happen to notice any rubbing before you leveled it?
Got my new 3”x5” chrome and black flag decals in this afternoon. I’m curious to hear everyone’s opinions on placement. Leaning towards just above the ram decals on the doors but top of the front quarter panel is tempting me.
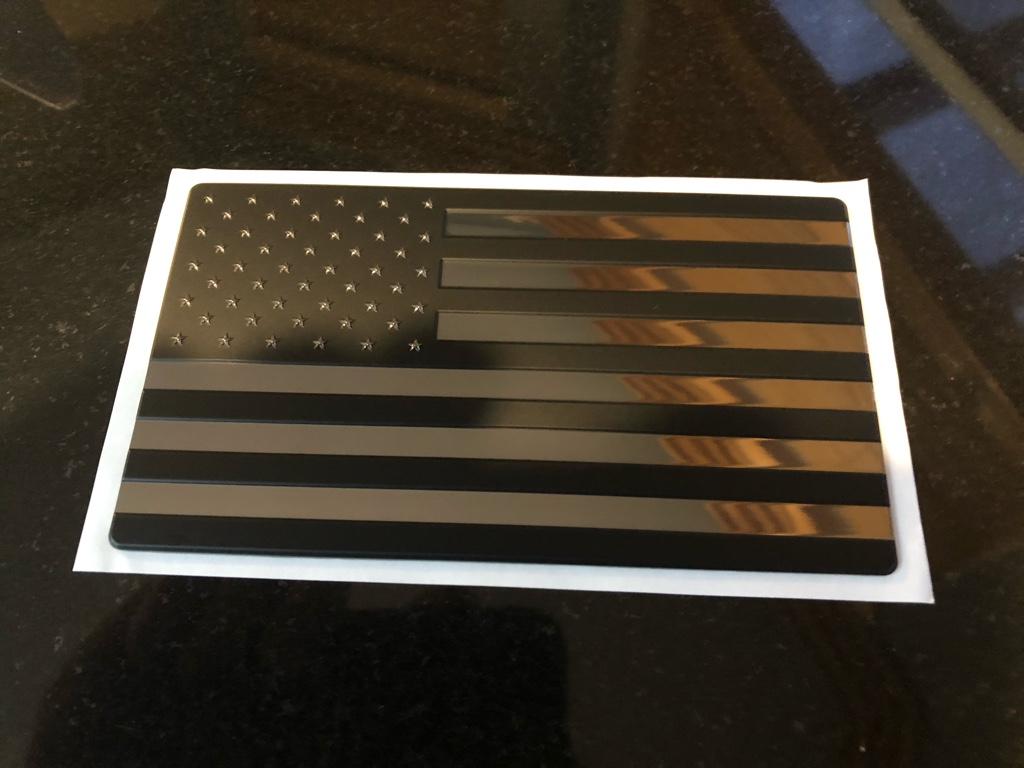
Sent from my iPhone using Tapatalk

Must be an older version. My diamondback cover actually uses the corner bracket for the Lock. Love the cover, you should be happy with it.1) Put on a Diamondback HD cover - the only problem, I bought it used on Craigslist and I didn't realize that it didn't work with the multifunction tailgate because of the thick corner brackets (I think the newer DB covers for the Ram 1500 account for this)... I got around that by getting RightOn Bracket RAM Brackets (https://rightonbracket.com/product/ram-truck-bed-brackets/) to replace the stock corner brackets and got some 2" x 1/8" aluminum from Home Depot and drilled some holes to extend the guides for the locking bars to get around the thick/wide corner brackets. Still saved a few hundred on the cover in the end despite spending $90 on the brackets and a few dollars on hardware and a strip of aluminum. I bought and installed a gasket for the front of the bed as well.
View attachment 82573
View attachment 82582
View attachment 82574
2) Installed the Truxedo Expedition by Truck Luggage (https://truxedo.com/expedition-by-truck-luggage) - I have the bed utility group and couldn't use the clamps that came with the rack, I also wanted to be able to easily move the rack back and forth and to remove if needed without tools. I realized that they don't sell extra Mopar OEM tie downs for the bed rails and so I got some on amazon that were for a Tundra/Tacoma and they fit great. The tie-down loop got in the way so I cut them off and now I can easily slide the rack to the front or back of the bed along the rails and remove the whole thing in a few minutes without tools. It works a lot better than I anticipated. You can probably find a cheaper solution with generic t-nuts and such, but this works really well and so, no regrets and money well spent in my mind.
View attachment 82575
View attachment 82577
View attachment 82578
3) Bedrug. Since I have a cover I just placed it down without securing it to the spray-in liner with the velcro kit. It was nice having it while rolling around on my back to adjust the Diamondback cover. First Bedrug for me and I'm glad to have it.
Just wanted to share since I encountered a lot of unintended problems along the way and was able to find some workable solutions that I'm happy with- maybe it'll save someone some time or headaches.


Assuming no clearance issues with the original bolts? I was thinking of doing a 1” and 1.25” but didn’t want to cut the oem bolts.Added Bora 3/4” front & 1” rear, stock Rebel wheels, no stud cutting required. The exact look I was after. Pretty close to flush with fender flares.


No issues, Rebel wheels have pockets in hub so NO cutting!Assuming no clearance issues with the original bolts? I was thinking of doing a 1” and 1.25” but didn’t want to cut the oem bolts.
"For the life of me I can’t figure out why RAM would leave all that silver trim in a “Night Edition” truck."Upgraded my sound from the base six speaker system to something better. I managed to fit a Rockford Fosgate 750-1D and a RF R2-500X4, plus an AudioControl LC2i Pro, all under the front driver seat. My goal was to keep the new audio gear together, and with as short a run for electrical wiring as possible. Clearance is narrow, but still good at the lowest seat position. Total length of power wire is less than 7.5 feet; ground wires are about 6 inches. Only the speaker wire for the sub runs to the back, nothing mounted to the back wall (I need that for other things). Sub volume control knob and remote line run under the center console.
Removing the ANC module / bracket left a pocket area to conceal wiring under the amp locations, while also providing a 10mm frame stud on each side for the amplifier grounds. Front Speakers are REF-9633ix 6x9 & Kappa 300m 3.5 W/blockers at 2ohm for 125 watts, with 75 watts at 4ohm for the rear 96333ix’s. I used hi-level inputs front and rear to the R2-500X4 via a clipped iDatalink bCH3 bypass.
I originally ran an RCA line out from the R2-500X4 pass through to the sub amp. However, this caused some low feedback in the line (the RF amp was likely not designed for hi-input to low RCA output). So, I tapped the rear speaker lines to add the LC2i Pro to fix the issue (the Pro has a ground selectable circuit).
View attachment 82685
View attachment 82686
I transport gear in the cab when traveling so I did not want to install an under seat sub box that I would have to move or pull for trips. Instead I built a custom box for a Kicker 10” L7T to replace the folding center armrest. To make sure the box has the correct sized cubic footprint, I ended up having to relocate the entire rear seat group forward 1.35 inches at the frame mounts. I still need to steam heat and work out some leather wrinkles from the Katzkin covers, and I haven’t had a chance to fine-tune the sound system yet, but it is definitely improved.
View attachment 82687
View attachment 82689
I’ve nearly finished my silver interior trim delete.
For the life of me I can’t figure out why RAM would leave all that silver trim in a “Night Edition” truck.
View attachment 82690 View attachment 82691
Also reupholstered the sun visors to match the Katzkin seats (an absolute time consuming nightmare), after my failed airbag safety decal removal attempt.
View attachment 82692