bchboy1206
New Member
- Joined
- Sep 28, 2020
- Messages
- 2
- Reaction score
- 0
- Points
- 1
- Age
- 61
Dang I wish there was a video! I am scared that I will ruin something!!!
Plenty of info in the compilation. Plenty of Ram owners have added additional reverse lights. Plenty of options, review the posts and ask questions. 5th Gen Forum is very friendly.Dang I wish there was a video! I am scared that I will ruin something!!!

 5thgenrams.com
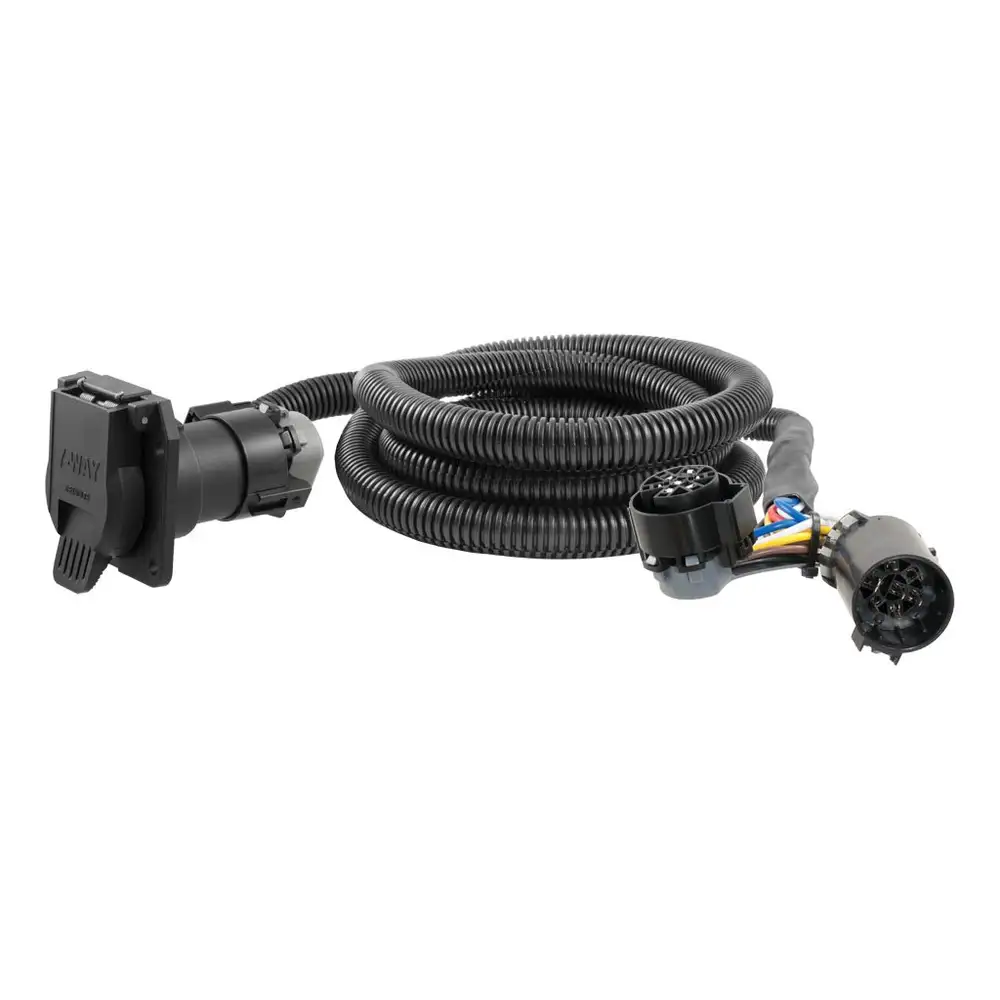
LUYED Reverse Light
- Use T connector for 7 pin White Wire (ground) and black wire: 7 pin 7 oclock position
-Use T connector for 7 pin black wire (power reverse) and red wire : 7 pin center positon
Anyone have a link to an actual step-by-step process for installing these? I want to do one on each side of the tow hitch, but man I'm scared of jacking this up. I understand the OP's way of T-tapping, but the part about using the curt harness is messing with my brain. I can look at the pictures some are posting, but cannot wrap my head around how the Curt adapter works with the 7 pin on our trucks. I want the most secure connection, but also the one that is easiest to remove for when I turn this truck back in. Any help would be greatly appreciated, and please forgive my ignorance.
5thgenrams.com

 www.curtmfg.com
 www.curtmfg.com
Thank you for all the info. If I were to use the T-tap method like the OP, should I be concerned about the small splice in the trailer harness wires if I were to remove these lights? Or would that be inconsequential if I were to put electrical tape over each wire, and then re-tape and loom the original wiring harness? I am leasing the truck. That would be the only reason I would for-see ever removing these once they are installed.I don't know how much adjustment you can do with those lights for the bed. Below is a post on the Kafeek which you can adjust and tuck out of the way of cargo.
They can be purchased on Amazon for $14.99 (sold individually)
My intentions are to wire up Kafeeks in the bed with the auxiliary reverse lights with a double pole double throw switch (DPDT) so the area behind the truck is lighted along with the bed. The DPDT will switch the power from the reverse wire to the auxiliary wire on the 5 pin flat curt. Parts and wiring diagram have been worked out, just need a "spark" to get myself motivated. Part of my "tomorrow to someday to bucket list" list.
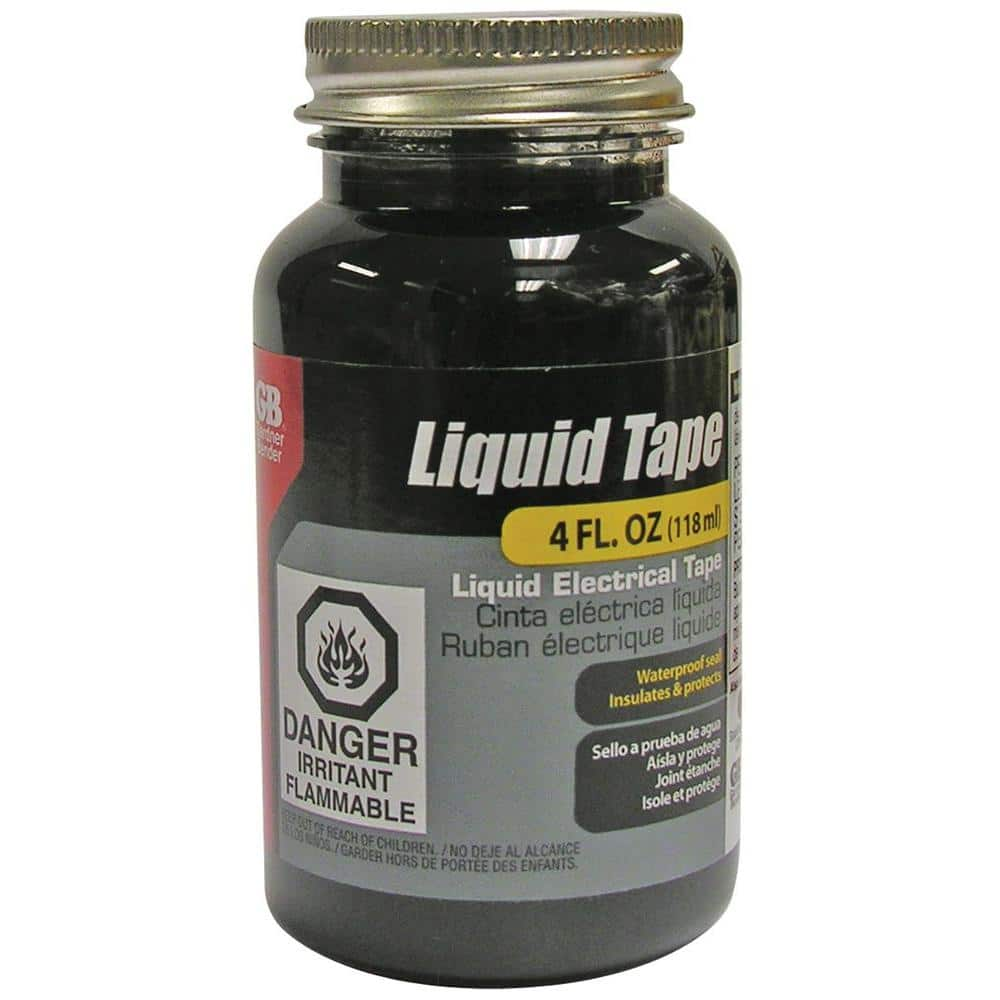
You could also use liquid electrical tape such as below.Thank you for all the info. If I were to use the T-tap method like the OP, should I be concerned about the small splice in the trailer harness wires if I were to remove these lights? Or would that be inconsequential if I were to put electrical tape over each wire, and then re-tape and loom the original wiring harness? I am leasing the truck. That would be the only reason I would for-see ever removing these once they are installed.


Good job on your project, for me i never used T-tap on cable, always take my time and solder all the cables.I received these over the weekend, and finally got a chance to install them this morning. I am not very handy with electrical stuff and I chose to do a direct connection to the trailer wires with T-taps. The Curt connection option sounded great, but even after asking questions and getting more explanation, I did not feel confident I would be able to do it. So, I started using the T-tap connectors and found after doing my first operations check that I squeezed the connector so tightly, I was actually cutting the wire. This is where my oh crap moments began.
After opening the T-taps back up when one of my lights failed to work, I found that the trailer plug wires had been spliced too much and began cursing myself for hacking on this new truck. After gathering myself, I decided the best thing to do would be to cut the trailer wires and use butt connectors to create new connections with the wires from the Luyed lights intertwined. Fortunately doing this provided a better connection than I think I could have ever gotten with T-taps. As you all know, the before and after difference is night and day. Thank you to all the trailblazers who have done this and provided install details, as it proved invaluable to me this morning. I mounted them with the attached screws to the plastic pieces the reverse sensors are mounted in, and turned them outward as much as possible. View attachment 72296View attachment 72297View attachment 72298View attachment 72299
Totally agree with this post. I would never use a t-tap and soldering/heatshrink is always the best method of splicing wires. For those who don't know how to solder (or have access to one) you can also use small marettes and fill them with silicon or wrap them with self fusing tape and you will be fine.Good job on your project, for me i never used T-tap on cable, always take my time and solder all the cables.
FYI, try to place your reverse light aways from all those sensors, if the reverse light cable didn't shield good, it will interfere with sensor.
i installed using only the double size tape for couple months now and they're still holding, if they ever come off later on i will use extreme strong double size tape.So I just received a dual setup for the sides of the hitch today. These lights seem really well built, better than I thought.
Before I get to the install, how is the double sided tape holding up? Should I get a zip tie or two, or do you think the tape will hold well?
Soldering is always the best but T-TAPS have a place especially when you don't want to cut a wire. I don't recommend them outside but the most common mistake with t-taps is people use the wrong size for the gauge wire there using which results in either making a loose connection or damaging strands because undersized tap resulting in loose connection.Totally agree with this post. I would never use a t-tap and soldering/heatshrink is always the best method of splicing wires. For those who don't know how to solder (or have access to one) you can also use small marettes and fill them with silicon or wrap them with self fusing tape and you will be fine.
") Finally did this today. Used the Curt 56584 harness, the Curt 58540 five pin and the LUYED Super Bright 3020's. Also tie wrapped the lights along with the adhesive tape even though the tape seems more than capable. Marine connectors and heat shrink on everything cut. Even sealed the resonator weep holes while I was under there.
Finally did this today. Used the Curt 56584 harness, the Curt 58540 five pin and the LUYED Super Bright 3020's. Also tie wrapped the lights along with the adhesive tape even though the tape seems more than capable. Marine connectors and heat shrink on everything cut. Even sealed the resonator weep holes while I was under there. 


Nice. I love mine.Another useful thread.
View attachment 77210View attachment 77211View attachment 77212
Edited for night shots:
View attachment 77234View attachment 77235
What T_TAPS size do you use? 16-14?Soldering is always the best but T-TAPS have a place especially when you don't want to cut a wire. I don't recommend them outside but the most common mistake with t-taps is people use the wrong size for the gauge wire there using which results in either making a loose connection or damaging strands because undersized tap resulting in loose connection.
Sent from my GM1917 using Tapatalk