‘19ramlveryeha
Well-Known Member
- Joined
- Jun 9, 2019
- Messages
- 343
- Reaction score
- 226
- Points
- 43
- Age
- 45
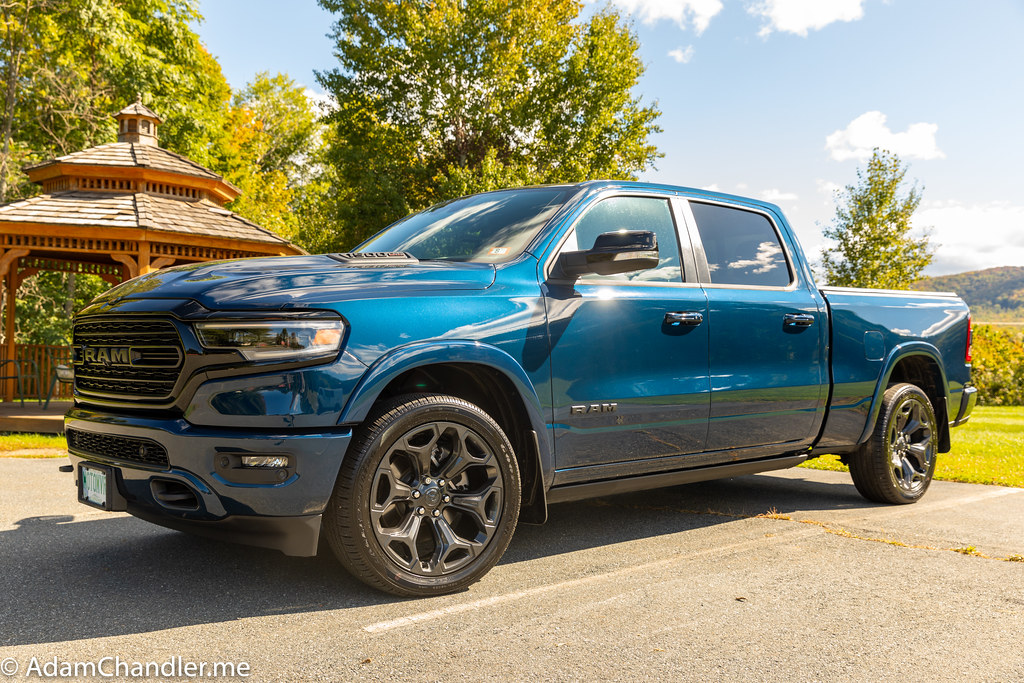
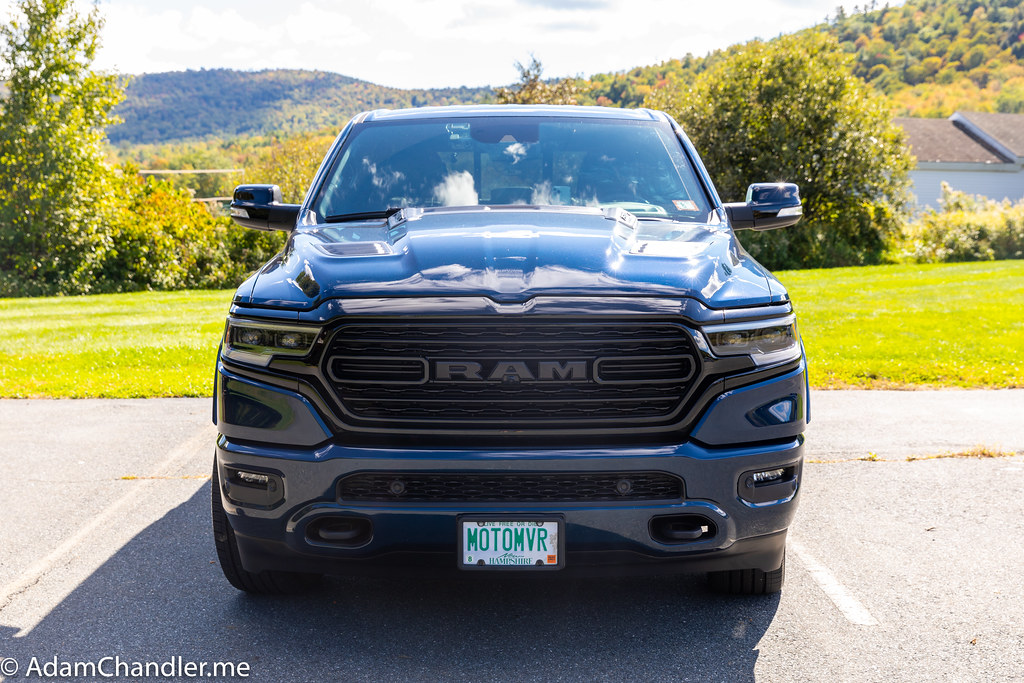
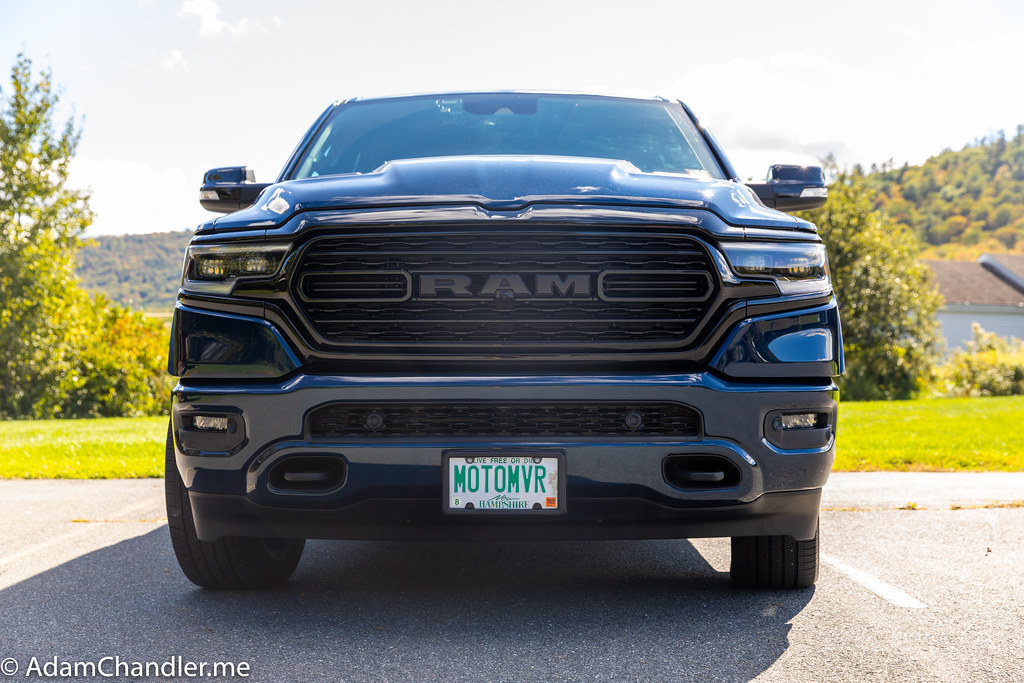
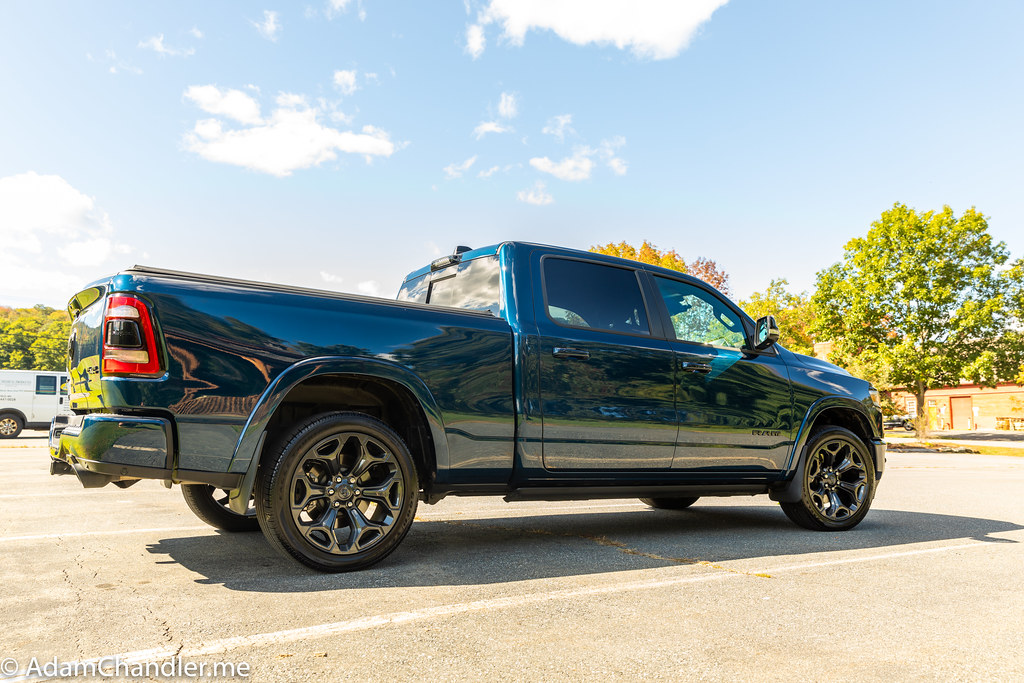
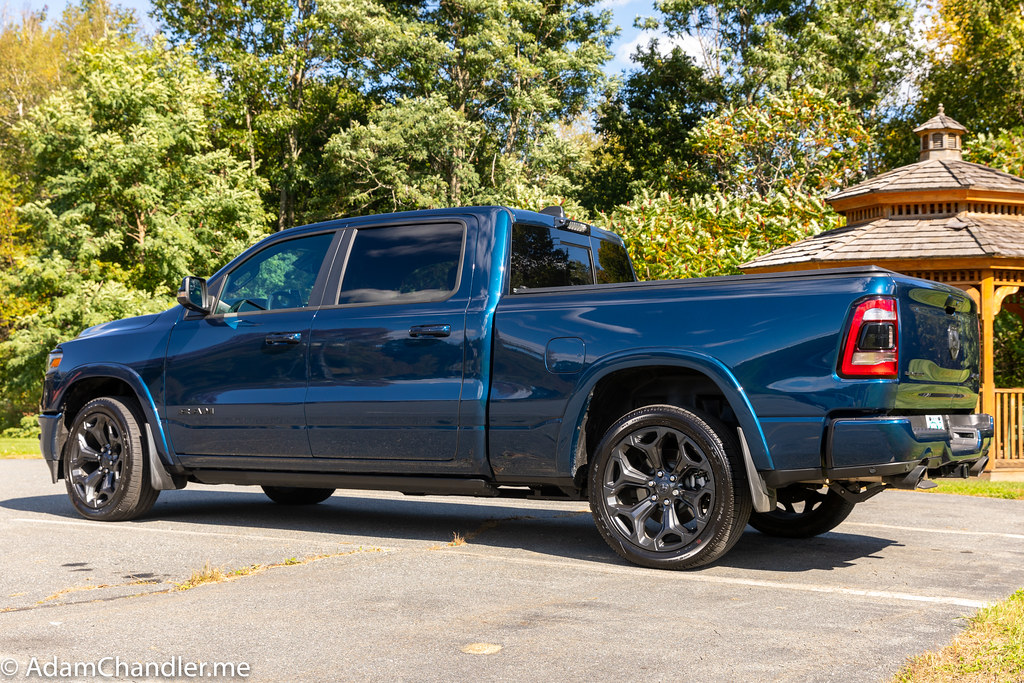
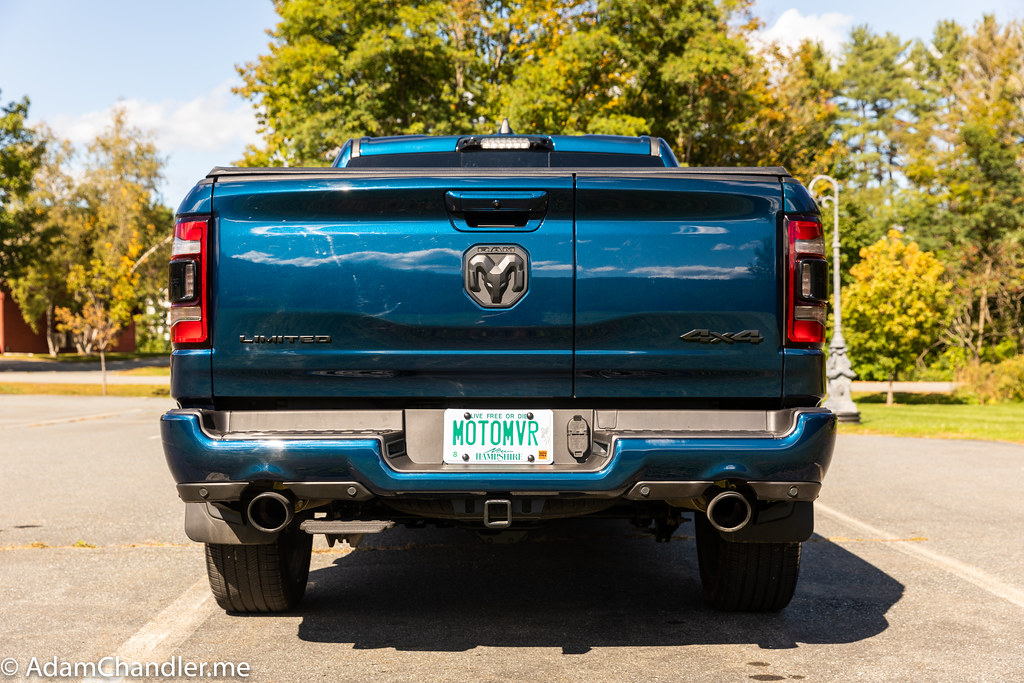
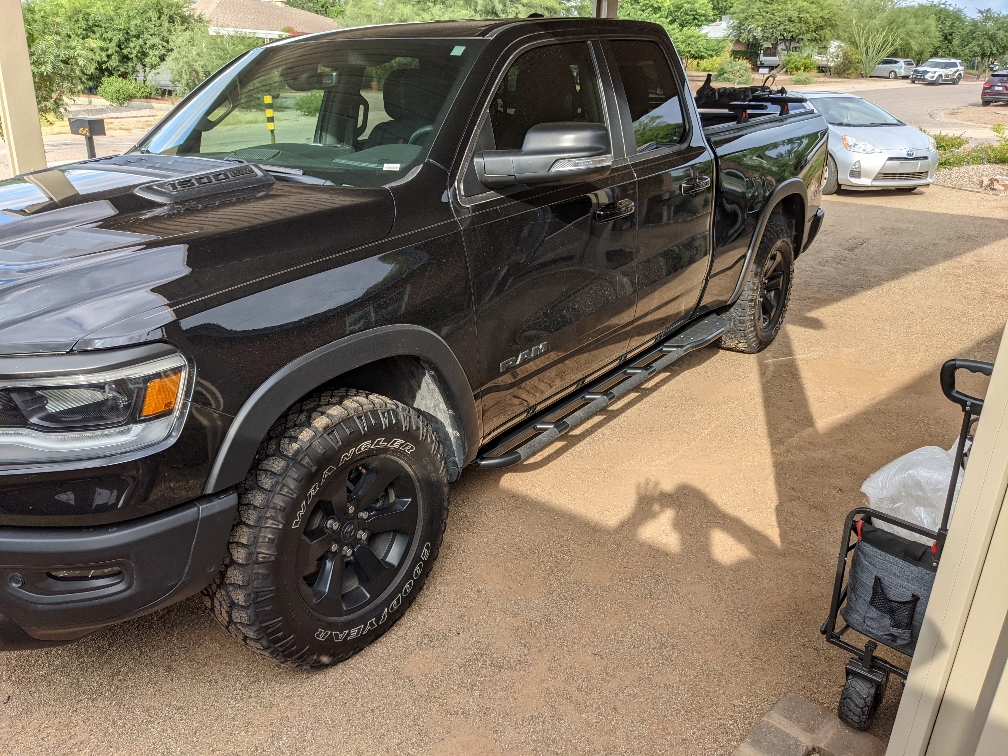
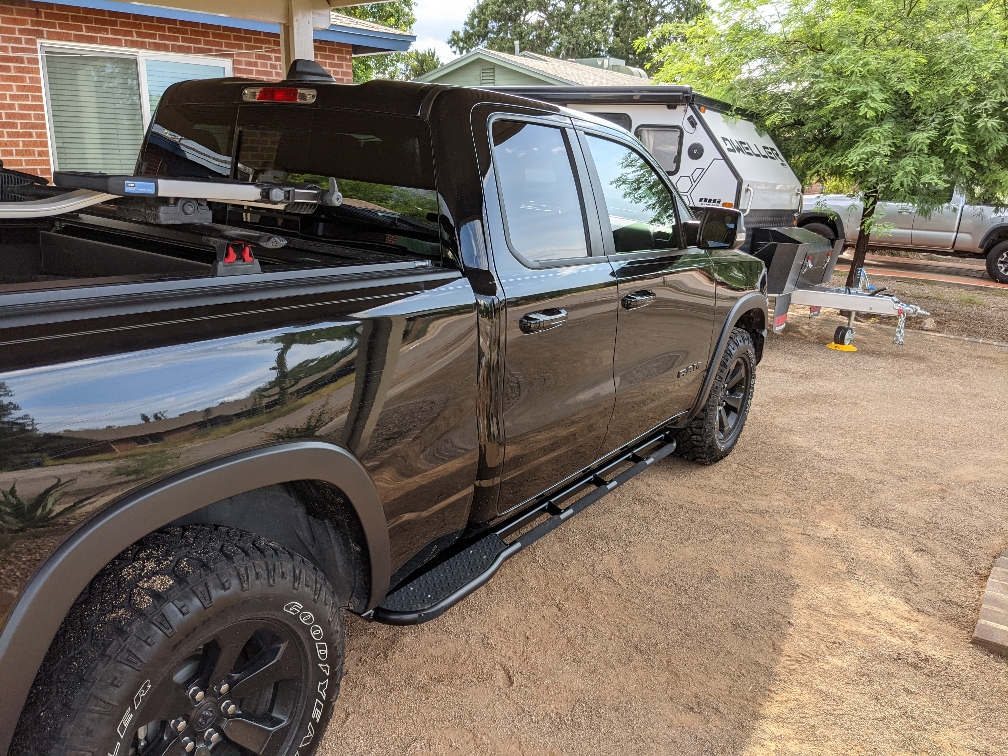
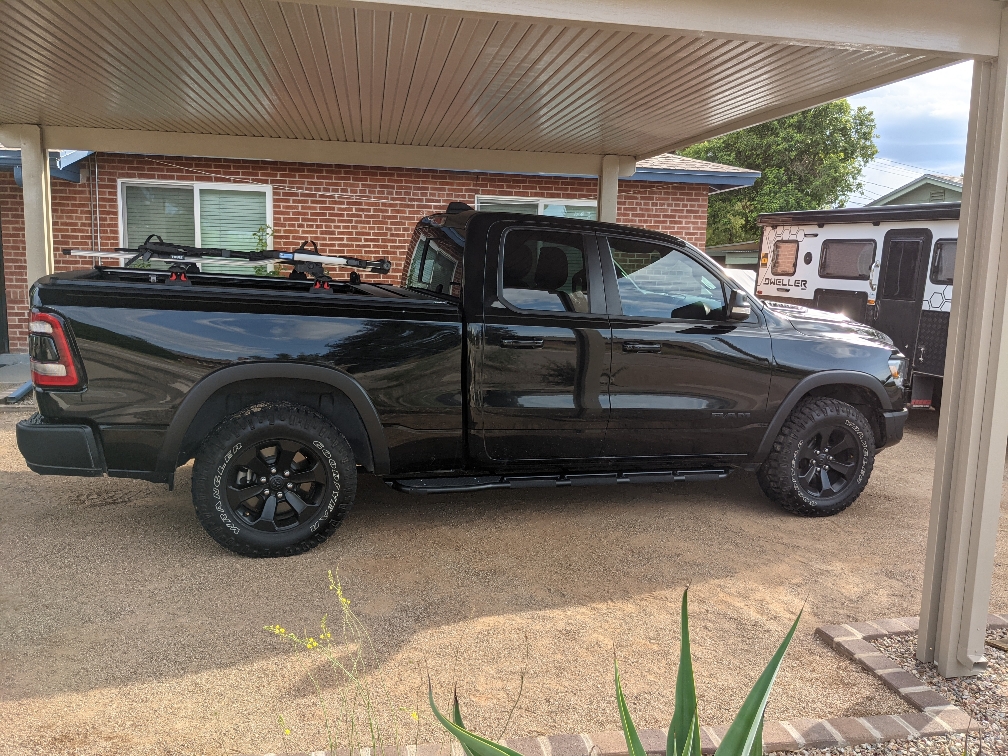
Oh yeah, loving this combo! Tires look awesome. Not sure why I was so on the fence about them. Total transformation with the laramie sport wheels vs the chrome big horns.
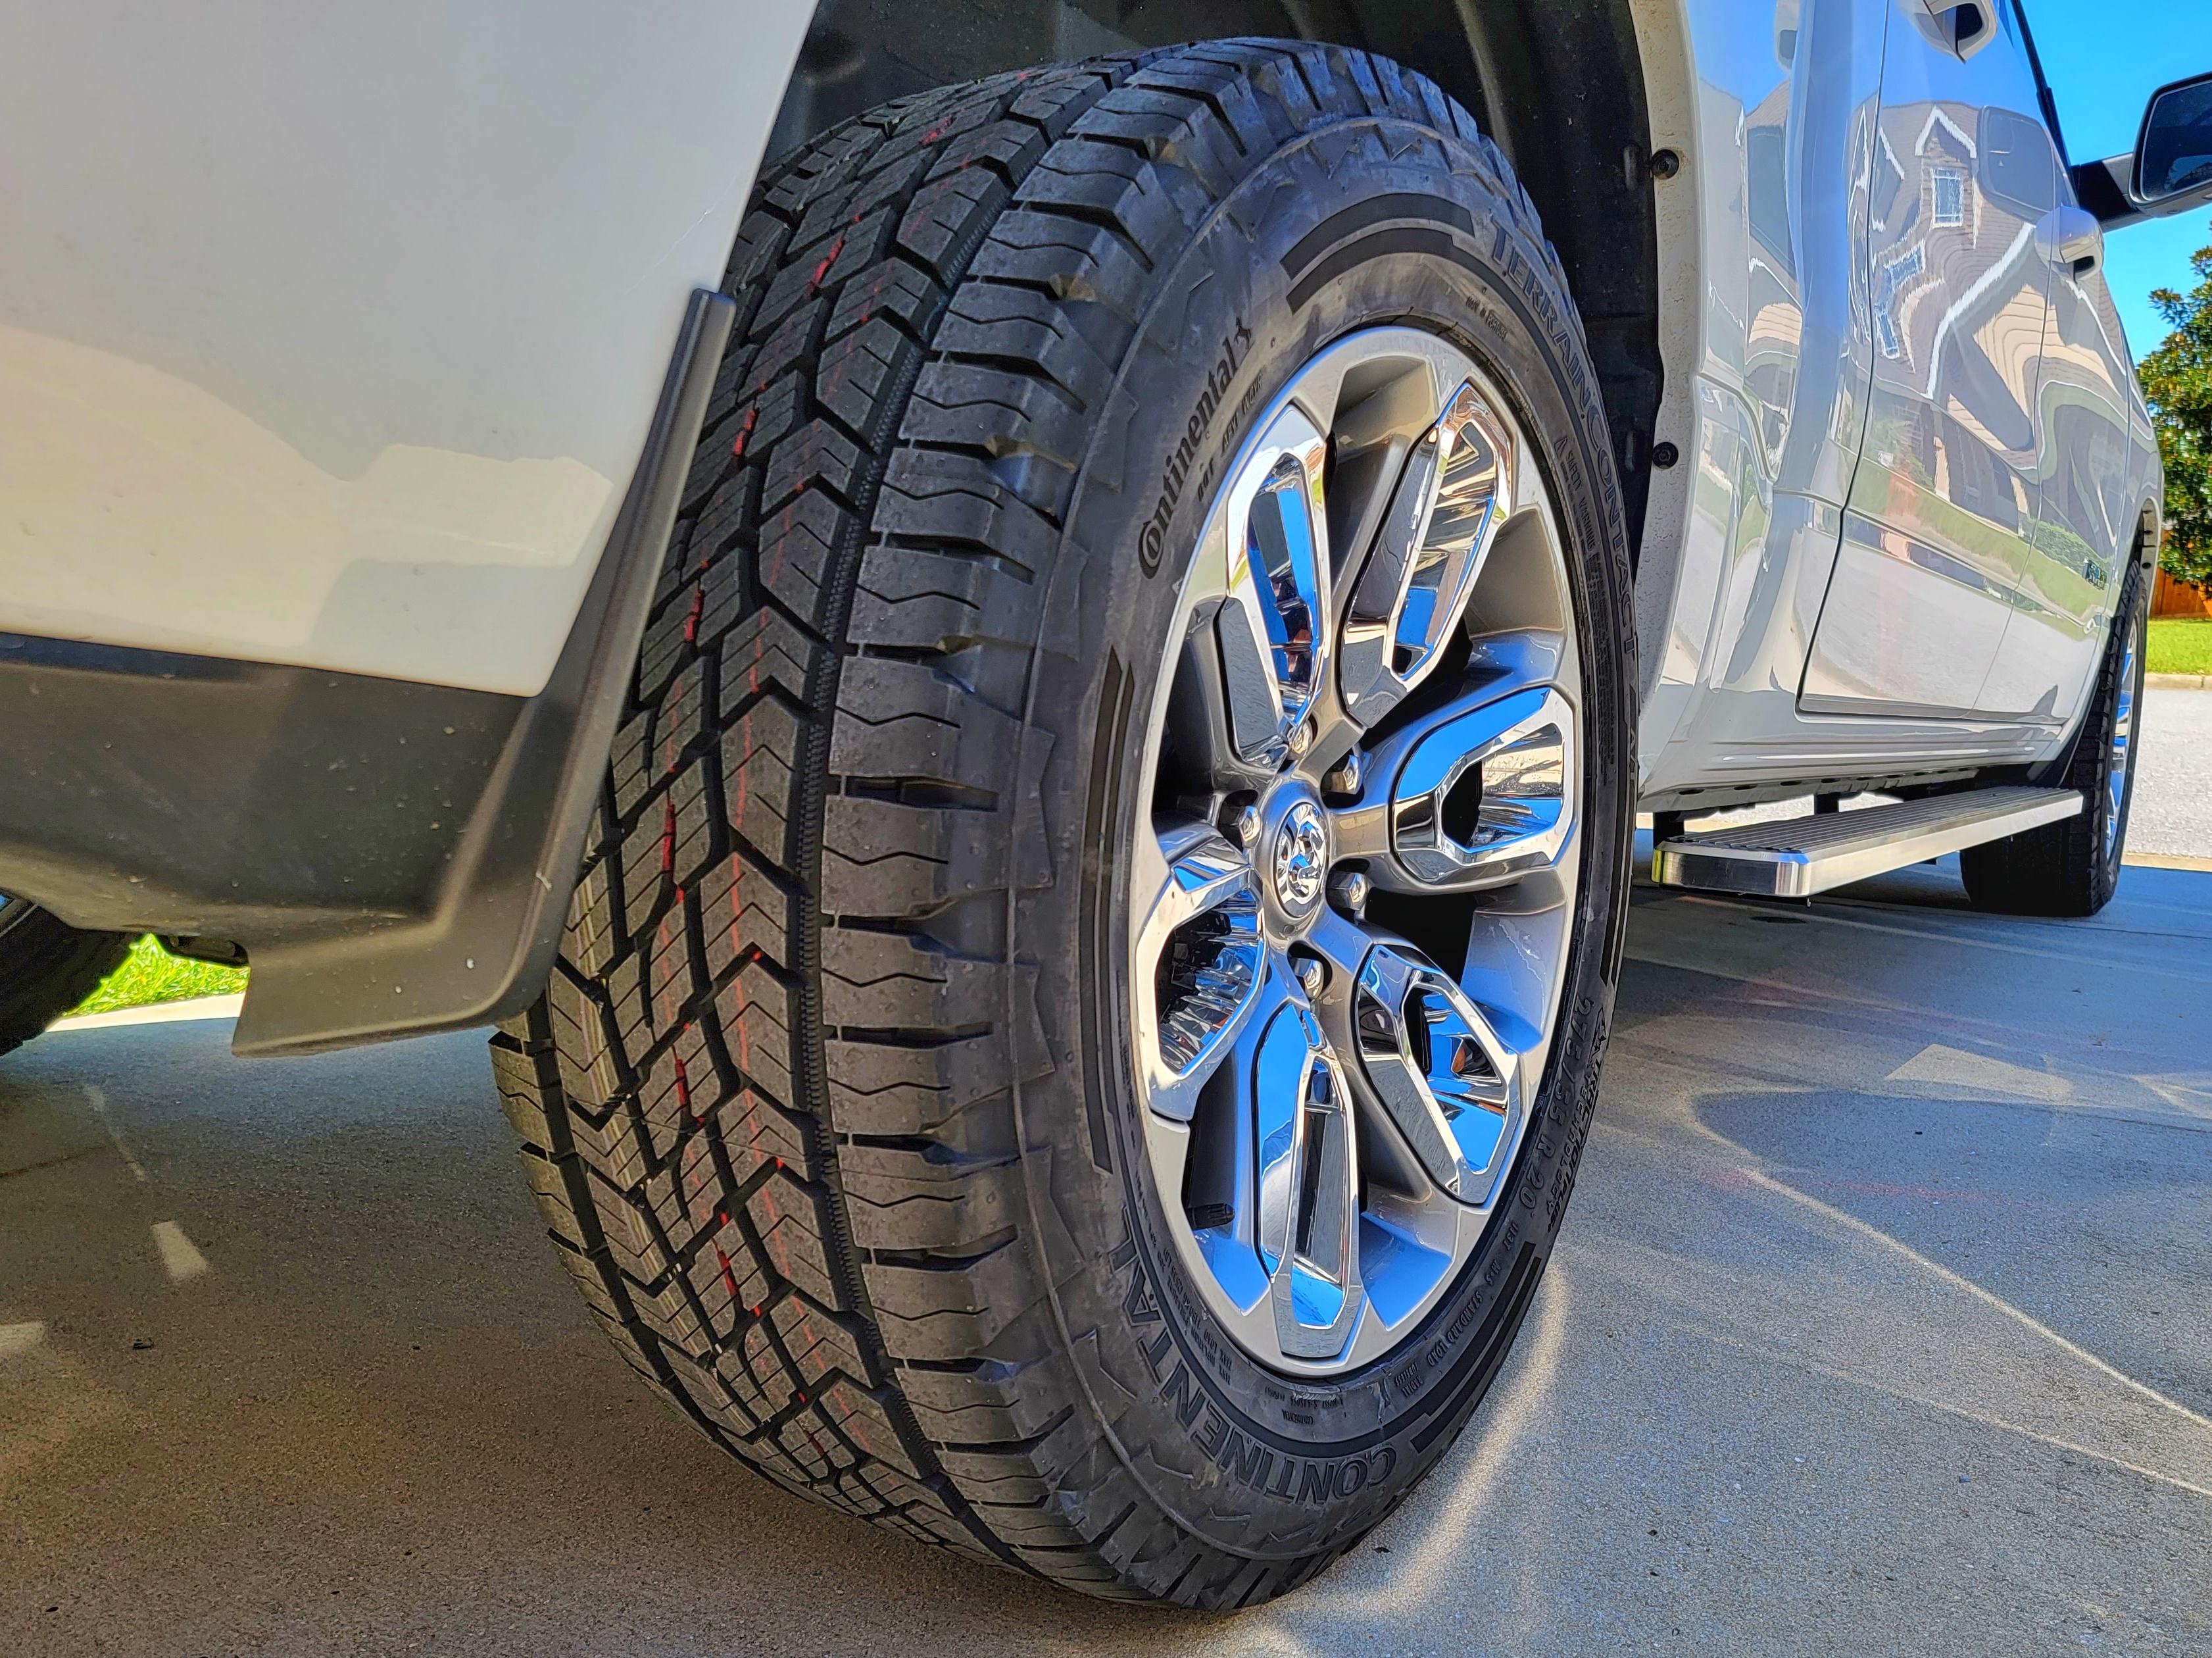
Coming from the crap nexen oem tires, in the short 10 miles home, I can tell a the tiny difference in road noise and stiffness. Feels like a truck should.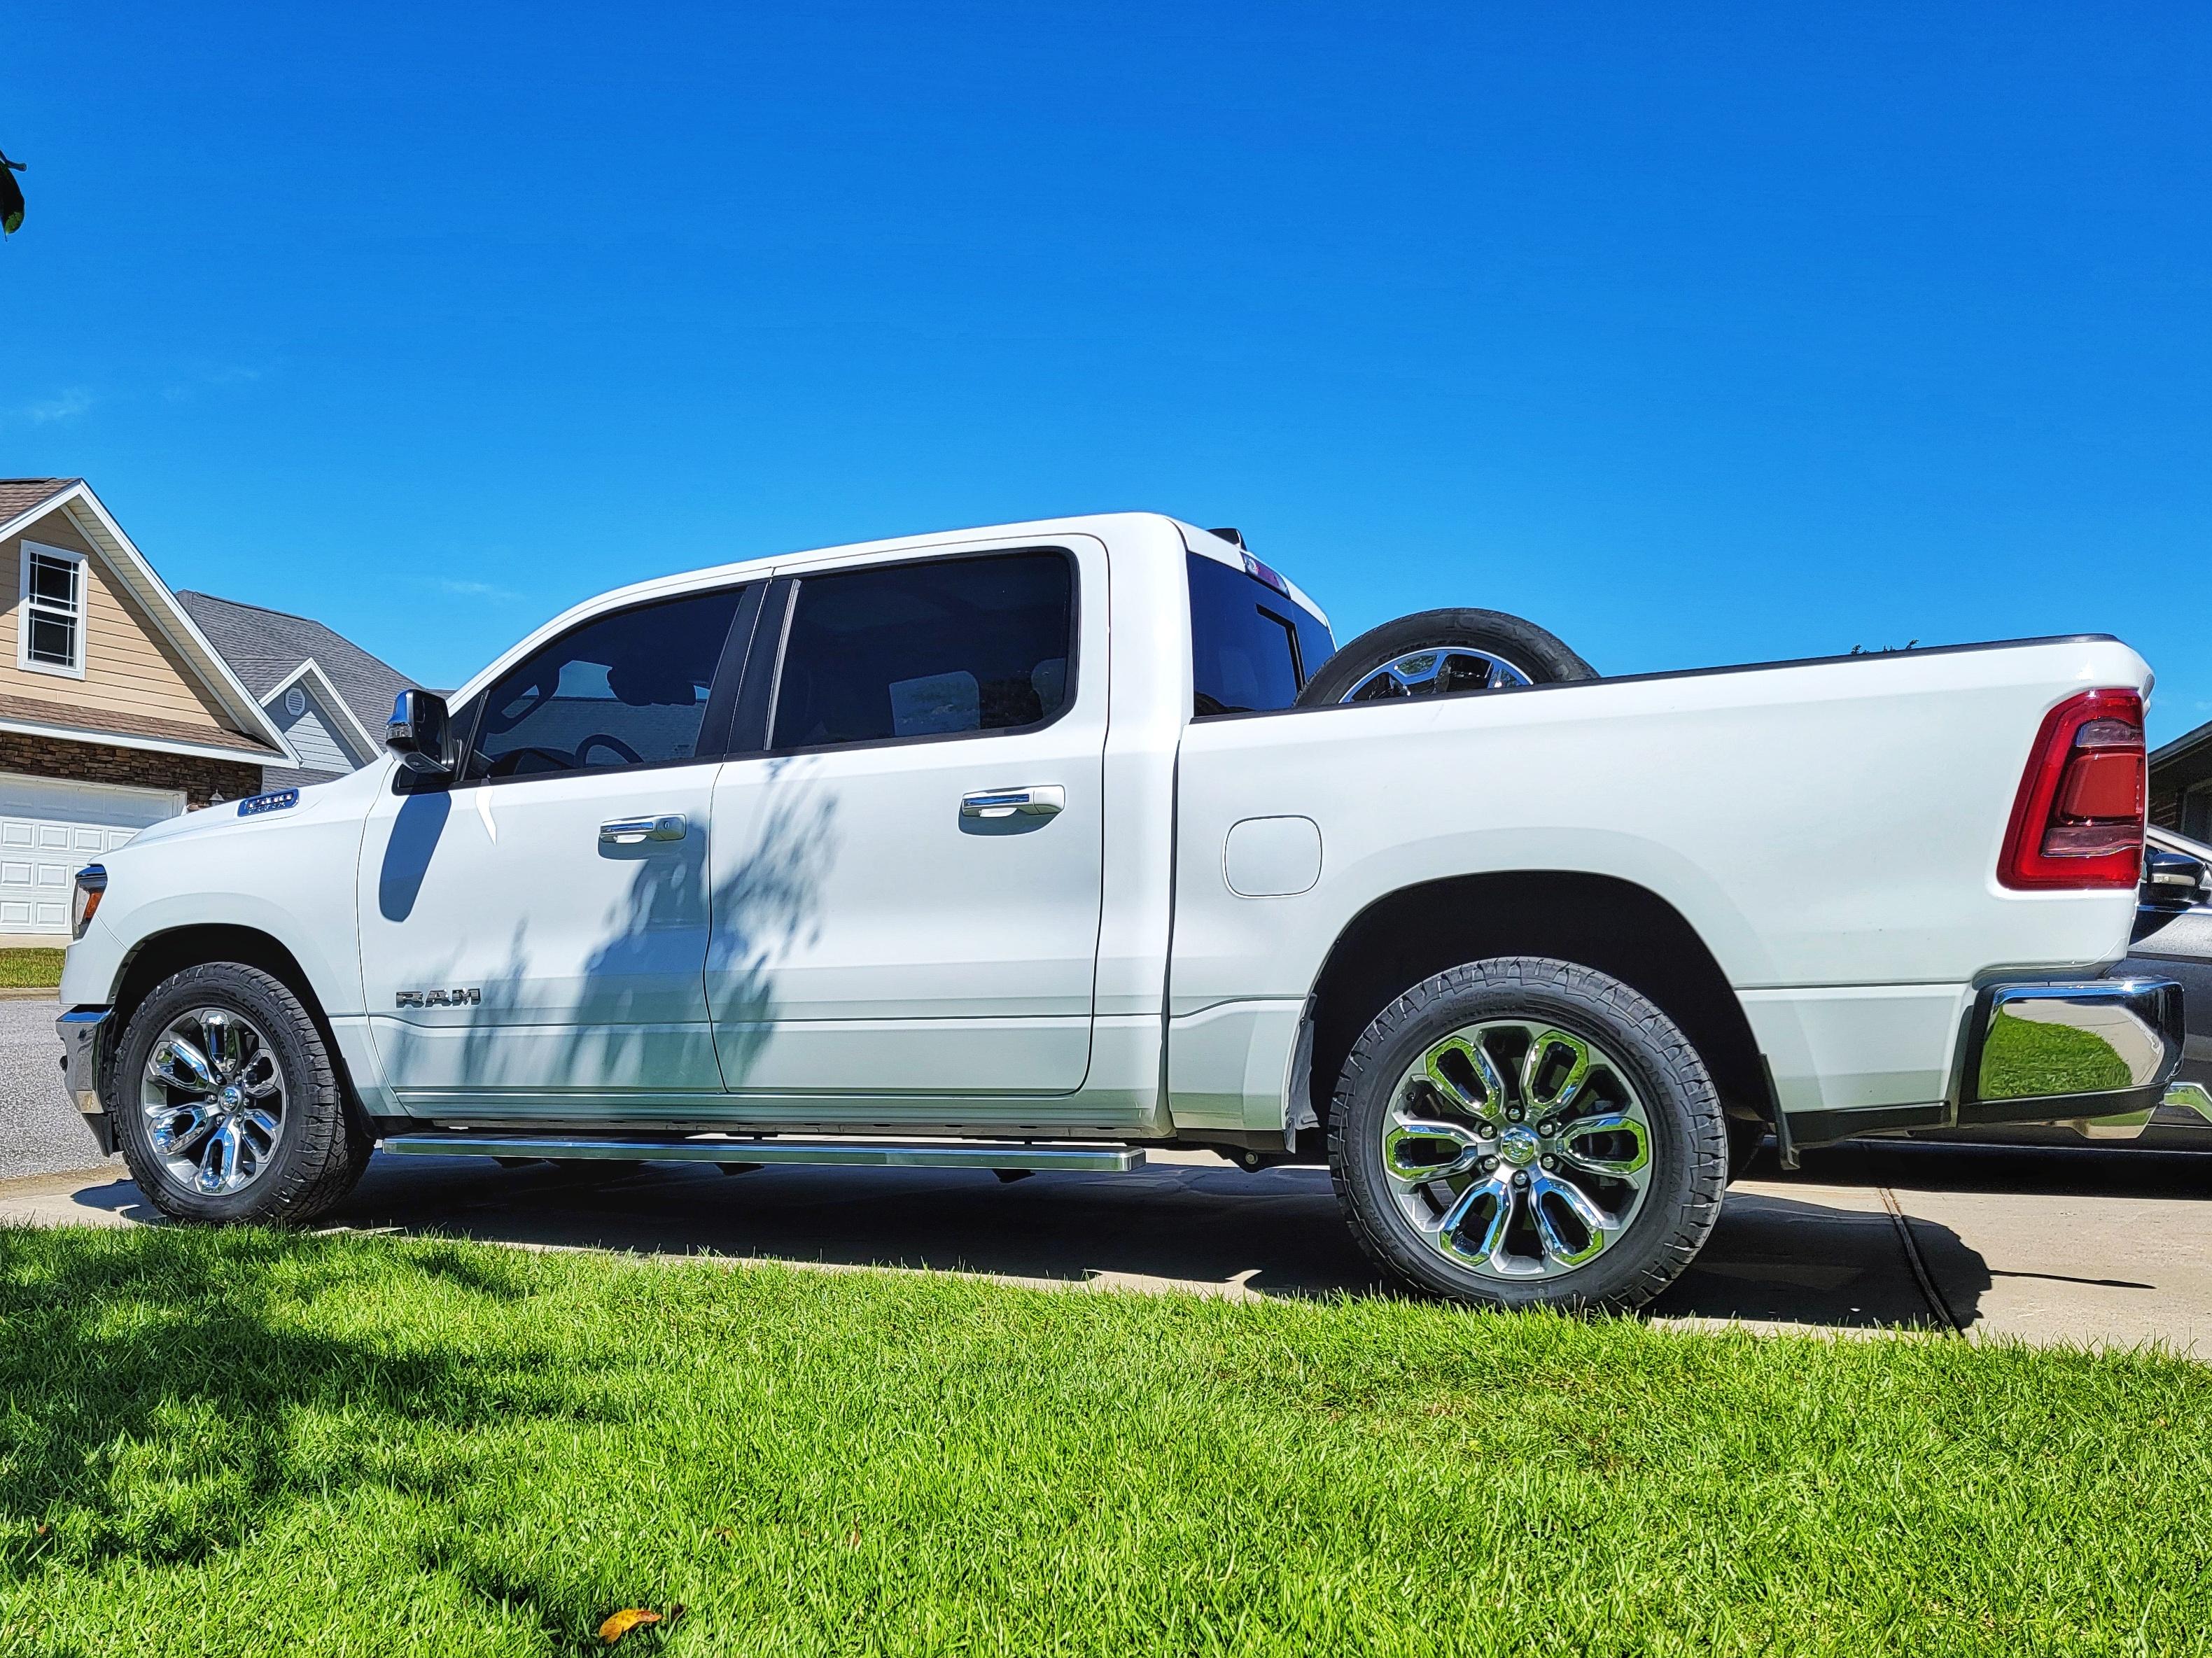
Sent from my Galaxy S21 Ultra using Tapatalk
The Laramie sport wheels are the best in my opinion. Look great on 34”+ tires.
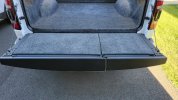
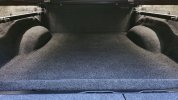
2019 Ram 1500 ORP “long bed” - setting #5 bilsteins, 2”mopar ucas, hellwig sway bar, tonneau cover, bed mat, 20” Laramie sport wheels on 285/60r20 falkens. Flowmaster outlaw.
 Makes all the difference.
")