5thGenRams Forums

Register a free account today to become a member! Once signed in, you'll be able to participate on this site by adding your own topics and posts, as well as connect with other members through your own private inbox!

What did you do to your Ram today???

Sound clips? I've been looking at exhaust systems for about 2 months now and can't decide if I want to do a muffler and resonator delete (B2FAB) or just bite the bullet and get the Borla S Type/ATAK.
Having read a ton of reviews and listened to many sound bites, I think I'm going to go Borla S Type. Loud, low, clean tone without drone ~ without being “too” obnoxious. Just enough 😎👍🏻🇺🇸
 
Having read a ton of reviews and listened to many sound bites, I think I'm going to go Borla S Type. Loud, low, clean tone without drone ~ without being “too” obnoxious. Just enough 😎👍🏻🇺🇸

That's exactly what I did and you won't regret it. Perfect compromise for me between stock and the Borla Attak.
 
Installed my air design rear spoiler, this thing looks awesome!
Makes me wish I had the regular tailgate
Having read a ton of reviews and listened to many sound bites, I think I'm going to go Borla S Type. Loud, low, clean tone without drone ~ without being “too” obnoxious. Just enough 😎👍🏻🇺🇸
Saw your signature with future mods. I have the gatorback mudflaps and love them. They provide good coverage area and are very heavy duty. The only negative is the washers for the mounting screws are stainless (not black) so they stick out. I plan to shoot some black spray paint on them. They are very pricey but I like them.
 
Last edited:
Installed Lasfit's T-7443A-CK anti hyperflash front turn signals a couple times.

Removed them and went back to stock as they hyperflash.
 
ca


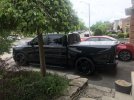
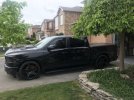
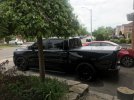
can you give us a picture of the whole truck with spoiler installed please.
Here you go! I’ll do more pics once I can get this to an open area.
 

Attachments

  • E2FDC1C9-DBBD-44F8-8325-62647EBBB54B.jpeg
    E2FDC1C9-DBBD-44F8-8325-62647EBBB54B.jpeg
    194.7 KB · Views: 269
  • EE5627C3-060C-4BBA-A287-81D1C1953AD2.jpeg
    EE5627C3-060C-4BBA-A287-81D1C1953AD2.jpeg
    195.8 KB · Views: 268
  • 00F96F7D-54F8-4CF4-843E-7BB81649DE80.jpeg
    00F96F7D-54F8-4CF4-843E-7BB81649DE80.jpeg
    181 KB · Views: 262
  • 1CFE84AD-1D32-4D5C-B1BC-66B32DAE6DDE.jpeg
    1CFE84AD-1D32-4D5C-B1BC-66B32DAE6DDE.jpeg
    150.9 KB · Views: 266
a56f9f9f6e16157cfdda28e170b61e68.jpg


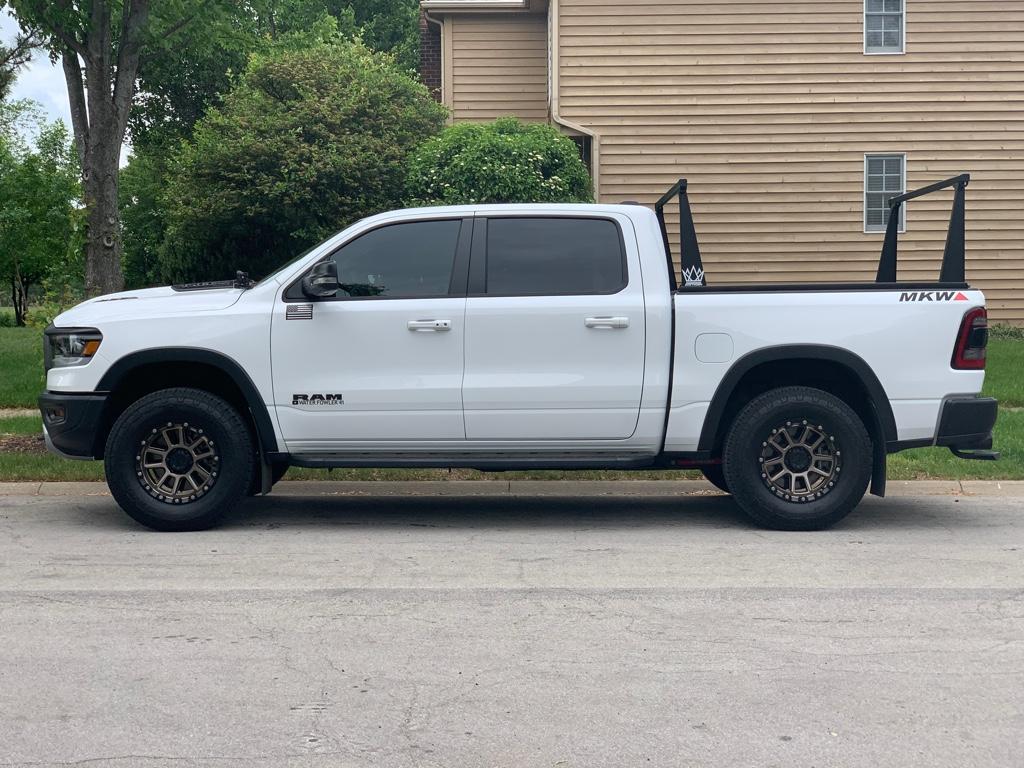
Threw the rack back on the truck. Going to knock out some kayak fishing this weekend hopefully!
 
Well lets see i installed the Mud guards, Running boards. And i had the front windows tinted. Next week I put on the front bug guard.I post a picture after i wash it it covered in pollen.
 
Here you go! I’ll do more pics once I can get this to an open area.
Gorgeous truck! Lowered trucks will always have a place in my heart. I wish I could throw that spoiler on my truck, but I don't think it would go well with the Rebel looks.
 
So...I know it's popular and lots have done it, but...I installed my Hellwig 7709 Sway Bar last night, and I must say, what a tremendous upgrade!

I bought it a few weeks ago but didn't make time to install it. Then, last weekend, I drove to Asheville, NC. If any of you have driven I-40 east into Asheville, then you know that there are miles and miles of narrow curves as it winds through the Pigeon River Gorge. Although I have the usual roundabouts and on ramps here in Indianapolis, that drive to and from Asheville reminded me of why I bought the Hellwig and gave me much regret for not installing it before the trip. When the Ram rolls as you turn through the curve, it gives you a sense that you're coming in way too hot and that you're going to lose control. Even under control, you're pressed against your seat bolsters and your horizon tilts considerably.

The Hellwig requires 15mm sockets to remove the frame brackets around the OEM bar, two screws per side. The end link bolts are tricky. They have to be held from rotating with an M8 socket while you're turning the nut with an 18mm wrench. Torque isn't high, so you don't need much leverage. Maybe at first, to break the nut, you might want to use a deep well socket. Hellwig supplies stainless steel socket head cap screws to replace the OEM hex head cap screws for the brackets. I'm guessing you could reuse what you have. I chose their SHCS option. They require 25-30 ft-lb of torque, use a proper tool if you have it.

Be sure to lubricate the rubber bushings before installation. They're split, so you pull them apart and over the bar. I imagine over time that you might want to go back and regrease periodically.

I chose the middle of the three holes at the end links. You can feel the reduced roll immediately, at any turn of the steering wheel. Parking lots, curves, intersections, roundabouts, on-ramps, lane changes -- EVERYWHERE! The cab and truck are much more stable. I'd say it's a 50-70% reduction in roll. You no longer feel pressed against the bolsters and you don't get that mild apprehension when you make a sudden change of direction. Planted and confident.

To me, this is the #1 FUNCTIONAL upgrade you can make, and it's a bargain under $275.
They offer an additional kit for end links. Did you need that or just the 7709 kit?
 
So...I know it's popular and lots have done it, but...I installed my Hellwig 7709 Sway Bar last night, and I must say, what a tremendous upgrade!

I bought it a few weeks ago but didn't make time to install it. Then, last weekend, I drove to Asheville, NC. If any of you have driven I-40 east into Asheville, then you know that there are miles and miles of narrow curves as it winds through the Pigeon River Gorge. Although I have the usual roundabouts and on ramps here in Indianapolis, that drive to and from Asheville reminded me of why I bought the Hellwig and gave me much regret for not installing it before the trip. When the Ram rolls as you turn through the curve, it gives you a sense that you're coming in way too hot and that you're going to lose control. Even under control, you're pressed against your seat bolsters and your horizon tilts considerably.

The Hellwig requires 15mm sockets to remove the frame brackets around the OEM bar, two screws per side. The end link bolts are tricky. They have to be held from rotating with an M8 socket while you're turning the nut with an 18mm wrench. Torque isn't high, so you don't need much leverage. Maybe at first, to break the nut, you might want to use a deep well socket. Hellwig supplies stainless steel socket head cap screws to replace the OEM hex head cap screws for the brackets. I'm guessing you could reuse what you have. I chose their SHCS option. They require 25-30 ft-lb of torque, use a proper tool if you have it.

Be sure to lubricate the rubber bushings before installation. They're split, so you pull them apart and over the bar. I imagine over time that you might want to go back and regrease periodically.

I chose the middle of the three holes at the end links. You can feel the reduced roll immediately, at any turn of the steering wheel. Parking lots, curves, intersections, roundabouts, on-ramps, lane changes -- EVERYWHERE! The cab and truck are much more stable. I'd say it's a 50-70% reduction in roll. You no longer feel pressed against the bolsters and you don't get that mild apprehension when you make a sudden change of direction. Planted and confident.

To me, this is the #1 FUNCTIONAL upgrade you can make, and it's a bargain under $275.
Thanks you for taking the time to to do a detailed write up I'm sure other members greatly appreciate it.
 
They offer an additional kit for end links. Did you need that or just the 7709 kit?
Dogpatch, just the 7709. I don't know the circumstances in which a Ram might not have them and need them in the other Hellwig part number. I pulled the OEM bar and put the Hellwig in its place. Simple. The only "difficult" part is working underneath. I had my rear on ramps which made it easier. Open ended wrench, socket wrench, torque wrench and a few sockets. Basics.
 
Thanks you for taking the time to to do a detailed write up I'm sure other members greatly appreciate it.
I knew the whole time I was doing it that I should've taken a few pictures of things, like squeezing in the supplied grease, the location of the bushings on the bar so you don't waste much grease sliding them in place, and the end link bolt and nut, which are a little peculiar. But it's apparent to anyone familiar with basic tools, plus Hellwig provides a 1-sheet write up.
 
Dogpatch, just the 7709. I don't know the circumstances in which a Ram might not have them and need them in the other Hellwig part number. I pulled the OEM bar and put the Hellwig in its place. Simple. The only "difficult" part is working underneath. I had my rear on ramps which made it easier. Open ended wrench, socket wrench, torque wrench and a few sockets. Basics.
The endlink kit is for folks who have added a lift to their truck. It's not needed if you stock.
 
So...I know it's popular and lots have done it, but...I installed my Hellwig 7709 Sway Bar last night, and I must say, what a tremendous upgrade!

I bought it a few weeks ago but didn't make time to install it. Then, last weekend, I drove to Asheville, NC. If any of you have driven I-40 east into Asheville, then you know that there are miles and miles of narrow curves as it winds through the Pigeon River Gorge. Although I have the usual roundabouts and on ramps here in Indianapolis, that drive to and from Asheville reminded me of why I bought the Hellwig and gave me much regret for not installing it before the trip. When the Ram rolls as you turn through the curve, it gives you a sense that you're coming in way too hot and that you're going to lose control. Even under control, you're pressed against your seat bolsters and your horizon tilts considerably.

The Hellwig requires 15mm sockets to remove the frame brackets around the OEM bar, two screws per side. The end link bolts are tricky. They have to be held from rotating with an M8 socket while you're turning the nut with an 18mm wrench. Torque isn't high, so you don't need much leverage. Maybe at first, to break the nut, you might want to use a deep well socket. Hellwig supplies stainless steel socket head cap screws to replace the OEM hex head cap screws for the brackets. I'm guessing you could reuse what you have. I chose their SHCS option. They require 25-30 ft-lb of torque, use a proper tool if you have it.

Be sure to lubricate the rubber bushings before installation. They're split, so you pull them apart and over the bar. I imagine over time that you might want to go back and regrease periodically.

I chose the middle of the three holes at the end links. You can feel the reduced roll immediately, at any turn of the steering wheel. Parking lots, curves, intersections, roundabouts, on-ramps, lane changes -- EVERYWHERE! The cab and truck are much more stable. I'd say it's a 50-70% reduction in roll. You no longer feel pressed against the bolsters and you don't get that mild apprehension when you make a sudden change of direction. Planted and confident.

To me, this is the #1 FUNCTIONAL upgrade you can make, and it's a bargain under $275.
I live just outside Indy.

2020 Bighorn Night Edition, 5.7 Hemi w/eTorque
 
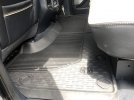
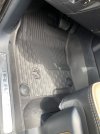
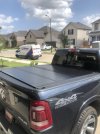
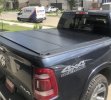
Baymax got some new additions today,
Installed Gator FX Tonneau cover and installed Mopar weather mats


66F717E3-9F74-4140-AA93-91E2E2C64C7C.jpegE6D9CCE4-2D80-4E27-8155-2EF284B90B46.jpeg
8F68DF97-E64E-4C06-A3B6-90B02916AA32.jpeg
 

Attachments

  • 16EB2132-B1CC-49BA-9763-E92E2CB465D9.jpeg
    16EB2132-B1CC-49BA-9763-E92E2CB465D9.jpeg
    140.3 KB · Views: 122
  • D0460F95-7D8E-4CA9-9DD0-8D71FB0D006B.jpeg
    D0460F95-7D8E-4CA9-9DD0-8D71FB0D006B.jpeg
    157.4 KB · Views: 127

Users who are viewing this thread

Back
Top