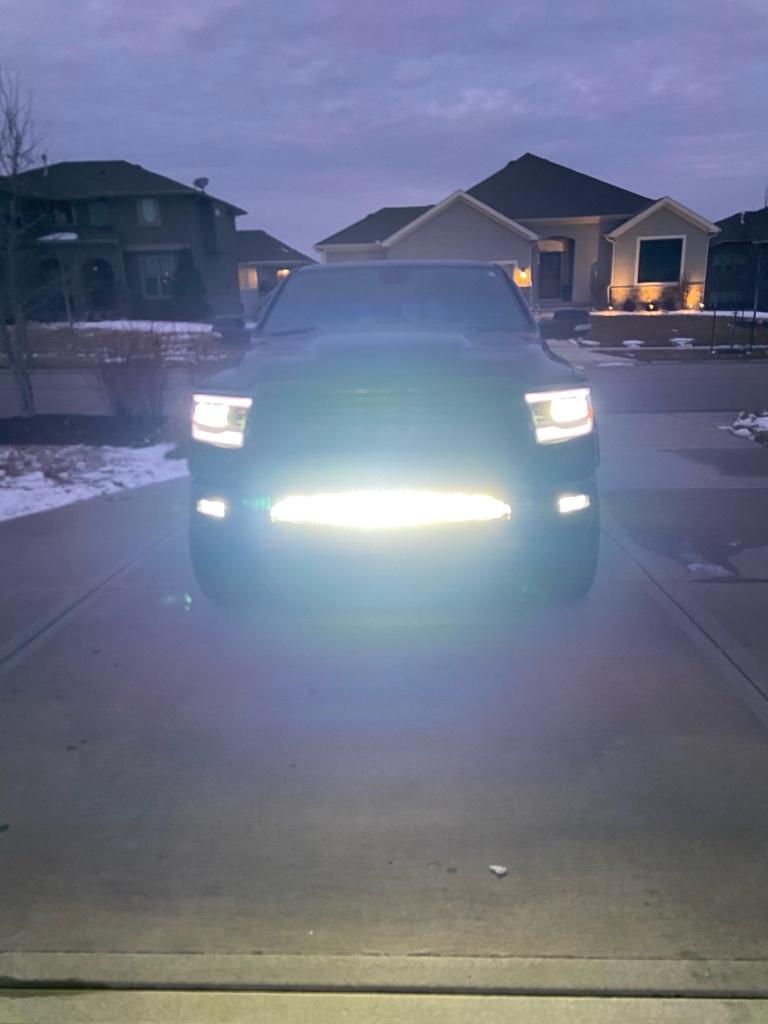
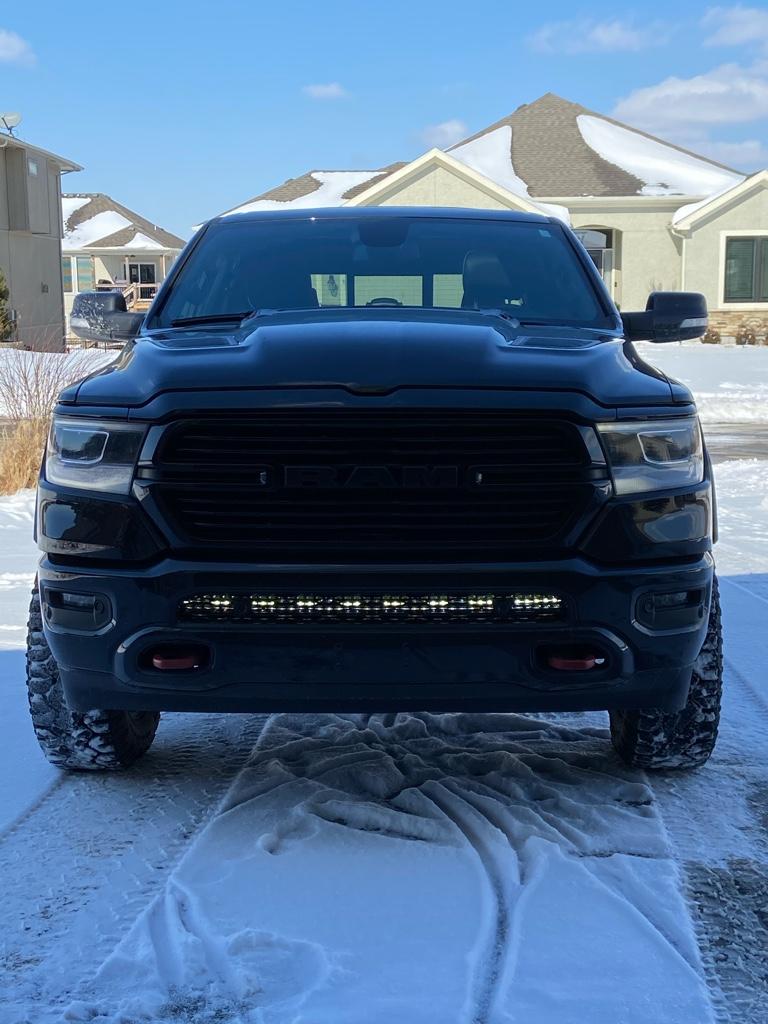
Finally completed the wiring on my 40” light bar. I now have the DRL option setup and have the option to have the full powered bar to turn on/off automatically with my Hi-beams or disable the light bar for on-road Hi-beam use.


LOOKS GREAT... DID U HAVE TO FAB UP BRACKETS?Finally completed the wiring on my 40” light bar. I now have the DRL option setup and have the option to have the full powered bar to turn on/off automatically with my Hi-beams or disable the light bar for on-road Hi-beam use.


LOOKS GREAT... DID U HAVE TO FAB UP BRACKETS?

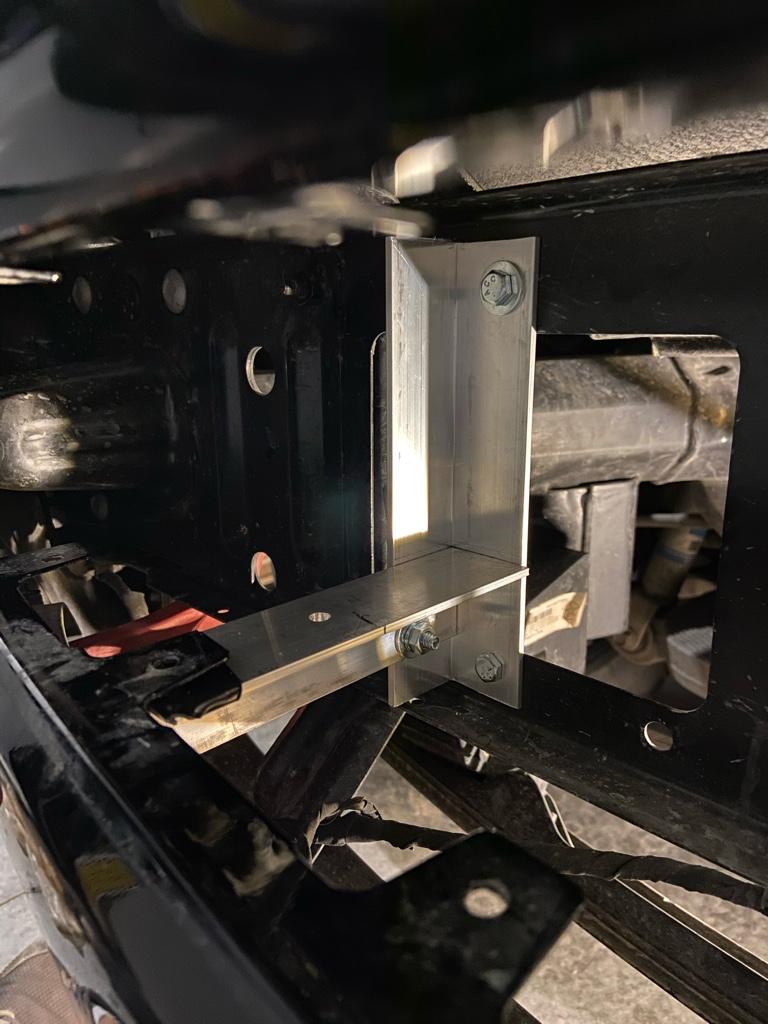
Nice job!I did make my own brackets. I chose this particular light bar because it has foot mounts which are adjustable along the length of the bar... so I didn’t need to try reach the ends of the 40” bar. This made the fab much more straight forward! Unfortunately, I only have basic handyman tools available, so I had to work with those limitations. You can make this mount with a hacksaw and drill pretty easily.

40 Inch Black Series LED Light Bar | Curved | Dual Row | Cool White DRL
Rough Country's 40-inch CREE LED Light Bar offers 36,000 lumens, 40 white daytime running LEDs, waterproof design, and easy installation for off-road adventures.www.roughcountry.com
Any issues with the sensors? Looks greatI did make my own brackets. I chose this particular light bar because it has foot mounts which are adjustable along the length of the bar... so I didn’t need to try reach the ends of the 40” bar. This made the fab much more straight forward! Unfortunately, I only have basic handyman tools available, so I had to work with those limitations. You can make this mount with a hacksaw and drill pretty easily.

40 Inch Black Series LED Light Bar | Curved | Dual Row | Cool White DRL
Rough Country's 40-inch CREE LED Light Bar offers 36,000 lumens, 40 white daytime running LEDs, waterproof design, and easy installation for off-road adventures.www.roughcountry.com

Any issues with the sensors? Looks great
LOOKS GREAT ..SITS NICE AND LEVEL!Finally got my maxtrac 2/4 drop installed so far so good
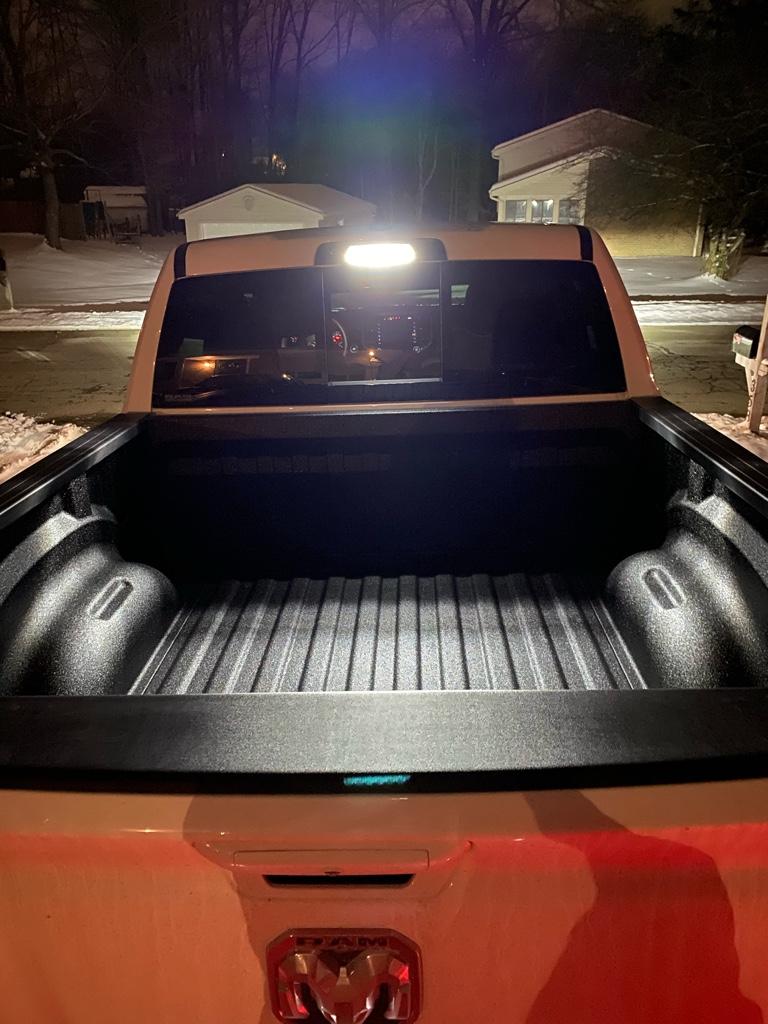
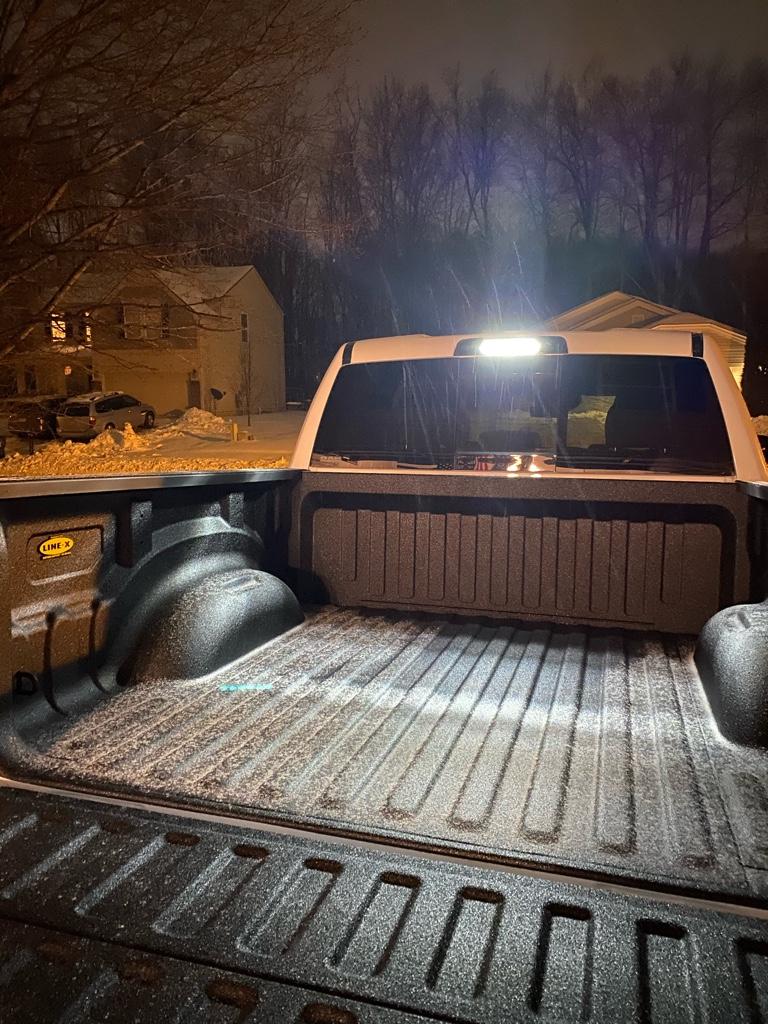
NICE... CONGRATS!Traded in my 19 for a 2021, this past weekend and Linex hooked it up with a fresh bedliner.

Sent from my iPhone using Tapatalk
Sweet...congrats on thew new ride!Traded in my 19 for a 2021, this past weekend and Linex hooked it up with a fresh bedliner.
I have a 20" light bar and figured it had to stay 20" because of the sensors. Thinking about it, guess there is no reason to not just run a full 40" like you did behind the sensors. Although you had to make your own brackets. Wonder why RC makes the 20" kit but not the 40" kit.No issues. I had to replace that lower grill mesh with an insert from the Diesel 1500, as my Laramie grill is 100% blockage. Everything works exactly as it did from the factory.
I’ve detailed out the process and part numbers in another post on light bars, pods, etc.
I have a 20" light bar and figured it had to stay 20" because of the sensors. Thinking about it, guess there is no reason to not just run a full 40" like you did behind the sensors. Although you had to make your own brackets. Wonder why RC makes the 20" kit but not the 40" kit.
Love it. Did you pull the bumper?No reason, they just hit the EASY button.
Took a bit more measurement to determine fitment before I ordered everything.
My mounting brackets were around $20 including hardware.
The light output of the 40” bar is incredible!
Love it. Did you pull the bumper?
Cool, I pulled the bumper on mine to make it easier to get all those little plastic clips off. Last question, did you just simply put a bracket on each end of it? Is there anything holding up the middle since it is a rather long light?No need, thankfully. That plastic grill part pops out after removing a few plastic clips and nuts. Once that is out, you have full access to the area.
How difficult was the install? Time consuming? Worth it for the light output?
