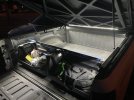
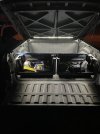
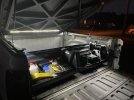
I put two M8 nuts on each*, using Loctite Red on the bottom one so you’d have to use heat to remove it. There’s enough space between the it and the top nut that you can loosen it to make adjustments. The bottom nut is there to prevent the top nut from being removed.
On the sides of the lights, I use M6 security bolts. Neither of these thing will really stop anyone, and it’d be far too easy to simply cut the bracket itself, but hopefully enough to make someone look for another target.
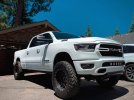
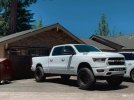
I’m happy with them. The brackets fit well, and the lights (Diode Dynamics SS3 combo) are great. I’ve only had a few occasions to use them (driving forest service roads after dark), but they make a huge difference.
* While taking these pictures, I was reminded that I need to finish the job; I’ve only done this for one of the lights.

I installed all of them wet.


 might be a deal breaker for me, but I already bought everything. Might have to opt for the more ridiculous priced brackets