I suppose I'll add some pictures of my experience here, to include working with Revel Performance and their customer service (in short: FANTASTIC).
I'm a shade tree mechanic. I have the typical harbor freight Pittsburgh mechanic tool set, some nice 18V impacts, an angle driver, and some other nice to have tools that made this job easier than it may be for some.
On to the installation. I started at 3:30pm on a Tuesday, had both air struts out in less than an hour and a half from pulling the car into the garage, and was ready to reinstall. Finished the passenger side, and thennnnnn I got sloppy.
I'll let the pictures do the talking.
 IMG_7722
 by
bfp9, on Flickr
 IMG_7723
 by
bfp9, on Flickr
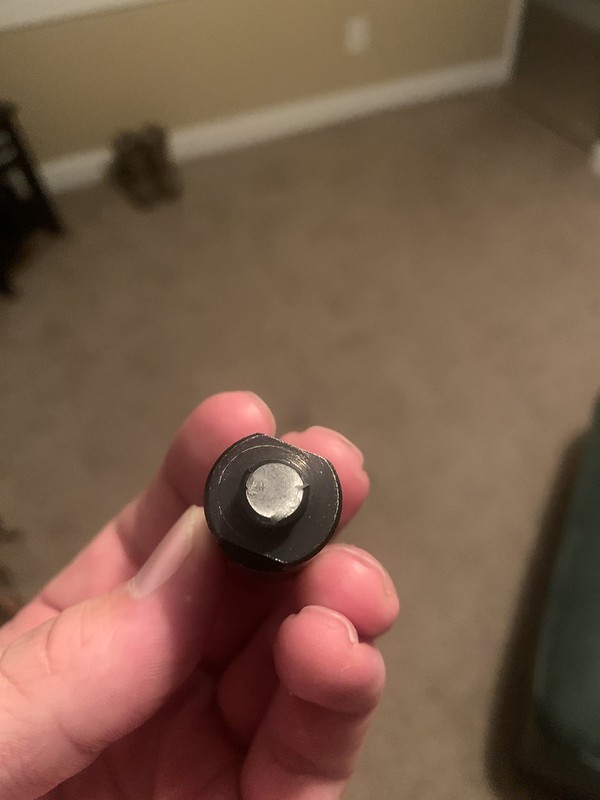
In short - I don't have a good adjustable torque wrench (I have since ordered one) and over torqued the top nuts on the strut and broke the thread extender. This is where Revel Performance came to the rescue. Thankfully I have a second vehicle - I emailed Revel, and in 6 days they had me a brand new one at no cost to me. Fantastic customer service. Cannot recommend them enough.
If you have tools, jack stands, a 3+ton jack, and the desire - after having completed this project once, I could probably do it again in two hours I would guess, maybe a little longer depending.
On to the statistics of the suspension height, link length, and any tips and tricks.
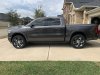
Please keep in mind my Limited is on the stock 20'' wheels with 305/55/20 K02s - so height variances can be attributed to that if yours aren't the same.
STOCK
Entry/Exit
Front 35''
Rear 37.5''
Aero
Front 36.5''
Rear 38.5''
Normal
Front 37.5''
Rear 39''
Offroad 1
Front 38.5''
Rear 40''
Offroad 2
Front 39.5''
Rear 41.5''
AFTER LINK AND SPACER INSTALL
Entry/Exit
Front 36''
Rear 37.5''
Aero
Front 38''
Rear 38.5''
Normal
Front 38.5''
Rear 39''
Offroad 1
Front 39.5''
Rear 40.25''
Offroad 2
Front 40.5''
Rear 40.5''
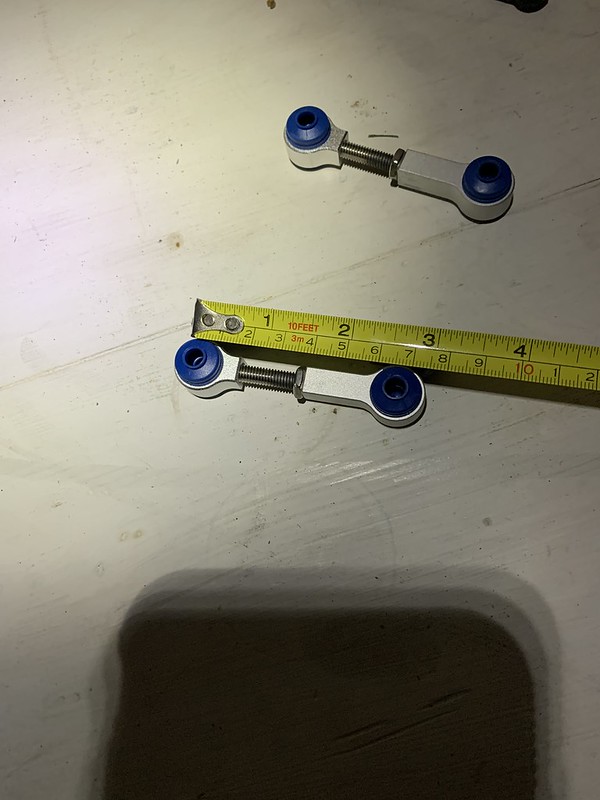
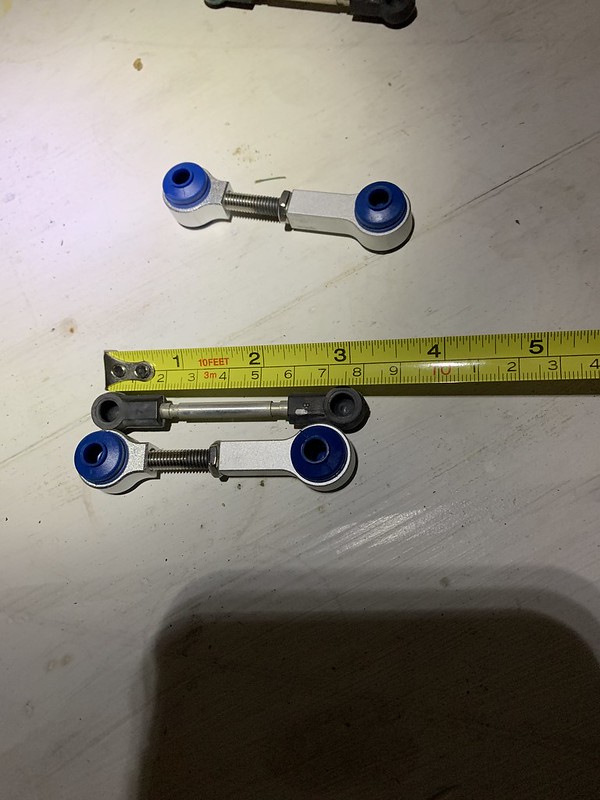
HERE ARE THE PHOTOS OF THE LENGTHS I AM INITIALLY USING FOR THE LINKS UNTIL I GET THEM FINE TUNED. I FIRST AND FOREMOST WANTED TO MAKE SURE EVERYTHING WAS BUTTONED UP PROPERLY, GET THE TRUCK UP TO SPEED, AND LISTEN FOR ANYTHING. I AM GOING TO ADJUST THE LINKS TO GET A FULL LEVEL IN NORMAL MODE.
 IMG_7717
 by
bfp9, on Flickr
 IMG_7716
 by
bfp9, on Flickr
I am doing small gradual changes as I don't want to throw an error in the suspension by adjusting the links too much at any given time. Is that a rational idea? Probably not - but its how I operate so I am going to do that. The heights above are likely solely from the 1ish inch spacer and that's about it. I will come back and post again when I have the truck totally leveled, and I will re-measure the heights then.
Tips/Tricks:
1: A good breaker bar is a must.
2: Nice Ratchet Wrenches - the combination ones with the open end and the racket on the back end - are a game changer for the sway bar links - if you have to use a normal wrench and a socket to hold the end of the spindle, its going to take you a while, and the space is tight.
3: Trimming the studs down on the stock air strut mount - It was said here before, I took the advice and it worked - thread a stock nut onto the strut before you cut the studs down. When you're done with the Dremel and cutting wheel, take a high powered impact, and back that nut off the stock threads and it will make threading the extenders on so much easier.
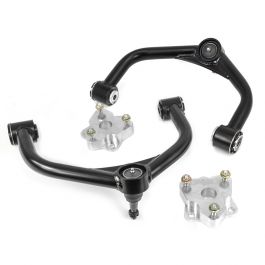
4: I only removed 5 bolts from each side. 2 x upper control arm, 1 sway bar link bolt, the big bolt at the bottom that holds the strut to the lower control arm, and the outer tie rod bolt. I didn't touch the brake calipers. I watched the wheel speed sensor and the brake lines carefully and they were fine without being removed.
If any of you have watched the youtube video that has been linked around the forums of the guy installing this kit on his Rebel, thats basically what I did but I knew I wasn't going to have to touch the Brake components - there was obviously enough slack in the lines on my truck for me to feel comfortable leaving them.
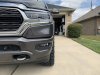
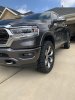
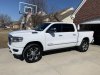
If anyone has any questions or concerns, I'll be happy to answer. It really is a simple process. I have no pops. I have no funky sounds. The ride is still fantastic. The 1-1.5'' lift is noticeable when looking at the truck. I am going to fine tune the links to get a full 2-2.5'' level out of the kit and then I'll take some good pictures of the truck with my nice camera.
-Ben