5thGenRams Forums

Register a free account today to become a member! Once signed in, you'll be able to participate on this site by adding your own topics and posts, as well as connect with other members through your own private inbox!

Adding Passive Entry: How-to

MayhemMOORE

Ram Guru
Joined
Apr 6, 2020
Messages
572
Reaction score
502
Out of curiosity, are the pe door handed actually painted or is the plastic dyed to match the paint? I have an Anvil BTS and like the flat black textured handles. I know if I want to add pe ill have to accept either the gloss black or possibly have them painted flat black. Question would be how to protect the paint long term.


Sent from my iPhone using Tapatalk

I’m not 100%, but I do believe they are painted, similar to the plastic pieces below the headlights.
 

Sako458Lott

Member
Joined
Dec 8, 2020
Messages
24
Reaction score
13
Installed passive entry this weekend on my 3500 Bighorn. Followed MayhemMoore's procedures.
Here are my Lessons Learned -
1. Before completely removing the trim panel you will need to disconnect the window/door lock switch from the door. I found that is easier to unlock the plug by partially removing the switch (4 metal tabs you have to push in). You can than set the trim panel aside. I than fully removed the window switch and plugged it back in so I could align the window locking tabs with the access hole in the window track.
2. I did not need to disconnect any other plugs on the door.
3. Before unplugging the door harness, I found it easier to unfasten the part of the harness attached to the front of the door (also makes it easier to feed the passive entry wire harness through it). Two T20 torx screws need to be removed - I used a 1/4" drive ratchet with T20 bit. This also makes it easier to remove the inner door panel since it needs to be shifted forward to clear the lock mechanism (be careful because it is held to the door panel by flimsy plastic. It does have some flex.

AlfaOBD related
1. Don't use a USB Bluetooth adapter on your computer. AlfaOBD could not communicate with the truck until I changed over to a laptop with an internal Bluetooth.
2. I found that I needed to recycle the ignition after each individual change otherwise some changes were not being made. Don't know if that helped the end result but as soon as I recycled the ignition the last time it only needed about 5 minutes and I had working passive entry.

Hope this helps other HD owners
 

MayhemMOORE

Ram Guru
Joined
Apr 6, 2020
Messages
572
Reaction score
502
Thanks for the input. I will add a note to the how-to post for the HD's.
 

MayhemMOORE

Ram Guru
Joined
Apr 6, 2020
Messages
572
Reaction score
502
Made some updates to the first few posts to include some photos and info provided by additional members. Thank you to everyone who continues to offer additional insight and ways to make this easier for everyone to accomplish.
 

eproulx38

Active Member
Joined
May 1, 2020
Messages
105
Reaction score
61
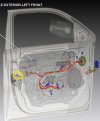
I finally got all my parts delivered so I am starting this project on friday. I am using Jimmy's cables. Just to clarify, the harness that I am adding the two pins into for the front doors is the one that I circled in this diagram? Sorry for the novice question, It will probably be obvious as soon as I actually remove the door panel. For a general idea, how long did the project take everybody?
I think Im trying route 2 and removing the whole assembly with the carrier... no hidden bolts and running the cable looks way easier. Hopefully it will all pull out without too much trouble
 

Attachments

  • ram inner door.jpg
    ram inner door.jpg
    102.4 KB · Views: 96

MayhemMOORE

Ram Guru
Joined
Apr 6, 2020
Messages
572
Reaction score
502
I finally got all my parts delivered so I am starting this project on friday. I am using Jimmy's cables. Just to clarify, the harness that I am adding the two pins into for the front doors is the one that I circled in this diagram? Sorry for the novice question, It will probably be obvious as soon as I actually remove the door panel. For a general idea, how long did the project take everybody?
I think Im trying route 2 and removing the whole assembly with the carrier... no hidden bolts and running the cable looks way easier. Hopefully it will all pull out without too much trouble

You will be adding the pins to the main connector that connects the door to the body. The big blue one on the right side of that photo.
 

eproulx38

Active Member
Joined
May 1, 2020
Messages
105
Reaction score
61
You will be adding the pins to the main connector that connects the door to the body. The big blue one on the right side of that photo.
Thank you Mayhem... glad i asked haha. I really appreciate all the time you have put into creating this thread and updating it!
 

Dodgeramfan

Active Member
Joined
Nov 20, 2020
Messages
34
Reaction score
30
I was originally upset about the missing passive entry on my 2021 Big Horn. Did not realize I used it so much until it was gone (moved from a Silverado with it to a Big Horn without it). Surprisingly, I got over it quickly. I added a slightly raised rubber bumper to my FOB on the unlock button. I simply pass my hand over my pants pocket and press the bumper on the FOB as I approach the truck (sometimes the FOB is hanging from a belt loop on a hook). When exiting the truck, I simply move my hand from the handle for opening the door straight down to the lock button on the door.

Sounds silly, right? Maybe so but I'm not missing the passive entry with my FOB mod. In short, my new habit of locking/unlocking is working for me after 3 weeks.
 

Attachments

  • DSC00783.JPG
    DSC00783.JPG
    64.8 KB · Views: 63

MayhemMOORE

Ram Guru
Joined
Apr 6, 2020
Messages
572
Reaction score
502
Post #7 has been updated with body colored handles for many of the HD colors. If you see one missing, or have numbers for the color and chrome handles please let me know and I will add it.
 

Maintf16

Active Member
Joined
Dec 14, 2020
Messages
48
Reaction score
26
Location
Phoenix AZ
Is there anyone with a 2021 that can take a picture of where the rear harness is that you tap into for the tailgate and also what it exactly looks like. I think it might have changed from 20 to 21.
 

MayhemMOORE

Ram Guru
Joined
Apr 6, 2020
Messages
572
Reaction score
502
Talking with @Maintf16, it looks like they changed the connector design on the '21 trucks for the rear bumper harness. I can confirm that both his and mine are a newer design than what is in the write-up. Once the new terminal pinout is confirmed, I will add the updated info to the how-to.
 
Last edited:

tyromeo55

Active Member
Joined
Oct 18, 2020
Messages
66
Reaction score
27
With the first of the big three upgrades complete (trailer brake controller, PE, 33 gallon) I've ordered all the parts and pieces to install the PE system on my truck that should of included it from the factory by default.

$206.70 Handles inc chrome trim, Caps and antenna
$ 61.82 Wire, TE parts (Mouser)
$ 20.08 Aptiv Terminals (Newark via UK warehouse)
$ 107.75 Yazaki Shell and terminals (Nexus electronics)
$ 30.00 Approx. Misc supplies already on hand

TOTAL $426.35

It cost me a little more then double on the wiring side to DIY in lieu of buying the pre-made assembly from a member here. I am more then capable, love the project and will end up with enough to do the project 10 times over for the added cost and trouble. I will say.... I do think his price is a great value to most anyone else. I sure wouldn't want to mess with it for as cheap as he is asking

Preliminary thoughts / notes....

The Yazaki terminals PN shown on post 8 are listed in the MGF catalog as being for 22ga wire. The PN for ones using 18 AWG wire show to be 7116-4721-02 That is what I ordered.

The rear antenna shell terminals listed are specified from the mfg to allow .14mmto .25mm wire. for 22 AWG the MFG shows the next size in that series to be PN 928999-1 so that is what I ordered. Here is the real kicker.... neither of those two numbers are what is spec'd for that shell by TE. neither is the seal. Maybe an updated PN?? if there are problems with fitment I'll post an update
 

eproulx38

Active Member
Joined
May 1, 2020
Messages
105
Reaction score
61
I completed the install today...everything works perfect. A HUGE THANK YOU to everyone that contributed to this thread and made it possible!!

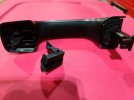
I thought I was out $70 because I managed to get the new handle stuck and it wouldn't come out. I used to much force and snapped a part off from the handle. After inspecting the old one, I disassembled the inner parts out of both and was able to transfer everything using the old frame and the new outer shell...everything looked and functioned exactly like the new one did. Crisis averted!!
I chose to remove the whole assembly (2nd option) and I didn't have the handle cap frame positioned correctly on reinstall so I think that is what caused the handle to jam. Other than this , removing the entire assembly made routing the cable so easy.. and I didn't have to worry about any hidden bolts. Install time on the 2nd door took me 1/3 the time and went way smoother haha. Thanks again!
 

Maintf16

Active Member
Joined
Dec 14, 2020
Messages
48
Reaction score
26
Location
Phoenix AZ
Did you take any pictures of the install as you did it? I feel the more pictures posted the better it will be for everyone else.
 

eproulx38

Active Member
Joined
May 1, 2020
Messages
105
Reaction score
61
Did you take any pictures of the install as you did it? I feel the more pictures posted the better it will be for everyone else.
Sorry, I should have... but did not. Was working in my unheated garage and it was 28 degrees out today. I did not want to slow the project any more than I had to! Only took one to document my dumb decision when the door handle was stuck. Dont do this haha ----->
 

Attachments

  • 20210108_164955.jpg
    20210108_164955.jpg
    86.6 KB · Views: 85

MayhemMOORE

Ram Guru
Joined
Apr 6, 2020
Messages
572
Reaction score
502
Sorry, I should have... but did not. Was working in my unheated garage and it was 28 degrees out today. I did not want to slow the project any more than I had to! Only took one to document my dumb decision when the door handle was stuck. Dont do this haha ----->
Lesson learned, lol. Glad you were able to salvage it by using the old handle.
 

kristof

Member
Joined
Aug 25, 2020
Messages
20
Reaction score
5
I did the installation on my 2020 2500 tradesman last night. Everything went smooth except one screw up with wire. I put it in the wrong spot but after working on 4 doors it was quick fix. If I will do it again I will definitely get a 5mm socket wrench to remove the speaker screws. I could only find a small 5mm wrench in my garage and it took some time to remove and install them. Thank You guys for the posted instructions and thanks to Jimmy for his help.
 

Luis1275

Active Member
Joined
Dec 21, 2020
Messages
38
Reaction score
4
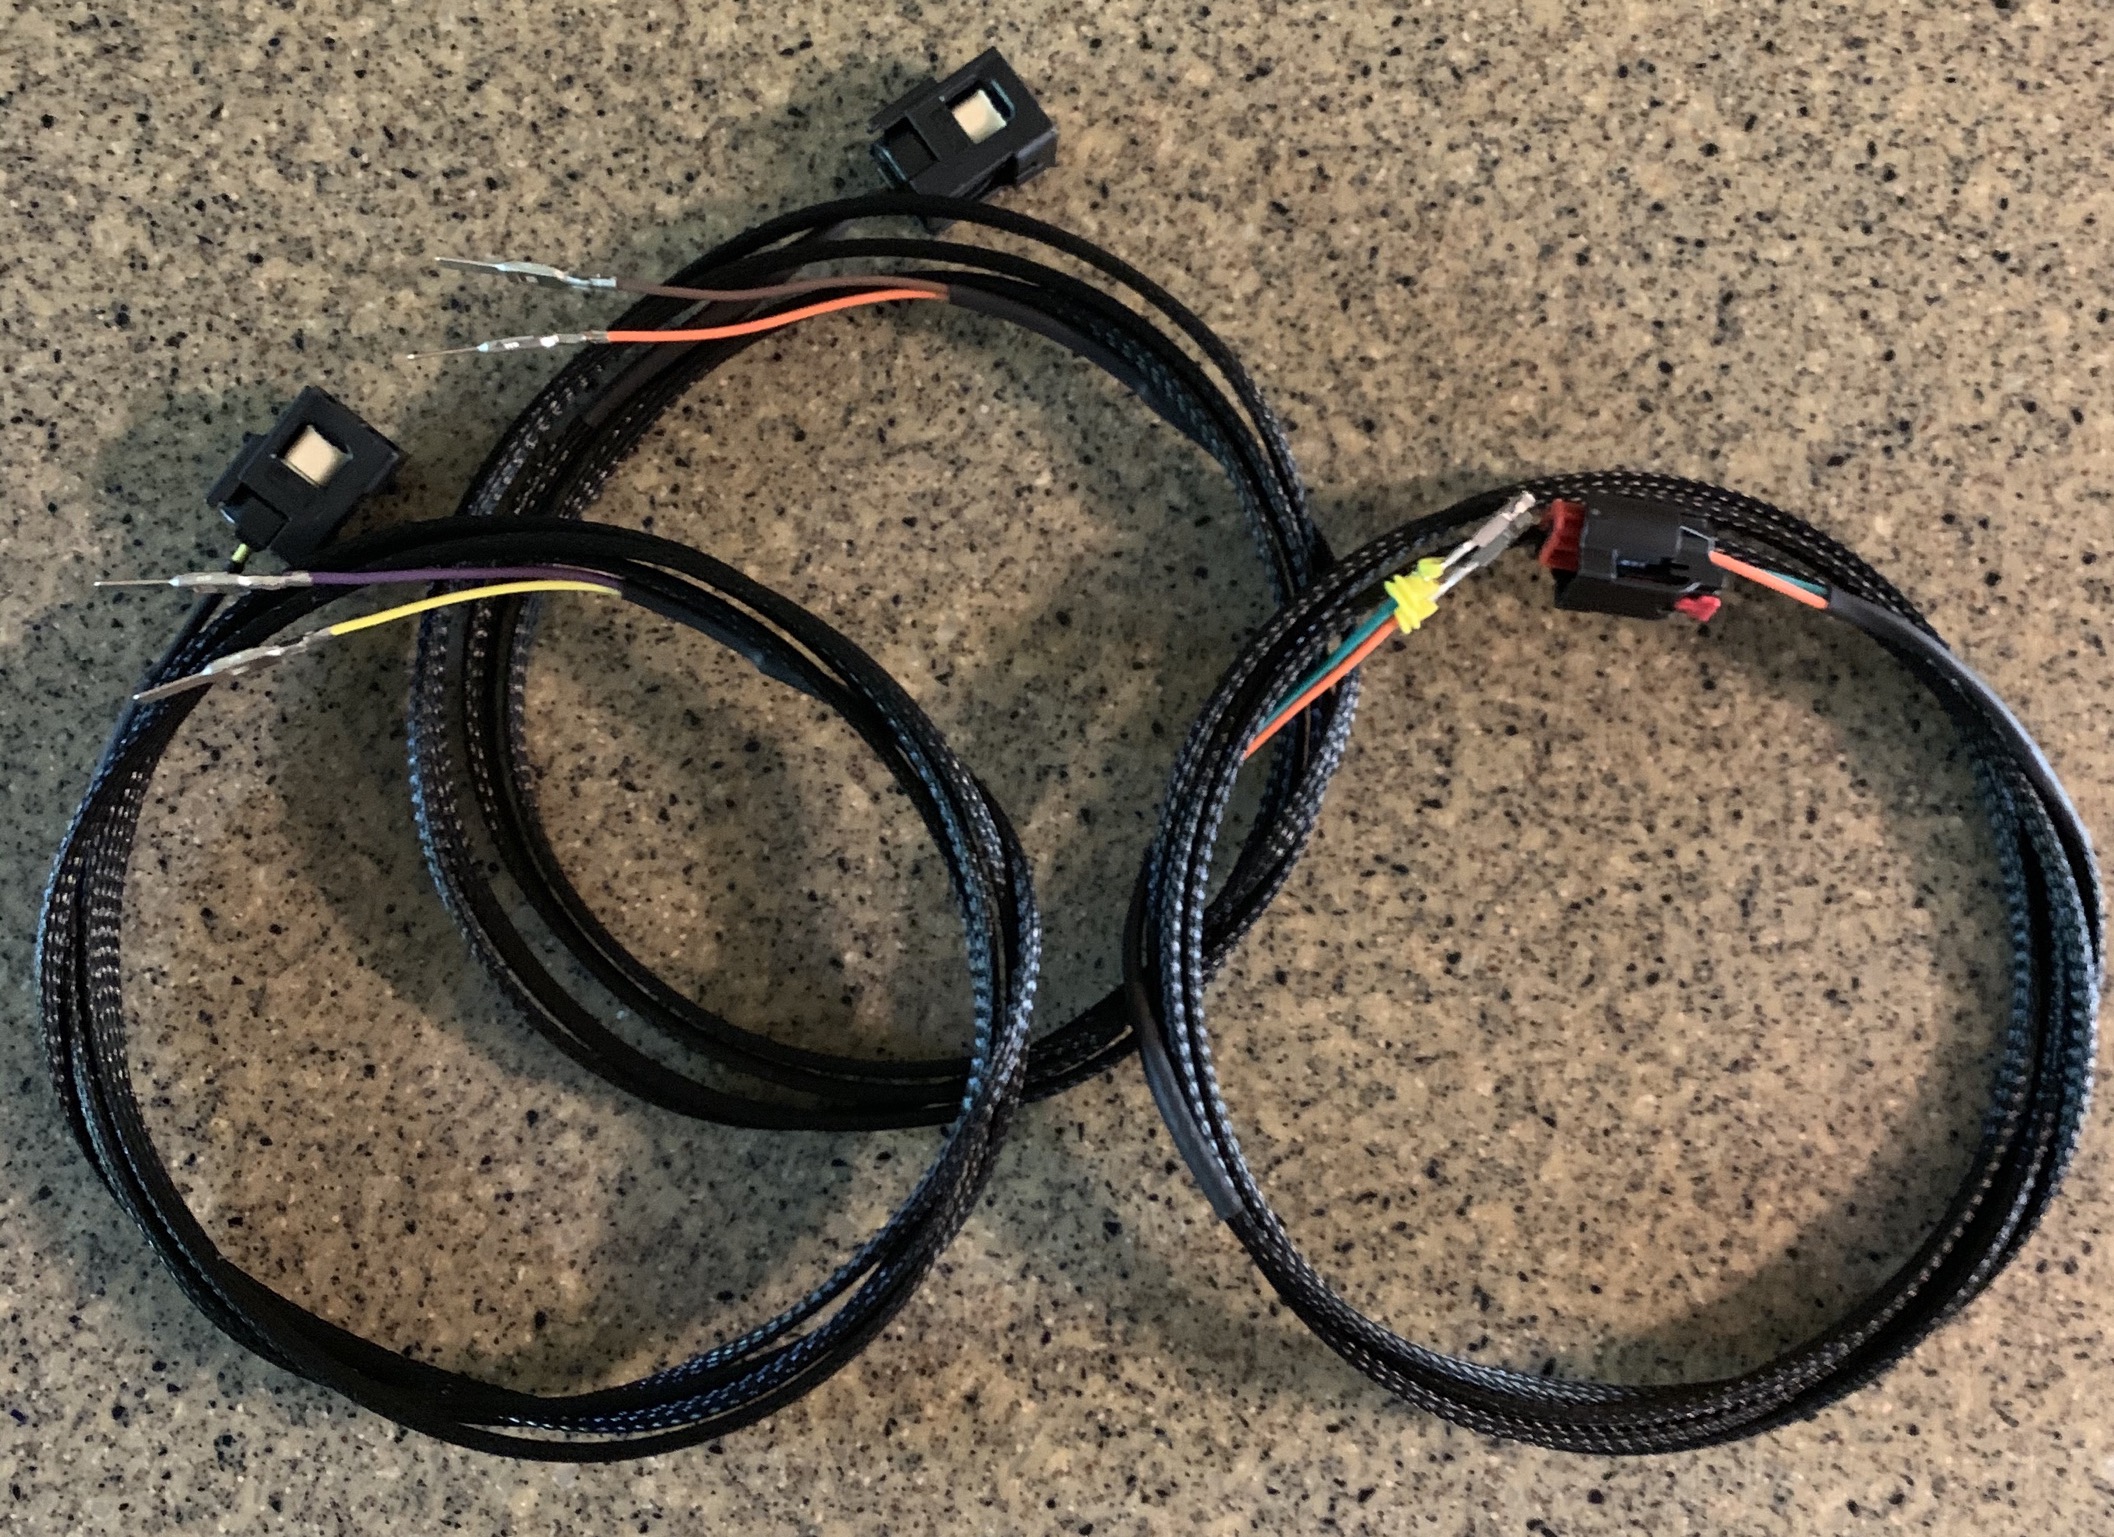
If anybody doesn’t want to spend the money for the entire door harnesses and rear facia harness, and doesn’t feel like building the add on harnesses with the parts, let me know and I can build them for you-
Ybotwhi.jpg
Hey Jimmy how much??
 

Rgeiser

New Member
Joined
Jan 6, 2021
Messages
3
Reaction score
0
Talking with @Maintf16, it looks like they changed the connector design on the '21 trucks for the rear bumper harness. I can confirm that both his and mine are a newer design than what is in the write-up. Once the new terminal pinout is confirmed, I will add the updated info to the how-to.
So just confirming - as of right now, Jimmys harness will not currently work with 21 models?
 

Users who are viewing this thread

Top