Night Rebel
Well-Known Member
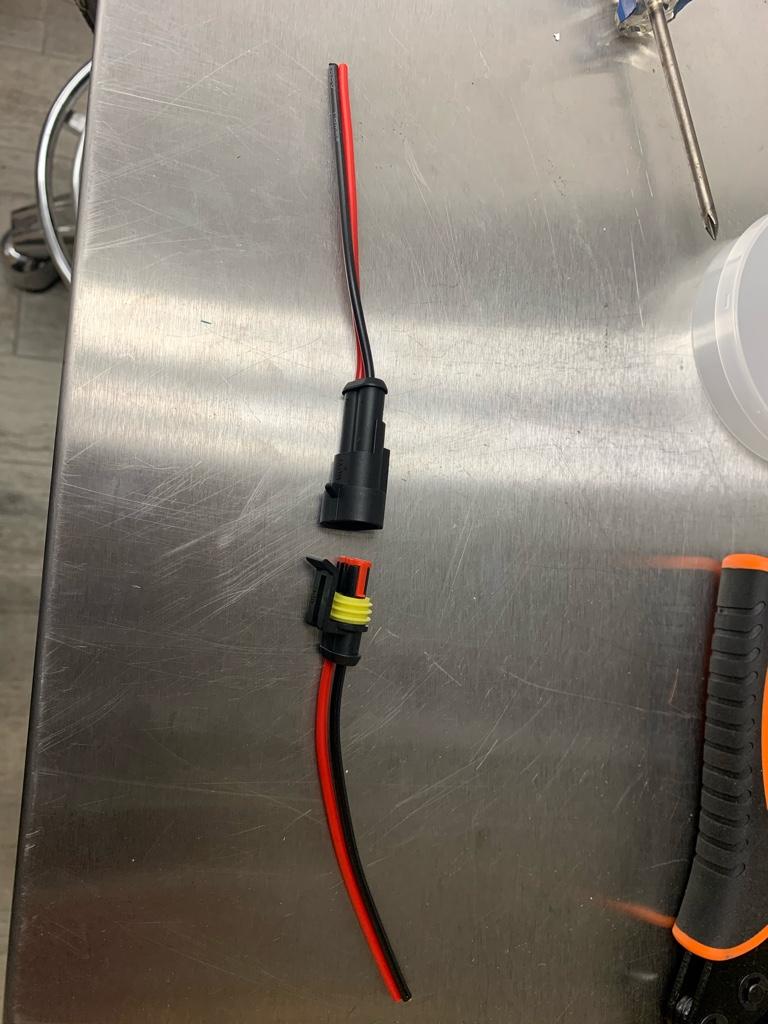
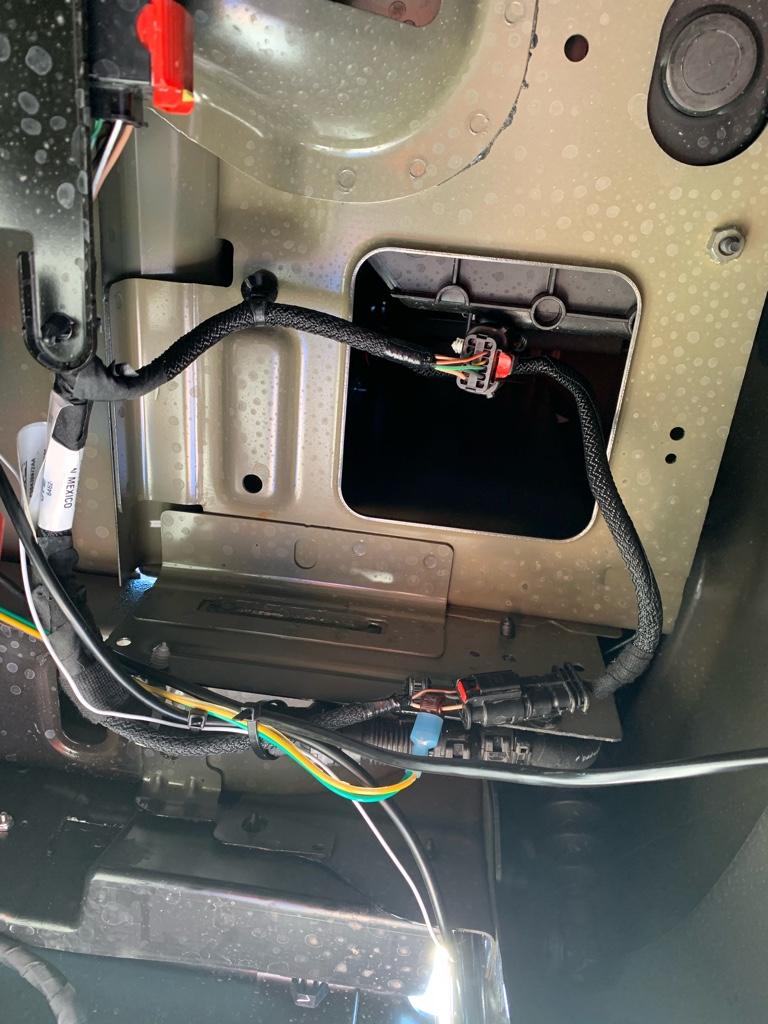
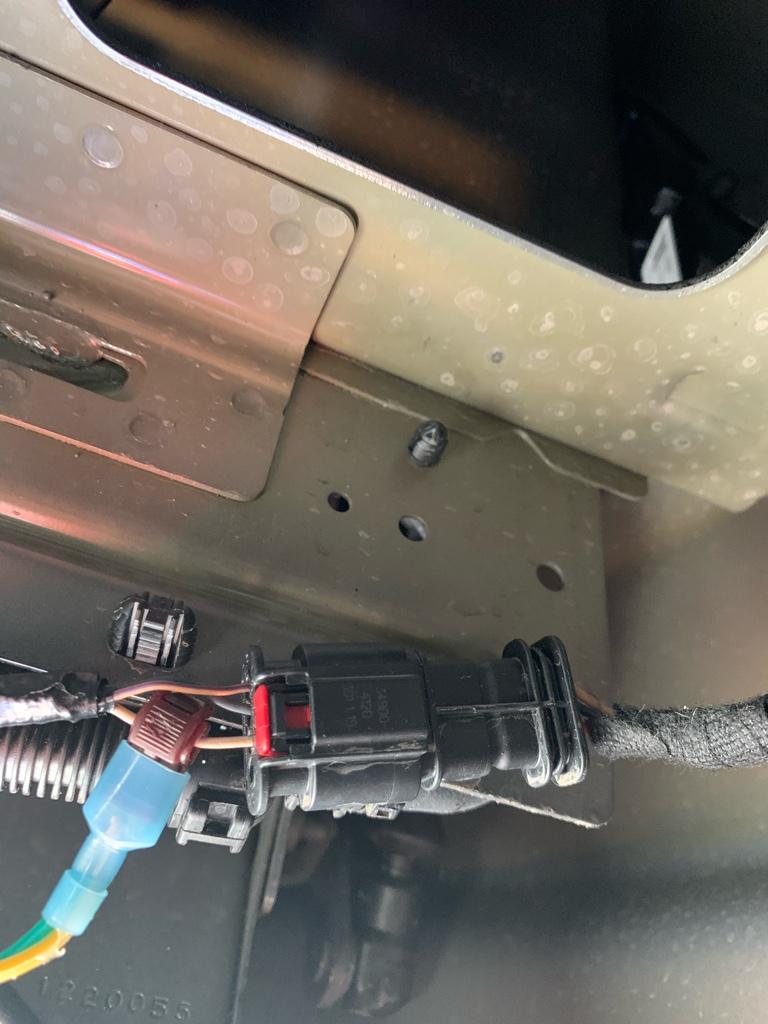
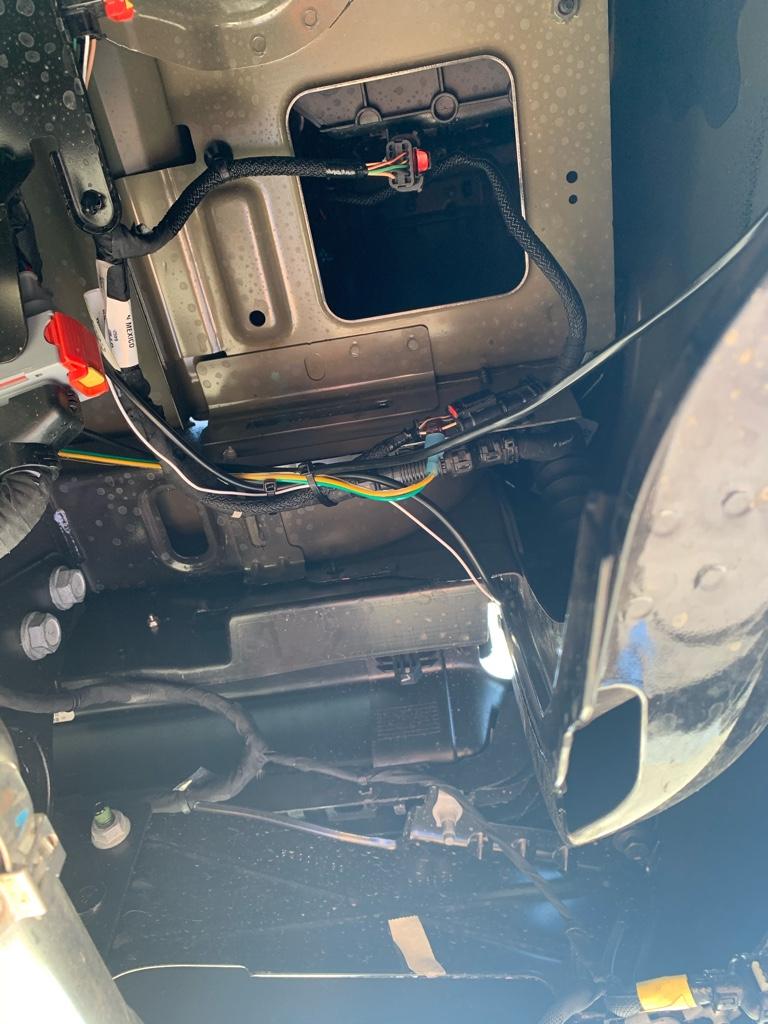
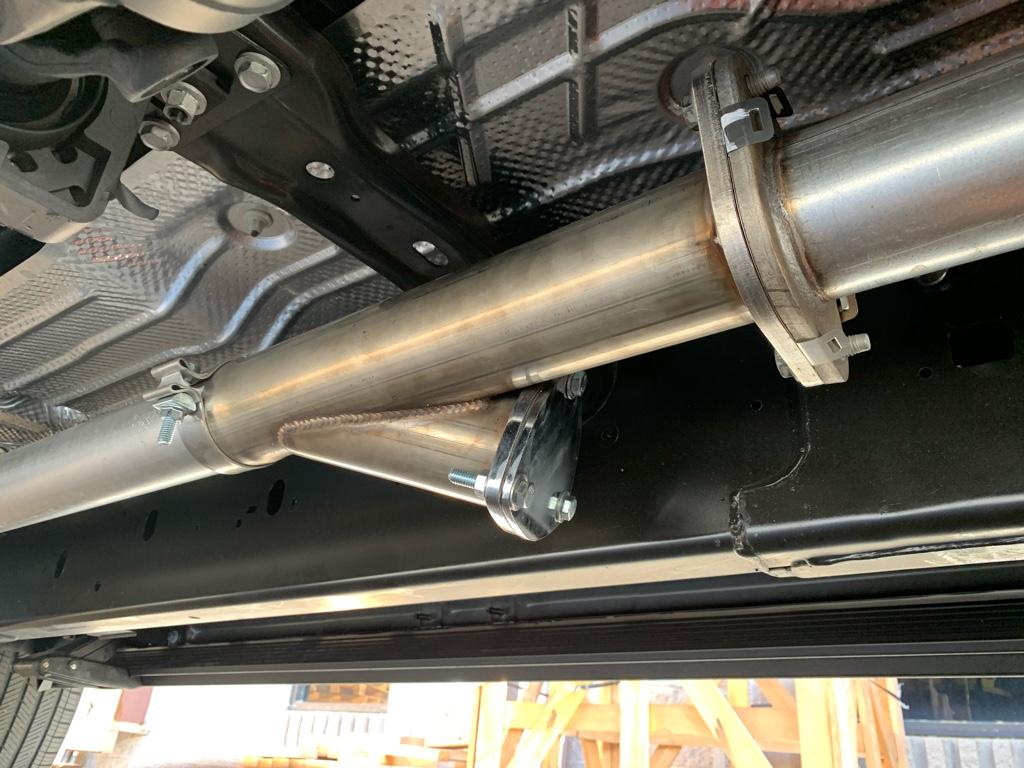
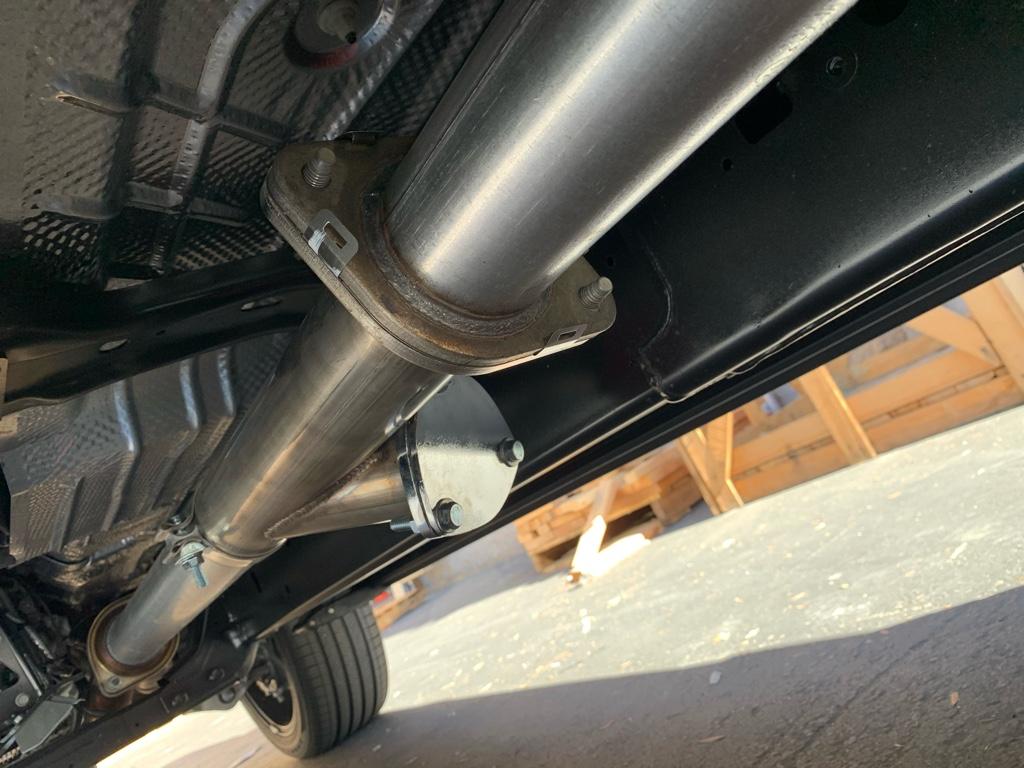
That looks awesome. Might have to do this one.Added the Mishimoto oil catch can today. We shall see how it does.
Had an oil catch can on one of my previous turbocharged cars and it did catch some blow-by.
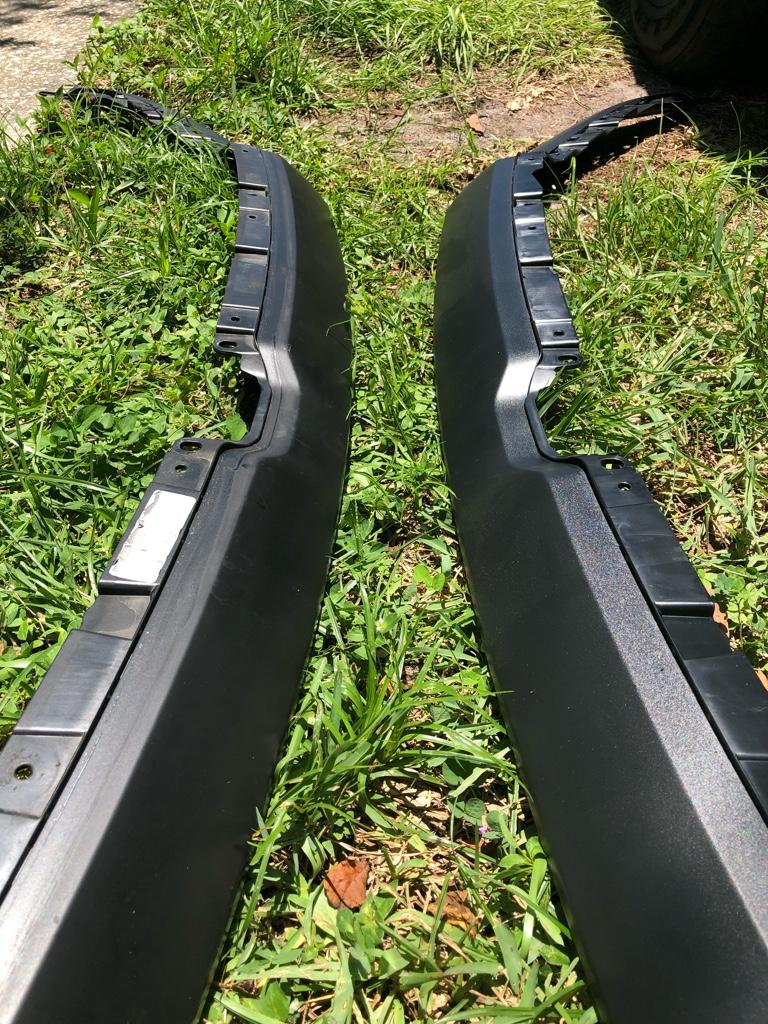
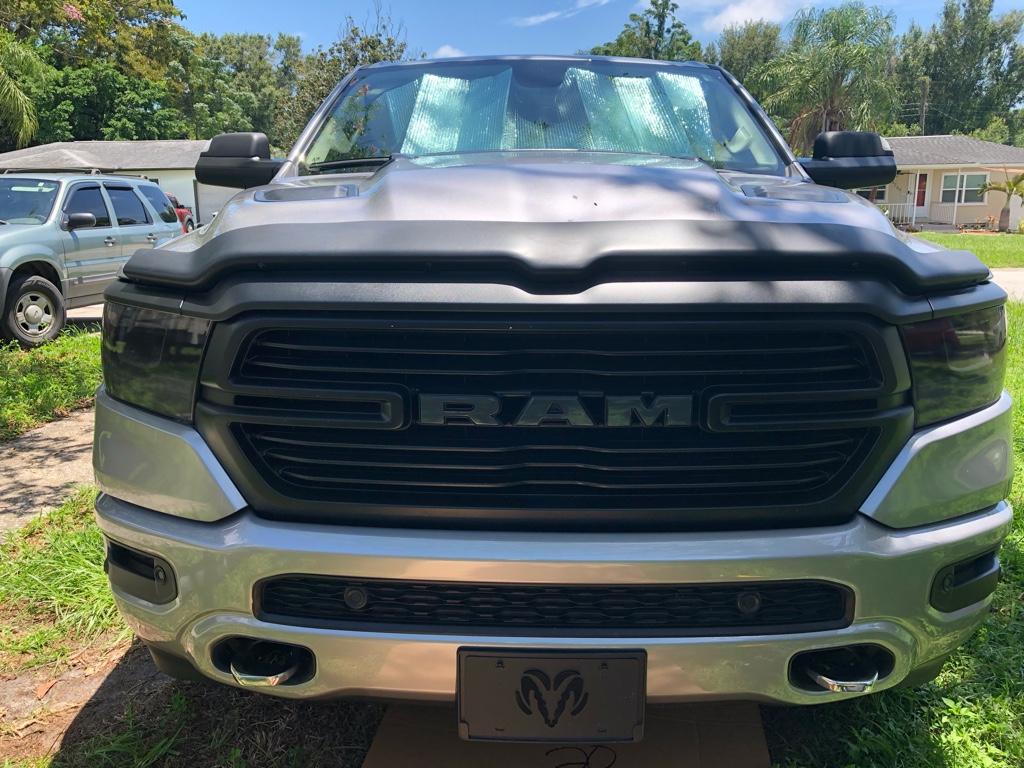
Install was quick and looks really clean
View attachment 63894View attachment 63895