5thGenRams Forums

Register a free account today to become a member! Once signed in, you'll be able to participate on this site by adding your own topics and posts, as well as connect with other members through your own private inbox!

What did you do to your Ram today???

Took some kind of tire lock off my spare tire. Don't know if it was factory or not, but it was there when I bought my ram new with 11 miles on it.
2019 Rebel, mine came with a lock on it also.. He--, I figured they all did...
Nope.

I had one on my last truck as spare tires and tailgates (non-locking) are hot items to take around here. Both only take a short amount of time to remove and drive away with.

Protection group was the one option I didn’t pick. Any DIY-ers have this option and do their own maintenance? I didn’t want to unbolt 50 screws just do do the transfer case / oil change and other maintenance items.

Hmm... Something to think about.
The ORG was a 'must-have' on my list.

It's only 4 bolts to drop the front plate to change the oil filter. Many don't even do that but it makes for easier access and I can make sure that I don't get any oil on the plate that might drip later.

The oil pan drain bolt is clear of any plates so no need to remove any bolts/screws for that.

I'm not sure about the transfer case as that is an infrequent item but any extra effort that it takes because of the skid plates is worth it to me. Even if I didn't off-road I would still have at least gotten the Protection Group for any possible road debris.
 
Last edited:
Looks great what was your cpmoound and paint correction proccess
Thanks! I am overall pretty happy with it.

1. Wash and then dry with detail spray
2. Clay the paint, as mine had so much chemical overspray of sorts
3. Buffed using an orbital buffer at about a speed 4-5 with a microfiber cutting pad(this is a game changer) using Meguiars Ultimate compound.
4. Then I used Chemical Guys Hydro Slic Ceramic. You can use any was/ceramic of your choice.
5. Cleaned up any missed spots with detail spray.

One note, I always error on the side of less is more when correcting paint. The process of correcting the paint is going to thin the paint/clear coat especially if that has been done multiple times. So I did not go for absolute protection, there are still a few little scratched here and there, but this is my daily driver and it sits outside all year, so I know it will never be perfect and I am ok with that :) My goal was to make the paint last longer and make future washes much easier.
 
If you don't mind, I have some questions!
  • How old is your truck?
  • Is this the first time you did any correction?
  • How were you washing it before?
  • Were there areas you DIDN'T touch? Like, inside the door surrounds, around the grill and headlights, difficult places to isolate around plastic emblems or trim or door handles...
  • How long did it take?
I'm growing courage to do this myself. My truck is new, only rinsed it a couple times with the power wand at the car wash (no automated or brushes), so I'm guessing most of the paint is unmolested still. I can't get myself to spend thousands more for this service, before I make my first payment on this already very expensive truck (and I'm still getting my mods together!).

What I've seen so far in paint correction videos, it isn't 100% necessary to do this immediately. Although I know that Security Guy loves to get his PPF immediately. That's looking like $1800 for all the front, fenders, and lower edges.


So my truck is a 2020.

This is the first time that I have done a paint correction.

So I am bit lazy when washing my cars/trucks, as my time is rather limited. We have an automated car wash down the street that I used, it is touchless and it only costs like $8 and I live in CA and there are only certain days that you can wash your car in the driveway(water conservation) So once I run through, I will dry using microfiber towels and detail spray(I like the Chemical Guys line of products)

So the only area that I did not focus on was the very lower body panels. I ran out of time and we don't get road salt or even much rain, so for my cars this the cleanest area of the vehicle :D I did tape off some areas, but if you take your time and don't use a lot of compound, it really won't get over everything. Since I used the Hydro Slick, that can go on all surfaces and does not leave a residue.

It took me about 2 days, but I have 3 small kids, so life is rather busy;) but even a novice can do this in about a days work.

Here is the process I used:

1. Wash and then dry with detail spray
2. Clay the paint, as mine had so much chemical overspray of sorts
3. Buffed using an orbital buffer at about a speed 4-5 with a microfiber cutting pad(this is a game changer) using Meguiars Ultimate compound.
4. Then I used Chemical Guys Hydro Slic Ceramic. You can use any was/ceramic of your choice.
5. Cleaned up any missed spots with detail spray.

One note, I always error on the side of less is more when correcting paint. The process of correcting the paint is going to thin the paint/clear coat especially if that has been done multiple times. So I did not go for absolute protection, there are still a few little scratched here and there, but this is my daily driver and it sits outside all year, so I know it will never be perfect and I am ok with that :) My goal was to make the paint last longer and make future washes much easier.
 
Nope.

I had one on my last truck as spare tires and tailgates (non-locking) are hot items to take around here. Both only take a short amount of time to remove and drive away with.


The ORG was a 'must-have' on my list.

It's only 4 bolts to drop the front plate to change the oil filter. Many don't even do that but it makes for easier access and I can make sure that I don't get any oil on the plate that might drip later.

The oil pan drain bolt is clear of any plates so no need to remove any for that.

I'm not sure about the transfer case as that is an infrequent item but any extra effort that it takes because of the skid plates is worth it to me. Even if I didn't off-road I would still have at least gotten the Protection Group for any possible road debris.

Very helpful thank you. I invested in a complicated skid plate / crash bar setup on my dirt bike that requires oil & trans oil changes every 30 hours and I wish I had stuck the plastic OEM that came on it that was 2 quick release screws :P

I don't plan on off-roading the limited but even simple road hazards happen up here in northern New Hampshire that I know it'd come in handy. The price is nothing compared to some of the other groups. I think that tailgate is over priced but I'm getting one anyway.
 
I think they ship from the factory with the locks depending on the destination. I saw a carrier load of new trucks in Western MA headed east toward boston, every Truck had a lock on it. One of my local dealers has a hook in their shop that must have about 100 of these, I asked what they did with them told me "just hang 'em up" then asked me how many I wanted. I took one just to lock mountain bikes up when they are in the bed, the lock and cable now live in the RamBin.
 
Did the cupholder and console liners everywhere in the truck. I have had them in other trucks and it just makes it a little easier when cleaning. I just pull them out and dip them in bucket of soap and wash them off or wipe them down. My other trucks I just did the solid black, but the red seems to match the Rebel interior (sort of). The kit comes with like 30 pieces. Some items were made to fit the Limited/Longhorn that did not fit. Amazon of course...
View attachment 83782View attachment 83783View attachment 83784View attachment 83785View attachment 83786
Where did you get the dividers for under the arm rest in the first pic? My stuff is a jumbled up mess in there. 😂
 
Where did you get the dividers for under the arm rest in the first pic? My stuff is a jumbled up mess in there. 😂
 
Gave her a bath, and added some jam handles I seen someone post on here. Works out great!! Also added a hitch cover that lights up.

A8159E37-4F30-4A84-838A-2236E68F862D.jpeg
 

Attachments

  • 0E64768A-02C6-49EB-95BD-722BF192DE8C.jpeg
    0E64768A-02C6-49EB-95BD-722BF192DE8C.jpeg
    162.3 KB · Views: 207
  • F5B99573-729E-4F63-BB55-4E95EAA80745.jpeg
    F5B99573-729E-4F63-BB55-4E95EAA80745.jpeg
    268.6 KB · Views: 204
Got the clazzio covers on today. About 3 hr install.
Still pretty cold here, going to wait for the weekend to take my steamer to any wrinkles for a final fit.
 

Attachments

  • E8212F97-A209-4542-9002-2B00CCC5EEB1.jpeg
    E8212F97-A209-4542-9002-2B00CCC5EEB1.jpeg
    103.2 KB · Views: 200
  • 2124A904-32FE-40A0-8074-60C4D897F3A5.jpeg
    2124A904-32FE-40A0-8074-60C4D897F3A5.jpeg
    101.5 KB · Views: 204
What color tint did you decide on since there are several options?

Wow, get this, I got a request for a review of the Luxe tint strips for my truck. I left a good review but, I explained that I had trouble installing and gave up. Well, Luxe just emailed me wanting to send me another kit, free of charge, only that I pay $5 for shipping. That’s good customer service there!!


Sent from my iPhone using Tapatalk
That’s excellent customer service!!
 
Found this one, so took a shot and ordered it.
 
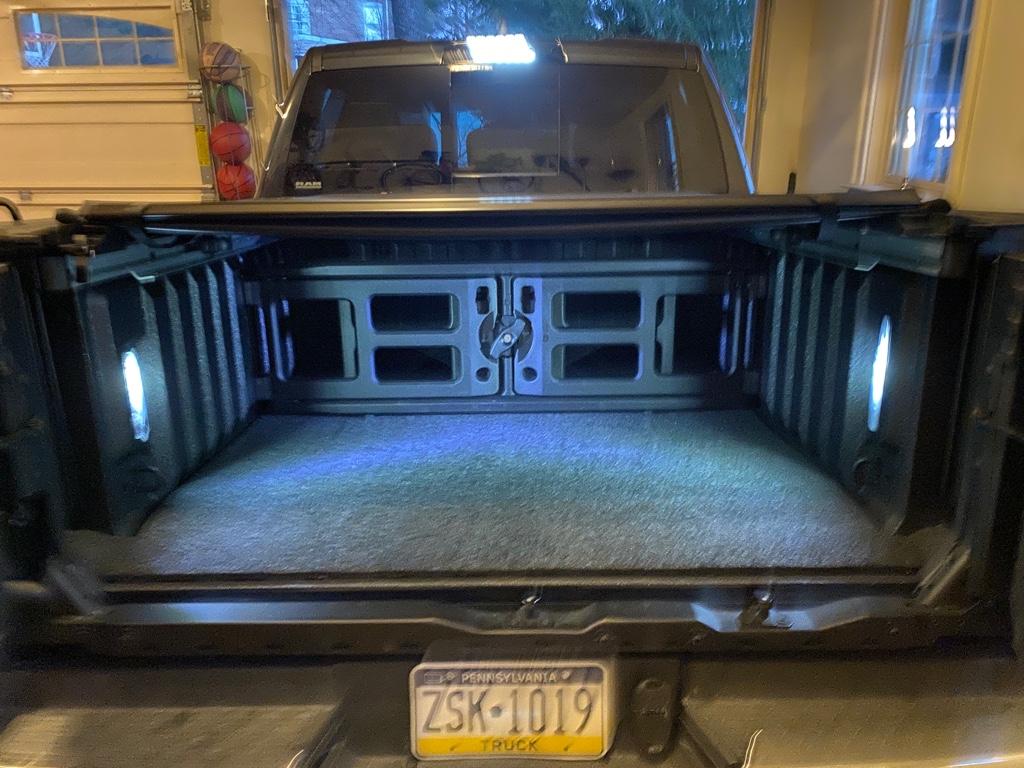
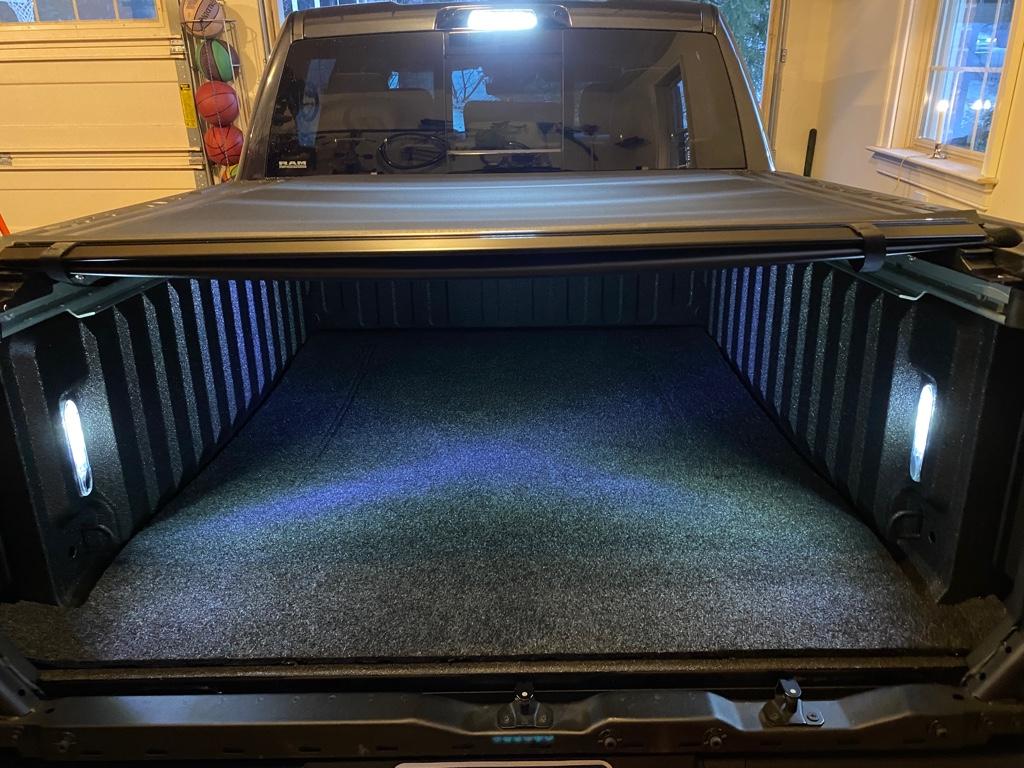
Added a bedrug. I’ll let it settle a bit before I install the Velcro strips. So far I like it and was surprised by how light it is. It’s the 4th gen Rambox size buts fits perfectly for 5th gen.

ffc785778efc38bf4448cb6ee6f2f3e5.jpg


3f2f7847788af2d1f523140107f16c4e.jpg


‘21 1500 Ltd, Max Steel / Indigo Frost
 
Got my xpr license plate light in today, install this weekend. Also pulling the go rhino running boards this weekend to sell them to a local RAM owner.
 
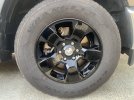
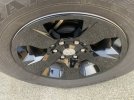
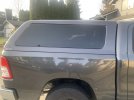
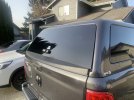
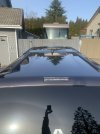
So couple things done recently. Debadged, black hood,and tailgate emblems. Next was the ARE Z2 shell I picked up for a deal off Craigslist’s with the bed rug, Still need to wire up the camper shell but don’t know if I want to run the wiring all the way to the driver door so lock unlock works with the truck doors or just wire up for the brake light and interior light. Last is some black wheel covers off eBay for $100. Can’t justify the upgrade to black wheels yet so these will hold me over till then. You can see some silver on the outside still so I think I’ll try to plasti dip the edges of the wheels.
 

Attachments

  • 4EA9D3C7-769F-4140-9B80-3833926C9E0B.jpeg
    4EA9D3C7-769F-4140-9B80-3833926C9E0B.jpeg
    205.8 KB · Views: 177
  • FD3BC3CF-F50F-4D8E-8246-8006B2062524.jpeg
    FD3BC3CF-F50F-4D8E-8246-8006B2062524.jpeg
    185.3 KB · Views: 173
  • C0E45B17-7F3C-42F6-B5FB-7AE83E8FFC39.jpeg
    C0E45B17-7F3C-42F6-B5FB-7AE83E8FFC39.jpeg
    167.4 KB · Views: 164
  • 9E72D026-ABEF-48F5-9717-BC1A7B17F1D4.jpeg
    9E72D026-ABEF-48F5-9717-BC1A7B17F1D4.jpeg
    111.5 KB · Views: 163
  • E3AA8F19-DD2A-47B1-90DD-44E508BFF6FB.jpeg
    E3AA8F19-DD2A-47B1-90DD-44E508BFF6FB.jpeg
    155.2 KB · Views: 166
  • 8ED6C47F-31FE-4114-B445-83E263579C60.jpeg
    8ED6C47F-31FE-4114-B445-83E263579C60.jpeg
    118.2 KB · Views: 164
  • CCCDDF30-3CA0-4BB9-AC03-547865301D2A.jpeg
    CCCDDF30-3CA0-4BB9-AC03-547865301D2A.jpeg
    152.3 KB · Views: 177

Users who are viewing this thread

Members online

Back
Top