5thGenRams Forums
You are using an out of date browser. It may not display this or other websites correctly.
You should upgrade or use an alternative browser.
You should upgrade or use an alternative browser.
What did you do to your Ram today???
- Thread starter 19BlkRam
- Start date
I wouldn't put much in the bins without the liner in. They don't look all that strong. You can put ice and pop, or other drinks in the bins also. They keep it cold a long time.
Sent from my SM-G965U using Tapatalk
Sent from my SM-G965U using Tapatalk
Thr33BlindMice
Active Member
I learn new things about my ram constantly. Last week, I found out that the backseat floor storage containers came out.
So I wondered if I could put them in the bed of the truck to gain a little more storage. I have a bakflip tonneau cover that uses clamps to frame it in. I looked into buying an extra set of clamps and perhaps cutting into the bins in a way that would allow the clamps to hold the bins up. On the bakindustries website, they sold a set of 2 clamps (which was all I needed) for $14. They came in silver so I moved the silver ones to the back of the bed and used the black ones for my project. Drilled a couple small holes in the bottom in case rain gets in and here is the finished result.
I’m extremely happy with it and they’re being used to store my recovery gear. $14 for some jerryrigged ram boxes! Probably don’t even need to get extra clamps but I thought having more to hold the frame down would be nice. I’m not very handy at all but I thought I’d share cuz maybe someone who is handy could use this method for other possibilities. On the website, I also found clips and a rod for about $9. So I tried this:
I’m going to flirt with the idea of using this to put grocery bags on this so they don’t roll around. Its a bit high off the bed and if it doesn’t work, I’ll just put up the other box.
Cool rig... check out my poor man version... https://5thgenrams.com/community/threads/what-did-you-do-to-your-ram-today.1686/post-295881
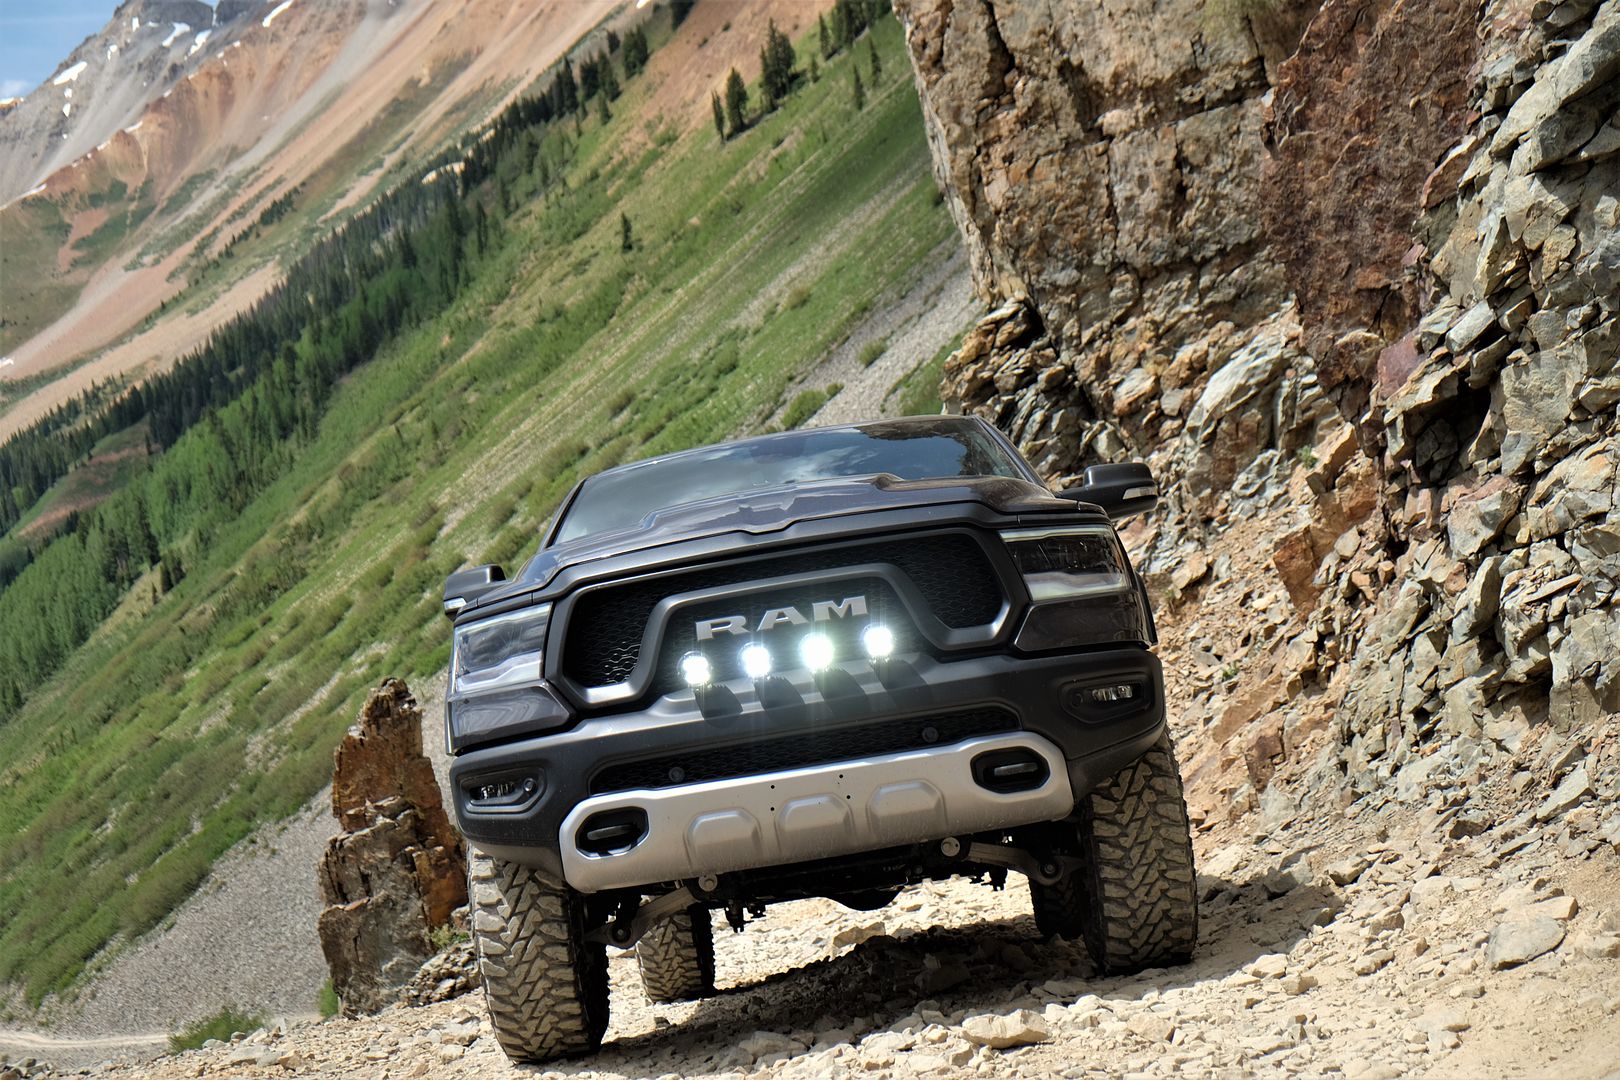
Great photo. Great looking Ram. Who's behind the wheel, or should I ask, who did you make get out and take that photo on such an incline?
Desert Dawg
Well-Known Member
Great photo. Great looking Ram. Who's behind the wheel, or should I ask, who did you make get out and take that photo on such an incline?
lol...thanks! That would be me, myself, and I!
TheMopars
Active Member
I've found the color matched ones for my Laramie online for about $25 each plus shipping.Ahh bummer and thanks. I figure even from the dealer they can’t be all that expensive. Or I could wrap mine in vinyl too. Your Truck looks great by the way!
Cecil H
Active Member
- Joined
- Aug 17, 2019
- Messages
- 31
- Reaction score
- 52
- Points
- 18
- Age
- 44
Looks awesome!!!Installed painted mirror covers. Took my time with a flathead screwdriver and didn't break either mirror!
Crappie330
Member
- Joined
- Feb 4, 2020
- Messages
- 24
- Reaction score
- 19
- Points
- 8
- Age
- 46
I am looking at reducing my rake a little and was wondering if the 1/2 spacer gave you a true 1/2 inch and could you notice a difference in appearance much without and with the spacer? ThanksI fixed my RC 2" strut leveling kit disaster.
Last weekend I had a disaster after spending 7 hours changing OEM struts to RC 2" leveling struts only to find out that my front was raised 3" and not 2" as desired. Contacted RC and started a return. In the mean time bought 1/2 inch wulf strut spacer and installed it instead to get some results and not to have wasted my time completely. This time it took only 3.5 hours to redo everything. On a positive note, I gained lots of experience working on suspension components.
This is picture with RC 2" leveling struts
View attachment 42350
This picture with wulf 1/2 inch spacer
View attachment 42351
JeremyFOwens
Active Member
- Joined
- Apr 16, 2020
- Messages
- 25
- Reaction score
- 16
- Points
- 3
- Age
- 42
What did that run you?
After using a military discount it was $247
Jhill
Ram Guru
Here is my similar Rebel.....Fuel 18" with factory Duratrac tires (air suspension in entry/exit mode first pic)2 inch level with upper control arms
So happy with the look and drives like the factory set up
Now I need to win the lottery so I can buy wheels and tires View attachment 59120View attachment 59121


Last edited:
roshang98
Active Member
Needed a change . Grill tapes

Sent from my iPhone using Tapatalk

Sent from my iPhone using Tapatalk
Did some outside detailing today.
Tried the new Turtle Wax Seal and Shine. Pan on youtube really liked it and it seemed to test very well. Gonna see how it compares to CarPro reload that has been on it since purchase 8 months ago with two applications over those 8 months. For fun I put some Chemical Guys cherry wax on the hood to see if it added gloss.
Just wanted to add it has rained every day since this post including the same day.
Water beads and slides like it should.
Crappie330
Member
- Joined
- Feb 4, 2020
- Messages
- 24
- Reaction score
- 19
- Points
- 8
- Age
- 46
flipback23
Member
As of yesterday and last week Ive added steps, bed liner coating, decked storage system, rear seat storage and my new rack. Just waiting for my lights to arrive to mount to rack.
Attachments
-
 28D00B19-6E06-4B97-97D7-E6BE3DA75EA3.jpeg155.5 KB · Views: 236
 -
 9CD31ED0-8402-43BB-862B-DD7C0A0B2BB0.jpeg84.5 KB · Views: 255
 -
 4798B8BA-0A00-4509-BBB2-7A01EAD843DF.jpeg142 KB · Views: 258
 -
 F278AF3E-A961-45CB-A4DA-334783BDA428.jpeg138.3 KB · Views: 260
 -
 C445A858-AB1D-4687-A64D-283C90F81DE6.jpeg177.1 KB · Views: 258
 -
 58D18E8B-5C47-4018-AF20-46B67BA7FA03.jpeg175.2 KB · Views: 250
 -
 AF8E3679-CF72-40B2-80D5-F071DE4927C0.jpeg116.8 KB · Views: 245
 -
 6F1A3E4A-1D66-487C-AB98-631B26EE8F18.jpeg149.3 KB · Views: 241
 -
 EEA9EBAD-FECE-4EB5-855C-C4A95F3F8D41.jpeg133.2 KB · Views: 229
Lize
Well-Known Member
The decked storage looks great, I always wonder about something like that and end up with a load of chaos under a cover instead.As of yesterday and last week Ive added steps, bed liner coating, decked storage system, rear seat storage and my new rack. Just waiting for my lights to arrive to mount to rack.
Tex_Ram
Active Member
Isn't F60 the ECM/ PCM Fuse? I'm looking for an ignition powered fuse under the hood but I don't like the idea of piggy backing off of something important like that lol.I added my LED DRLs and I used a Micro II fuse tap and used F60 under the hood. My lights activate with the ignition and turn off on a delay like the headlights. There are small square openings on the bottom of each side of the active shutter, so I ran my wires through there and then just played the zip tie game all the way to the fuse box.
SilverNight2020
Well-Known Member
It is, but if you use a fuse tap to properly hook it up, you will blow the lesser strength fuse going to your added equipment before blowing your ECM/PCM fuse. I don't have much electrical experience, but from what I have learned from watching many car audio type videos, it is safe to do with a fuse tap. I have personally had no issues, but it is fully reversible in seconds if I were to have any issues. Also there is an onboard replacement fuse should it blow while I am in transit somewhere.Isn't F60 the ECM/ PCM Fuse? I'm looking for an ignition powered fuse under the hood but I don't like the idea of piggy backing off of something important like that lol.
shrubs2000
Active Member
Users who are viewing this thread
Total: 8 (members: 0, guests: 8)


