Burns1200
Active Member
Thanks! They're Fast HD MenaceWhat rims are those look great!
Thanks! They're Fast HD MenaceWhat rims are those look great!
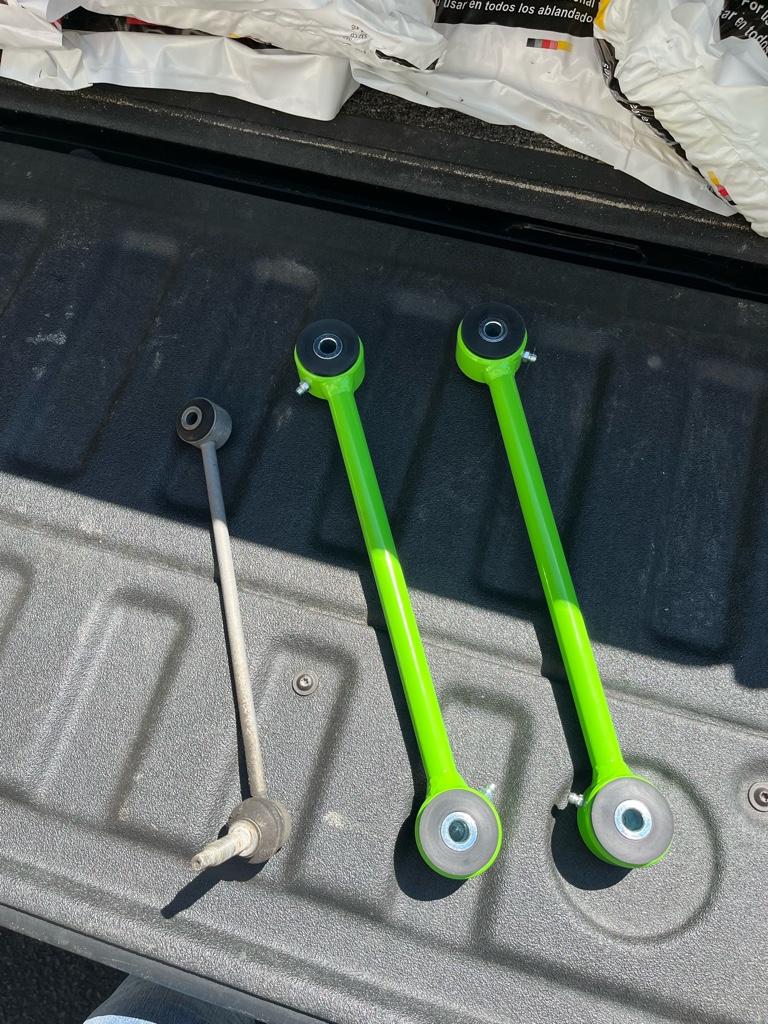
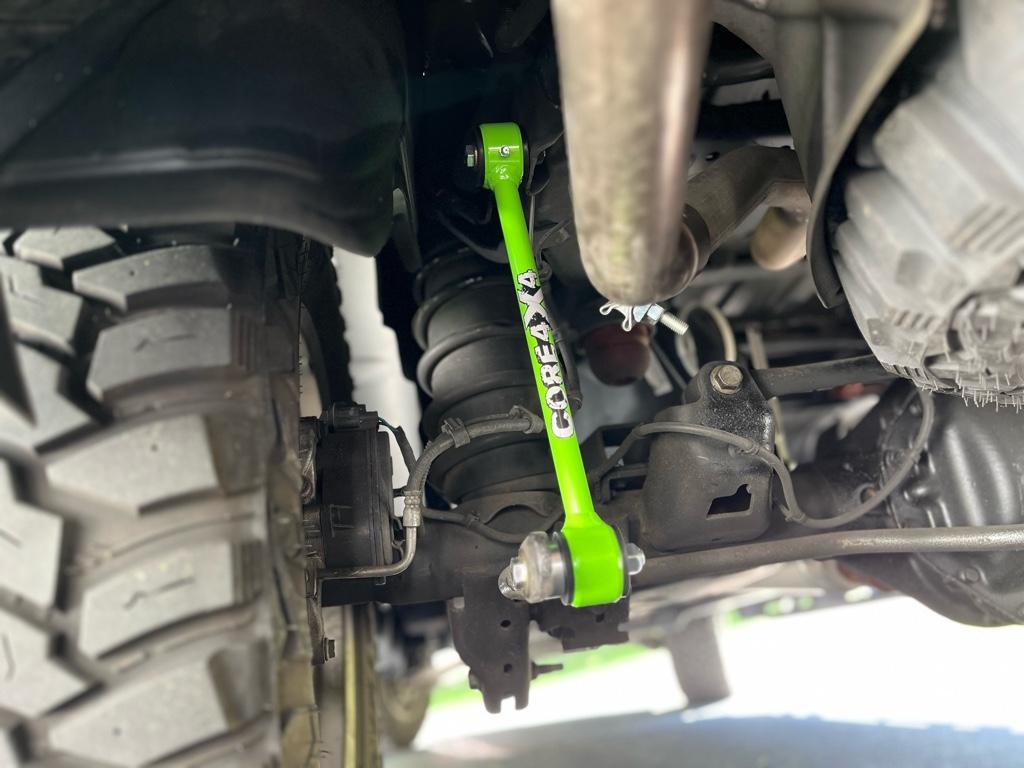
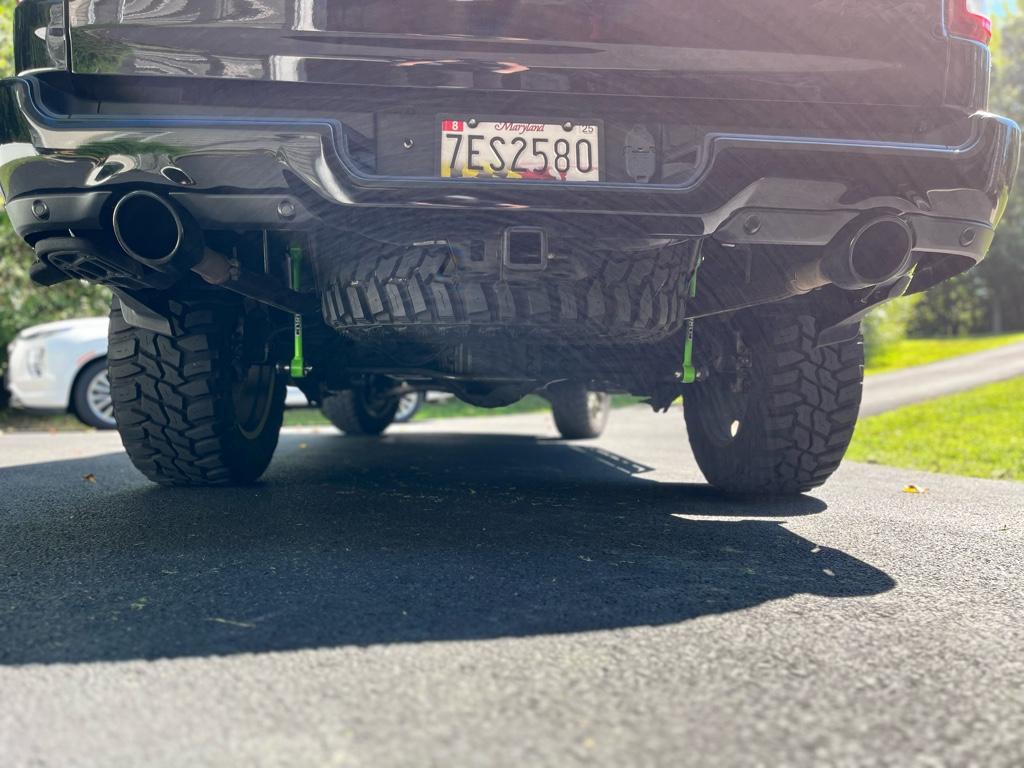
Nah man. They just sent you the wrong top bolt And/or wrong top sleeve. I went thru a bunch of hardware with Core for these. They have one that is the correct size and length. Give em a buzz or email and they’ll get the right ones out to you. I had the same exact problem with the first batch of hardware they sent. But when they fixed it, I used the captured nut and the right bolts when they sent em with 1 washer and it’s exactly the right length.Added some core rear end links yesterday. Wish I didn’t go with the green. Oh well. One issue with them. It you use the factor nut that is attached to the frame using their new bolt it has play. However they do provide a large bolt and nut for the upper mounting location. Have to remove the nut that is tack welded on. For now I used the smaller bolt. Waiting for a cooler day and will tackle that. Since the rear is lifted 2inch I went with the 2inch lifted end links. These are the street series ones. Supper beefy. Almost wonder if they sent me the track series on accident.
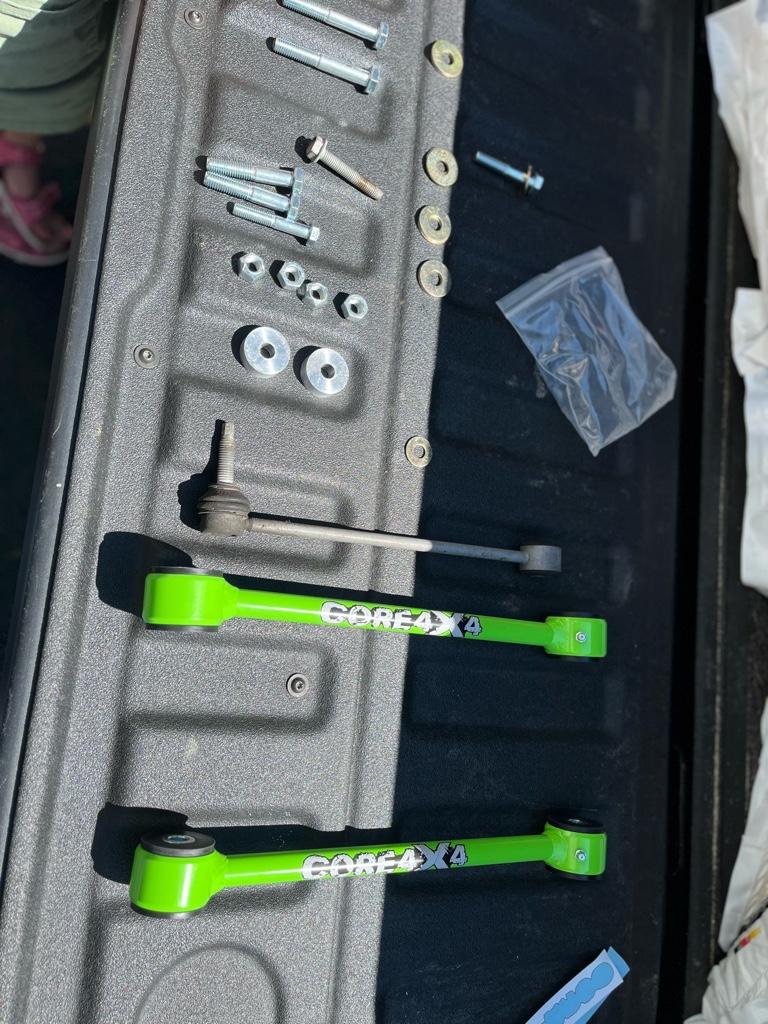
Nah man. They just sent you the wrong top bolt And/or wrong top sleeve. I went thru a bunch of hardware with Core for these. They have one that is the correct size and length. Give em a buzz or email and they’ll get the right ones out to you. I had the same exact problem with the first batch of hardware they sent. But when they fixed it, I used the captured nut and the right bolts when they sent em with 1 washer and it’s exactly the right length.
I actually have the sleeves for those bushings that you need if you can’t get em outta them, lemme know. I’ll give em to ya. You just push out the 12mm sleeves and push these new 10mm ones back in.
The Green does look cool tho! Jumps out!
That's odd. I bought mine last year, and they sent me the correct stuff and made it sound like that's all they were going to ship going forward.Now that you say it. That makes sense. It is definitely the wrong sleeve. Thank you for the info. Ill shoot them a email.
I had the right size bolts and sleeves, just they were too long. The washer provided took up the extra space. I later recieved a bunch of hardware from Hellwig for the end links and those fixed the issue with the bolts. Seems a hit and a miss with Core, but their customer service is pretty good. I was even missing the stickers in the original purchase and they sent me a while bunch of them a few days later.Added some core rear end links yesterday. Wish I didn’t go with the green. Oh well. One issue with them. It you use the factor nut that is attached to the frame using their new bolt it has play. However they do provide a large bolt and nut for the upper mounting location. Have to remove the nut that is tack welded on. For now I used the smaller bolt. Waiting for a cooler day and will tackle that. Since the rear is lifted 2inch I went with the 2inch lifted end links. These are the street series ones. Supper beefy. Almost wonder if they sent me the track series on accident.


Oh, I forgot I had to add a washer too.I had the right size bolts and sleeves, just they were too long. The washer provided took up the extra space. I later recieved a bunch of hardware from Hellwig for the end links and those fixed the issue with the bolts. Seems a hit and a miss with Core, but their customer service is pretty good. I was even missing the stickers in the original purchase and they sent me a while bunch of them a few days later.
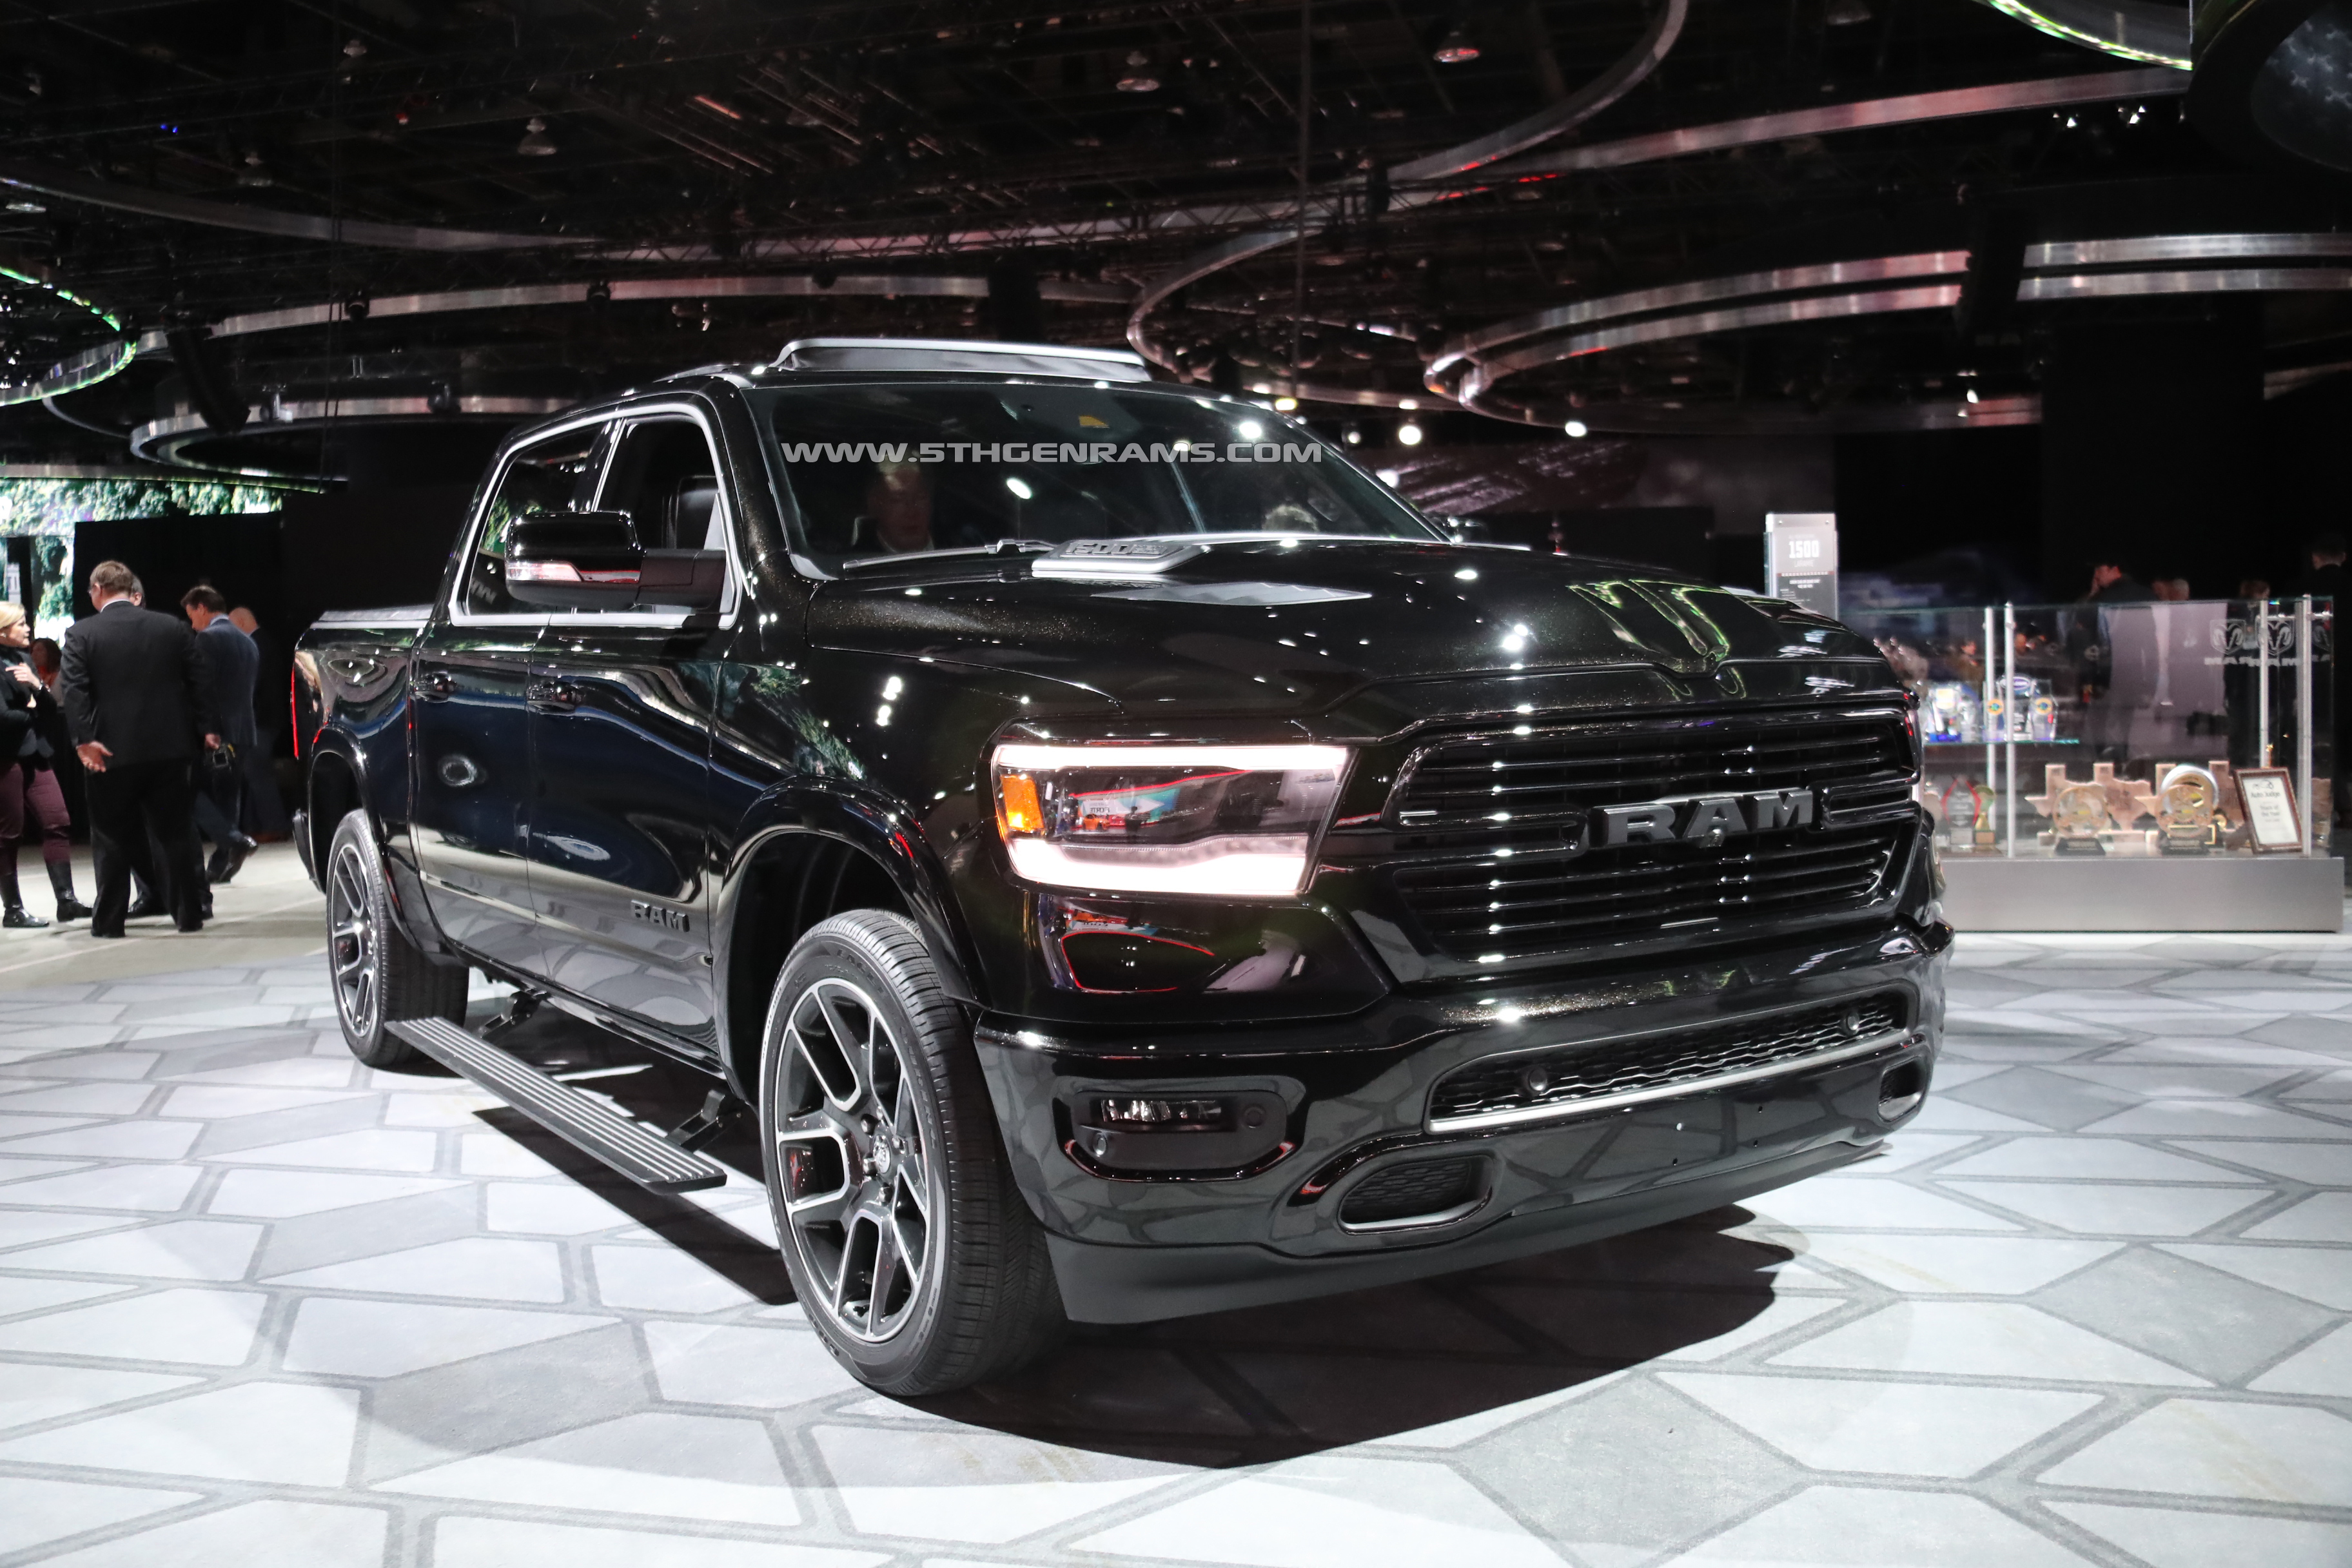
This didn't come w/ running boards from the factory. Getting the nuts on those mounting studs gave the impact a work out. Good jump air compressor!
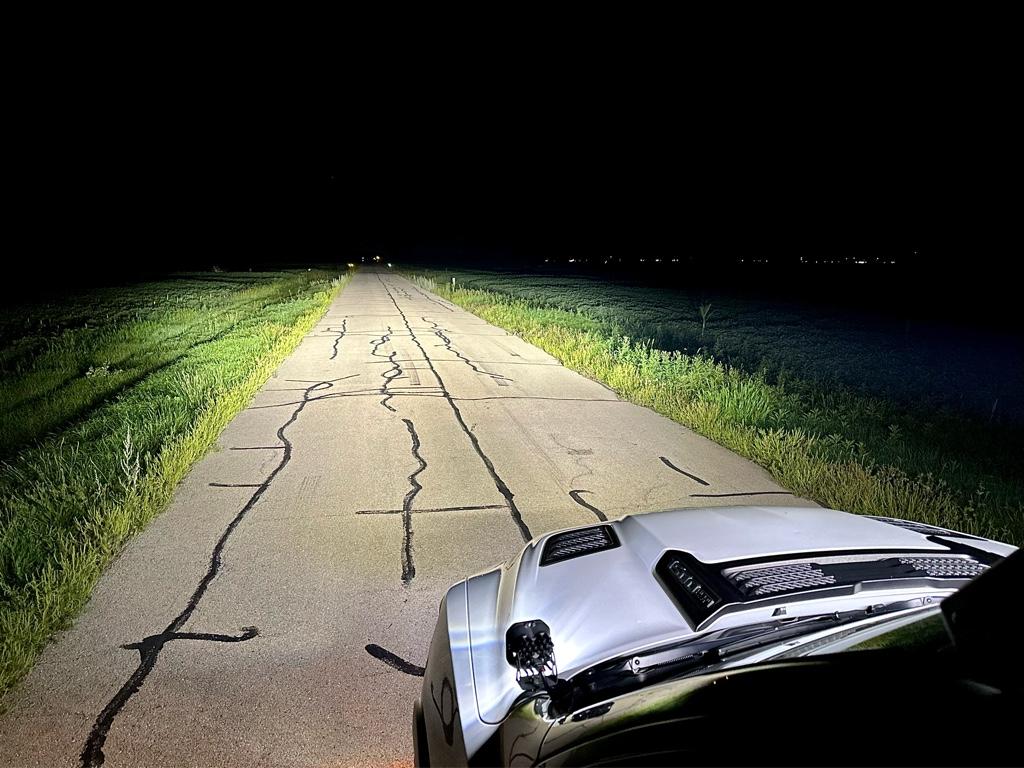
What was the issue woth the axleI finally got my Ram back after 10 weeks in dealer shop. Exhaust manifold, driveshaft and full rear axle replaced, as well as both side mirrors. Then put 275/65r20 recon grapplers(4ply) with some built to serve rims I polished up.
Love having my truck back, was way to long
Annoying question. How was the install and where did you instal the switchAdded some chase lights. Or should I say, a state of the art tailgater deterrent system?
Lights are Strands Siberia RP’s. They have the option to run either an amber or red DRL similar to how my A pillar lights have the amber or white DRL.
Brackets are a universal style chase light bracket made by GODZ MFG. These brackets have two mounting points per side and the design allows for both a light and antenna to be mounted if desired. I mainly went with these because they work with most tonneau covers on the market.
View attachment 165940
View attachment 165941
View attachment 165942
Great vid. Do you have one on your lights installInstalled the 100% BOLT ON GoRhino Ceros roof rack this week. Super easy install! Time to throw a new light bar on the truck!
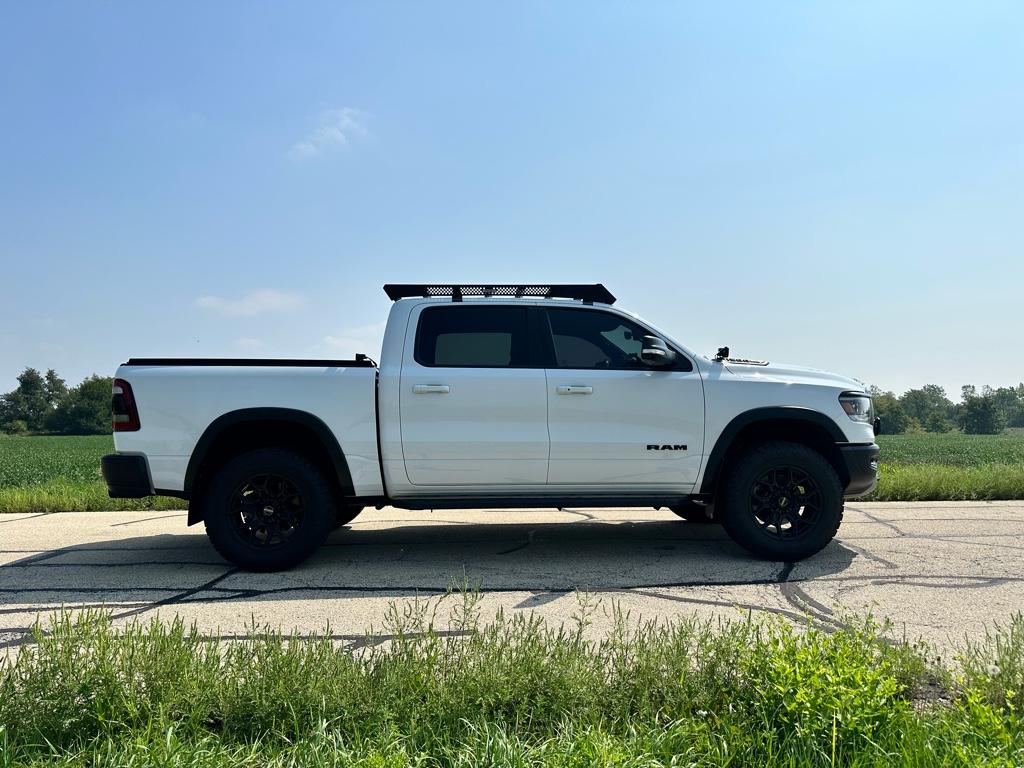
Axle failure. Had a whine coming from the back and a clicking sound. Thought it was a wheel bearing. They found metal shavings in diff, so when that happens they replace entire axle they saidWhat was the issue woth the axle
Offtopic here - but details on fitting a 35 in the spare location would be massively appreciated. Don't recall any posts on it.Added some core rear end links yesterday. Wish I didn’t go with the green. Oh well. One issue with them. It you use the factor nut that is attached to the frame using their new bolt it has play. However they do provide a large bolt and nut for the upper mounting location. Have to remove the nut that is tack welded on. For now I used the smaller bolt. Waiting for a cooler day and will tackle that. Since the rear is lifted 2inch I went with the 2inch lifted end links. These are the street series ones. Supper beefy. Almost wonder if they sent me the track series on accident.


I think you’ll find people are doing one or more of these:Offtopic here - but details on fitting a 35 in the spare location would be massively appreciated. Don't recall any posts on it.
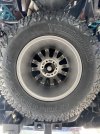
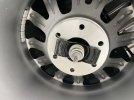
Here's one.Offtopic here - but details on fitting a 35 in the spare location would be massively appreciated. Don't recall any posts on it.
Not annoying at all. Install was a breeze, but these particular brackets do require two small holes per side to be drilled into the bulkhead and they are held in place with rivets. Many look away for that reason, but I can tell you that they’re very secure.Annoying question. How was the install and where did you instal the switch
Great vid. Do you have one on your lights install
Last week did an Amazon folding bed-step. Seems decent for $300 less than Mopar and essentially a copy. Yesterday I installed the SpeedForm Throttle Controller.
