5thGenRams Forums

Register a free account today to become a member! Once signed in, you'll be able to participate on this site by adding your own topics and posts, as well as connect with other members through your own private inbox!

How to: modify wheel wells for larger tires/Negative offsets

Chris VB

Active Member
Joined
Nov 22, 2020
Messages
174
Reaction score
163
Location
Ontario Canada
I gotta say, I just installed 37x12.5R22 -44 offset, and no amount of heat gun will get these things to fit without rubbing. I am on a 5 inch RC air lift + custom links giving me another 1-1.5".

I had to use custom Air Links so I could get the already 5" lift even higher, I'm in about Off-road 2 setting (with custom links). I had to trim the front plastic valance, I had to heat gun and zip tie the inner liner towards the back, and I had to trim the inside of the bushwhacker fenders but even then the tires were rubbing on the metal tab. I had to grind about 3/8"-1/2" off to get them to fit without rubbing. With all this said I have about 1/4" clearance on all sides, if I lower the air suspension at all I won't be able to make full radius turns.

I have 37x13.5 and they wouldn’t fit on a 6” suspension lift I needed another 2” daystar lift to clear completely. No rubbing at all. Minor valence and liner trim with tie back. No trim on bushwhackers, clears by 3/8” :)
68d097342fef9e51234d264e5a3be7be.jpg


Sent from my iPhone using Tapatalk
 

Chris VB

Active Member
Joined
Nov 22, 2020
Messages
174
Reaction score
163
Location
Ontario Canada
I gotta say, I just installed 37x12.5R22 -44 offset, and no amount of heat gun will get these things to fit without rubbing. I am on a 5 inch RC air lift + custom links giving me another 1-1.5".

I had to use custom Air Links so I could get the already 5" lift even higher, I'm in about Off-road 2 setting (with custom links). I had to trim the front plastic valance, I had to heat gun and zip tie the inner liner towards the back, and I had to trim the inside of the bushwhacker fenders but even then the tires were rubbing on the metal tab. I had to grind about 3/8"-1/2" off to get them to fit without rubbing. With all this said I have about 1/4" clearance on all sides, if I lower the air suspension at all I won't be able to make full radius turns.

Also your truck looks great!


Sent from my iPhone using Tapatalk
 
Joined
May 18, 2019
Messages
566
Reaction score
282
Location
Whitby, Ontario
Bringing this back to life. I noticed that some of you have taken the bending back method rather than cutting. I seen some saying the paint cracked when bending back.

Wouldn't it be more advisable to cut it off so you only have one narrow exposed metal piece that needs to be painted? Wouldn't the cracking of the paint cause more exposed bare metal?

Anyone got close up pictures of the tab bent rather than cut?

I am getting prepped to do this in the next little bit once I get my spacers. Hoping I won't have to do anything but probably not as it was close with 1.5" , I can only assume 2" will put me even closer.
 

TPA-RAM

Active Member
Joined
Mar 21, 2021
Messages
35
Reaction score
56
Late to the party...but installed 2" leveling kit and 295/65R20's AT3's (35.1x11.5) on stock 2020 Laramie wheels. Had slight rub on dealer installed RAM splashguards under full turn. Minor plastic trimming on splashguard and spalshshield did the trick. No heating/bending plastic req'd.
Do you have some pics of what and how you trimmed the plastics?
 

hardluck

New Member
Joined
May 13, 2021
Messages
3
Reaction score
0
will a 20x10 -19 offset with a 35/12.50R20 fit on a 2020 ram 1500 4wd with a 2 inch leveling strut?
 

mriley8683

Member
Joined
May 10, 2021
Messages
17
Reaction score
8
Snapped some pictures while modifying the wheel wells today to fit my 35x12.50x20 on a 20x10 -18 offset.

Lift kit is a ReadyLift 3.5 SST

A lot of people ask do they Rub? Answer is Yes, solution is easy since it’s minimal labor.

Tools needed:
Wet towel
8mm socket
Grinder
Spray paint
Heatgun
2 Zip ties
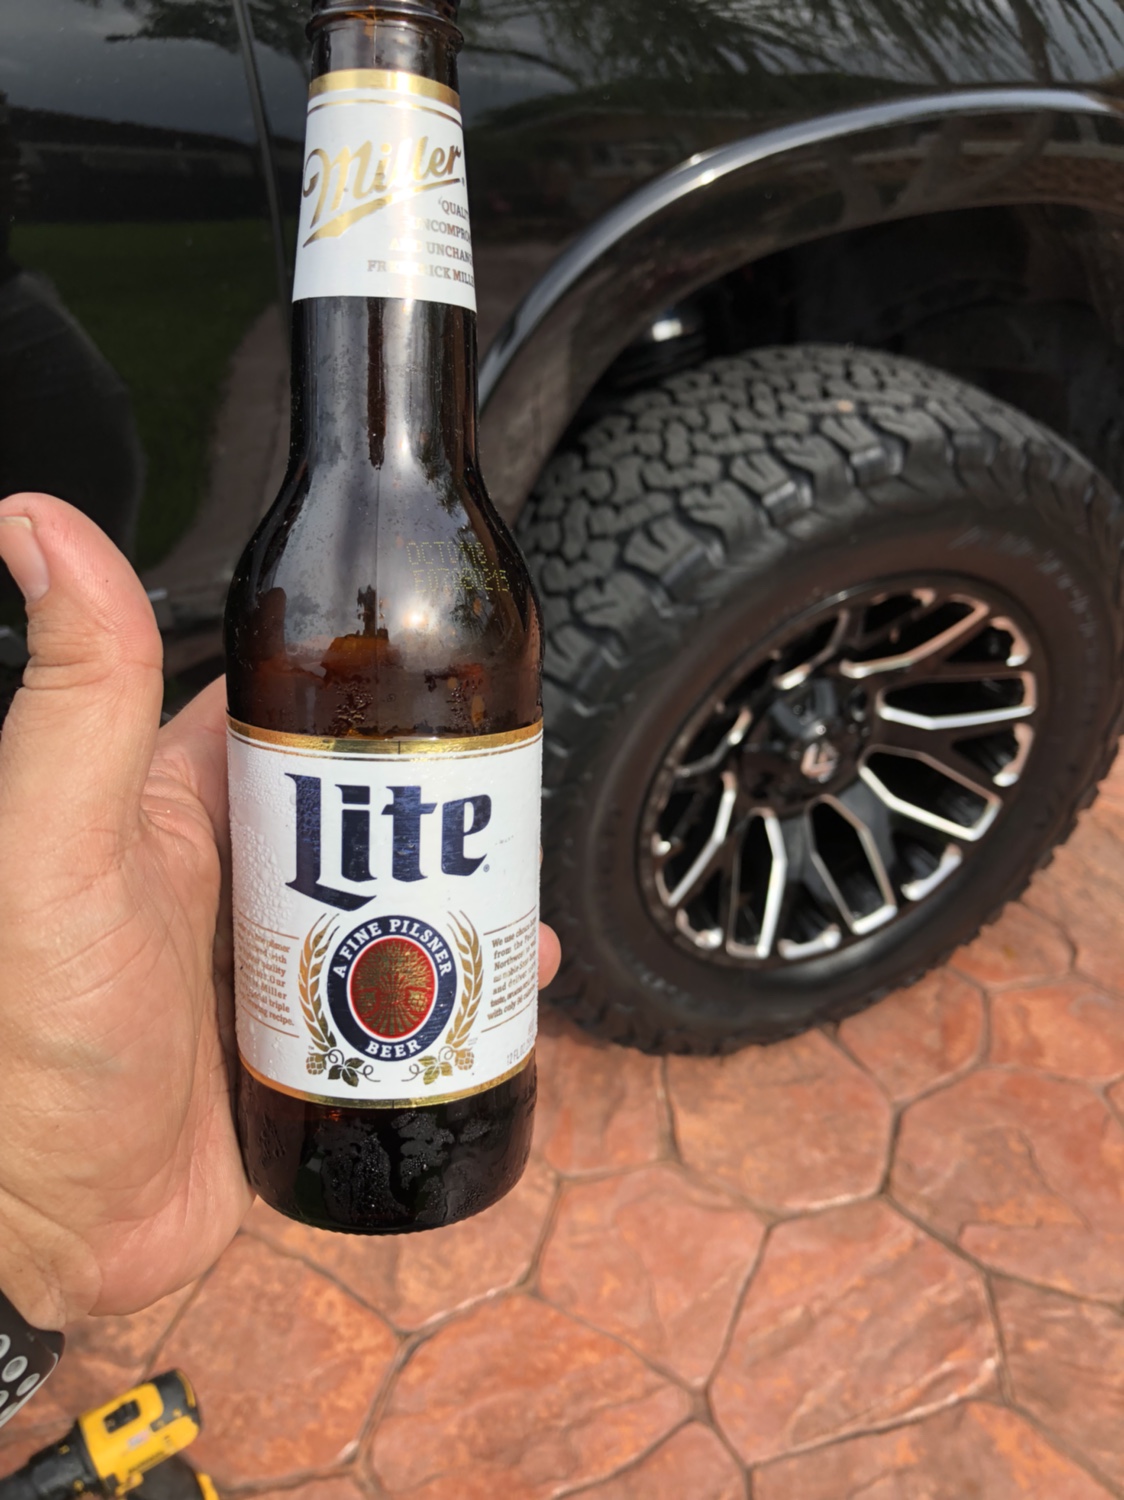
Cold brew of choice!

Begin with finding affected areas, for me it was the Molding on rear of fenders, remove the 8mm bolt and the push in fastener in wheel well. Under the molding there are 2 sliding clips so give the piece a tug outward and should slide right out.
0e186e491894b399981a90da22cf5792.jpg
9c6441a0e441b9ae3b06d23c3e2159ac.jpg


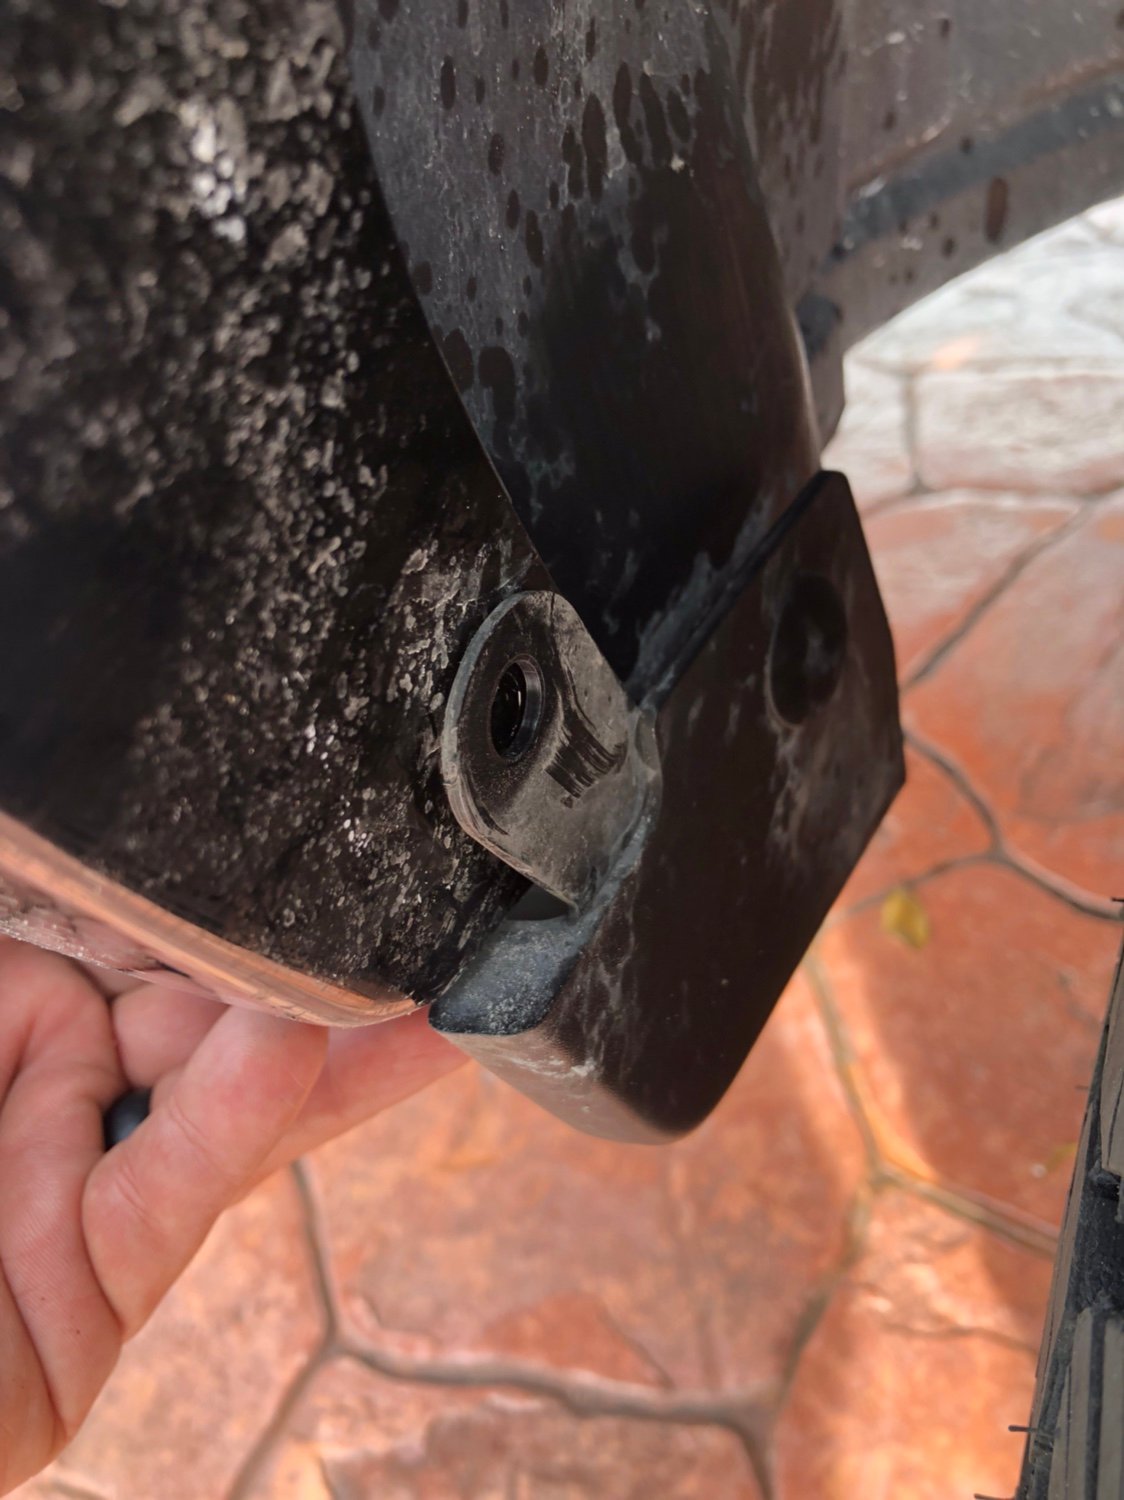
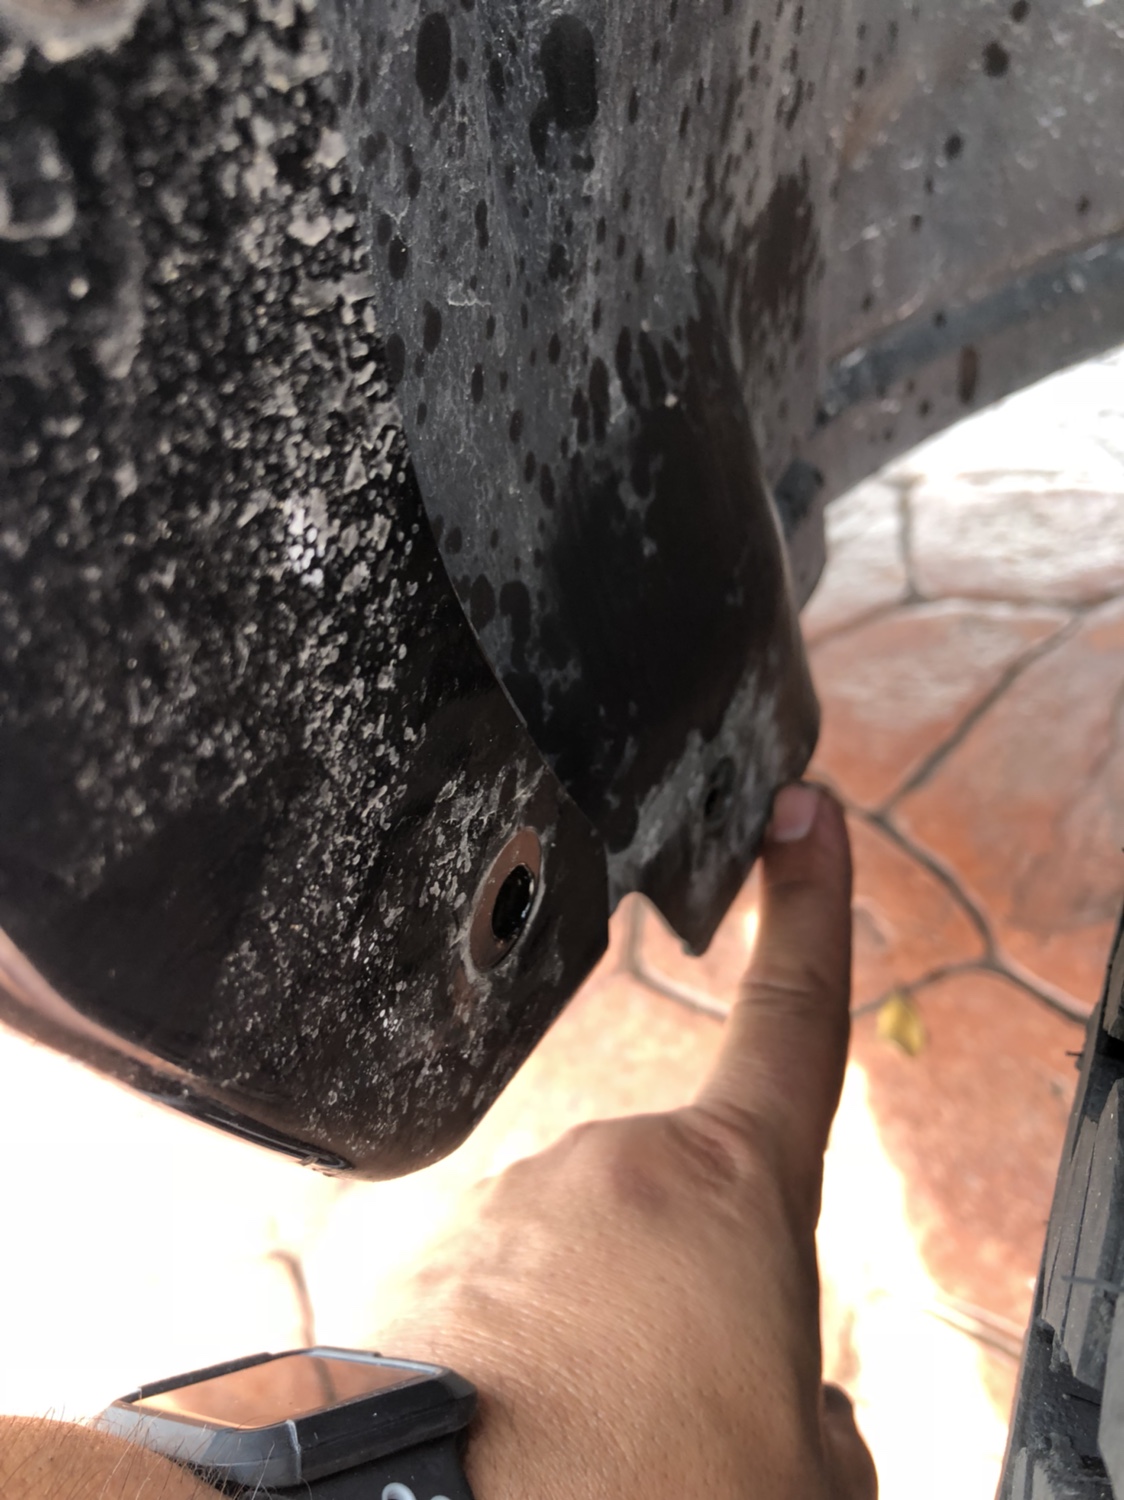
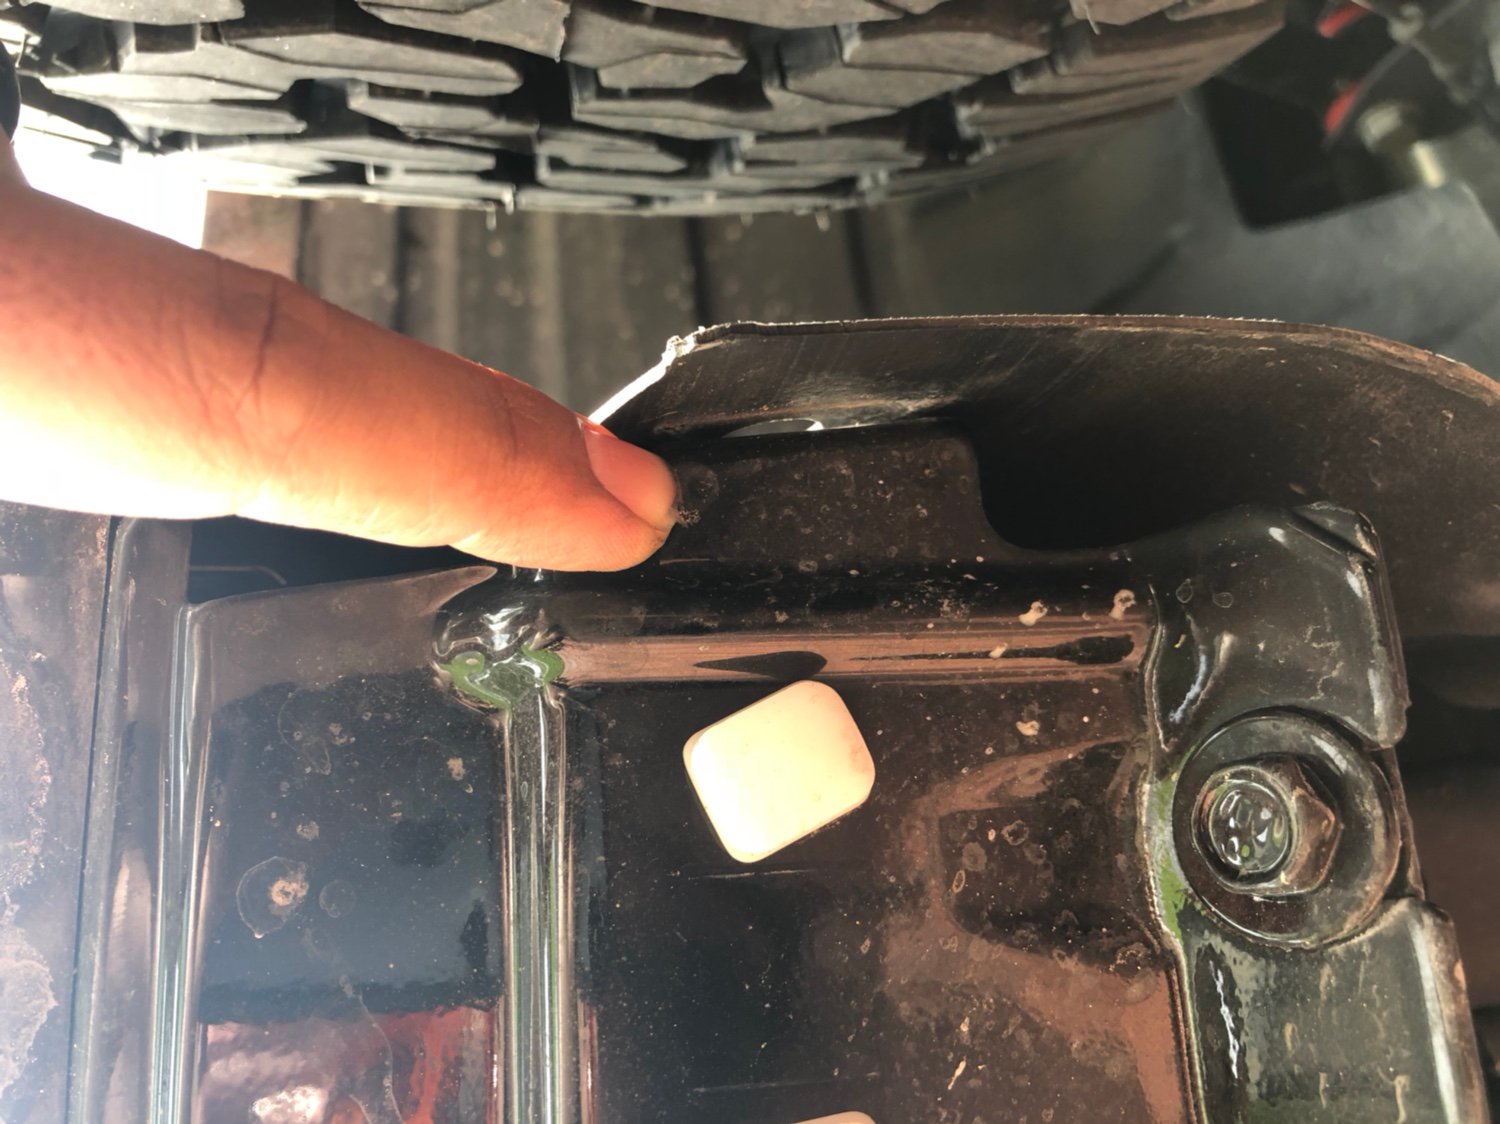
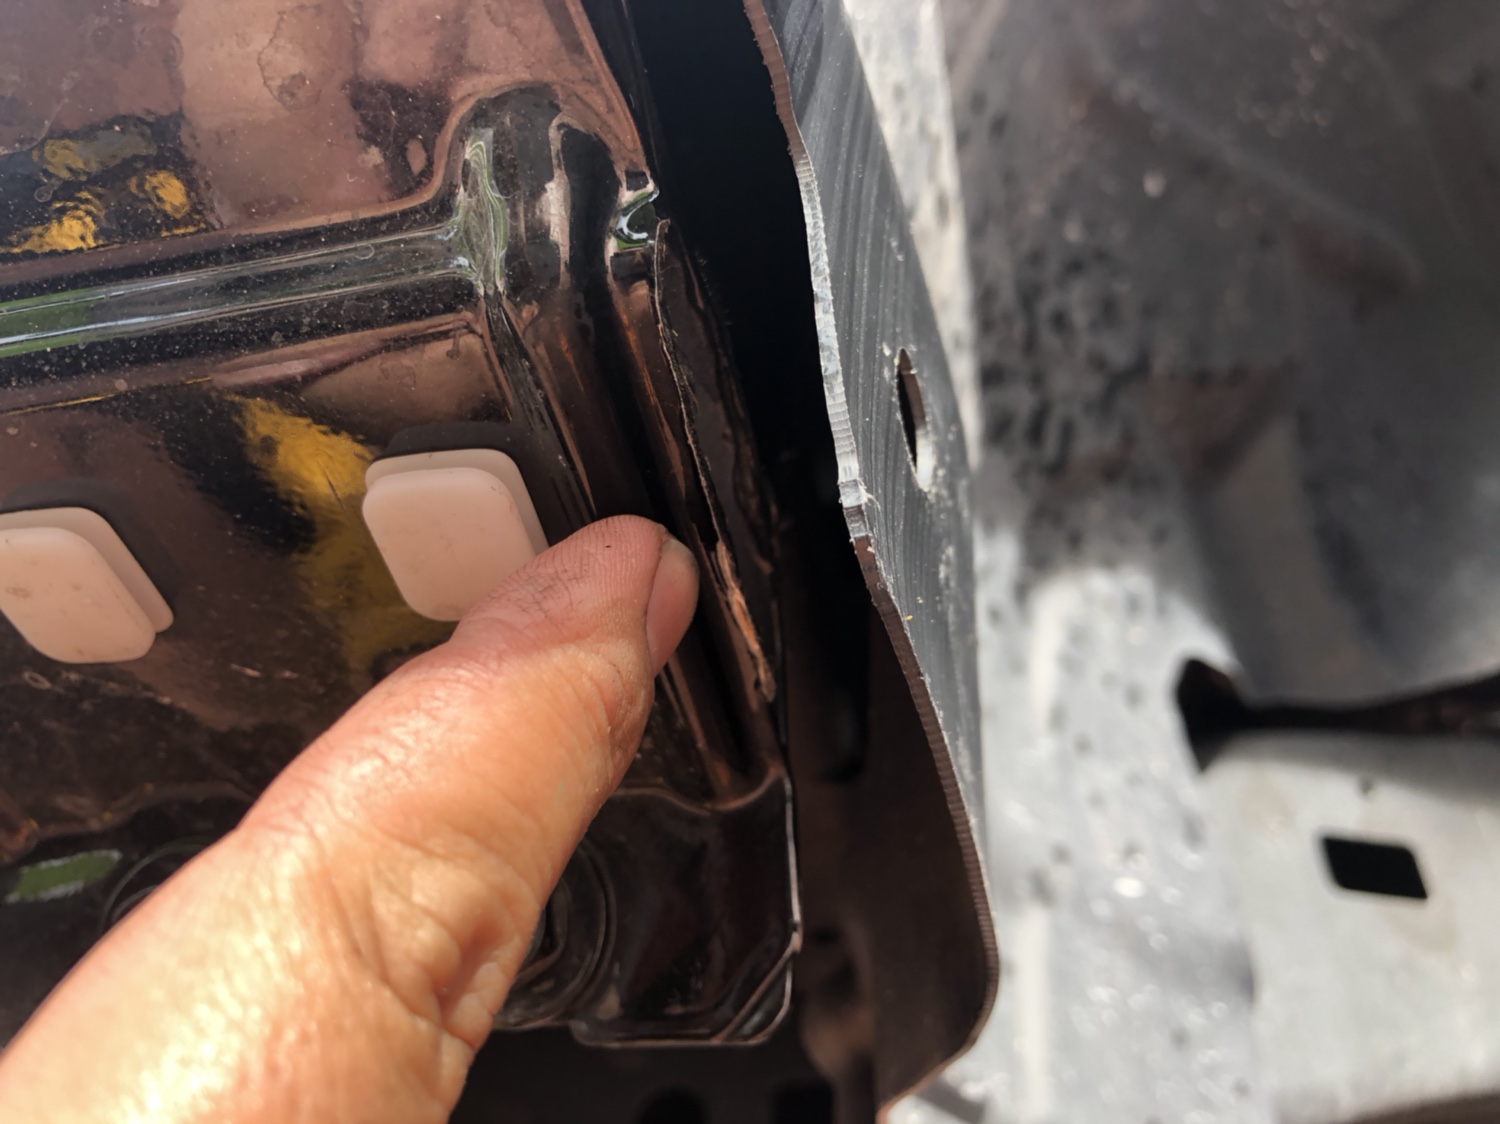
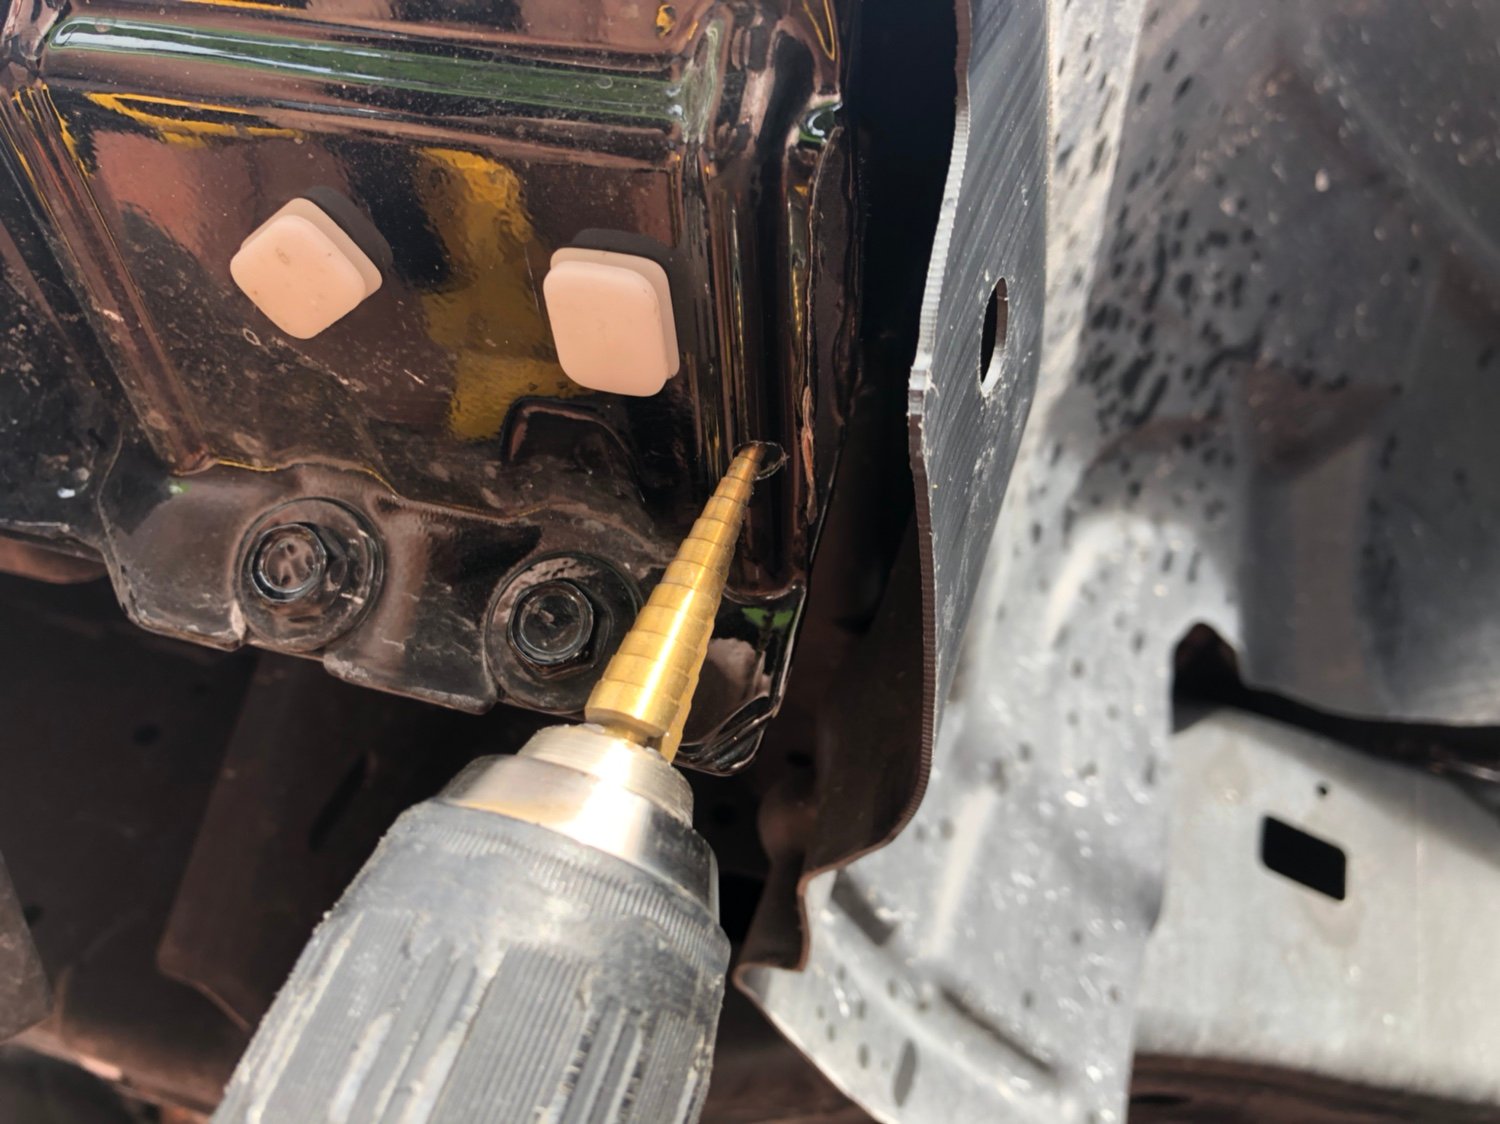
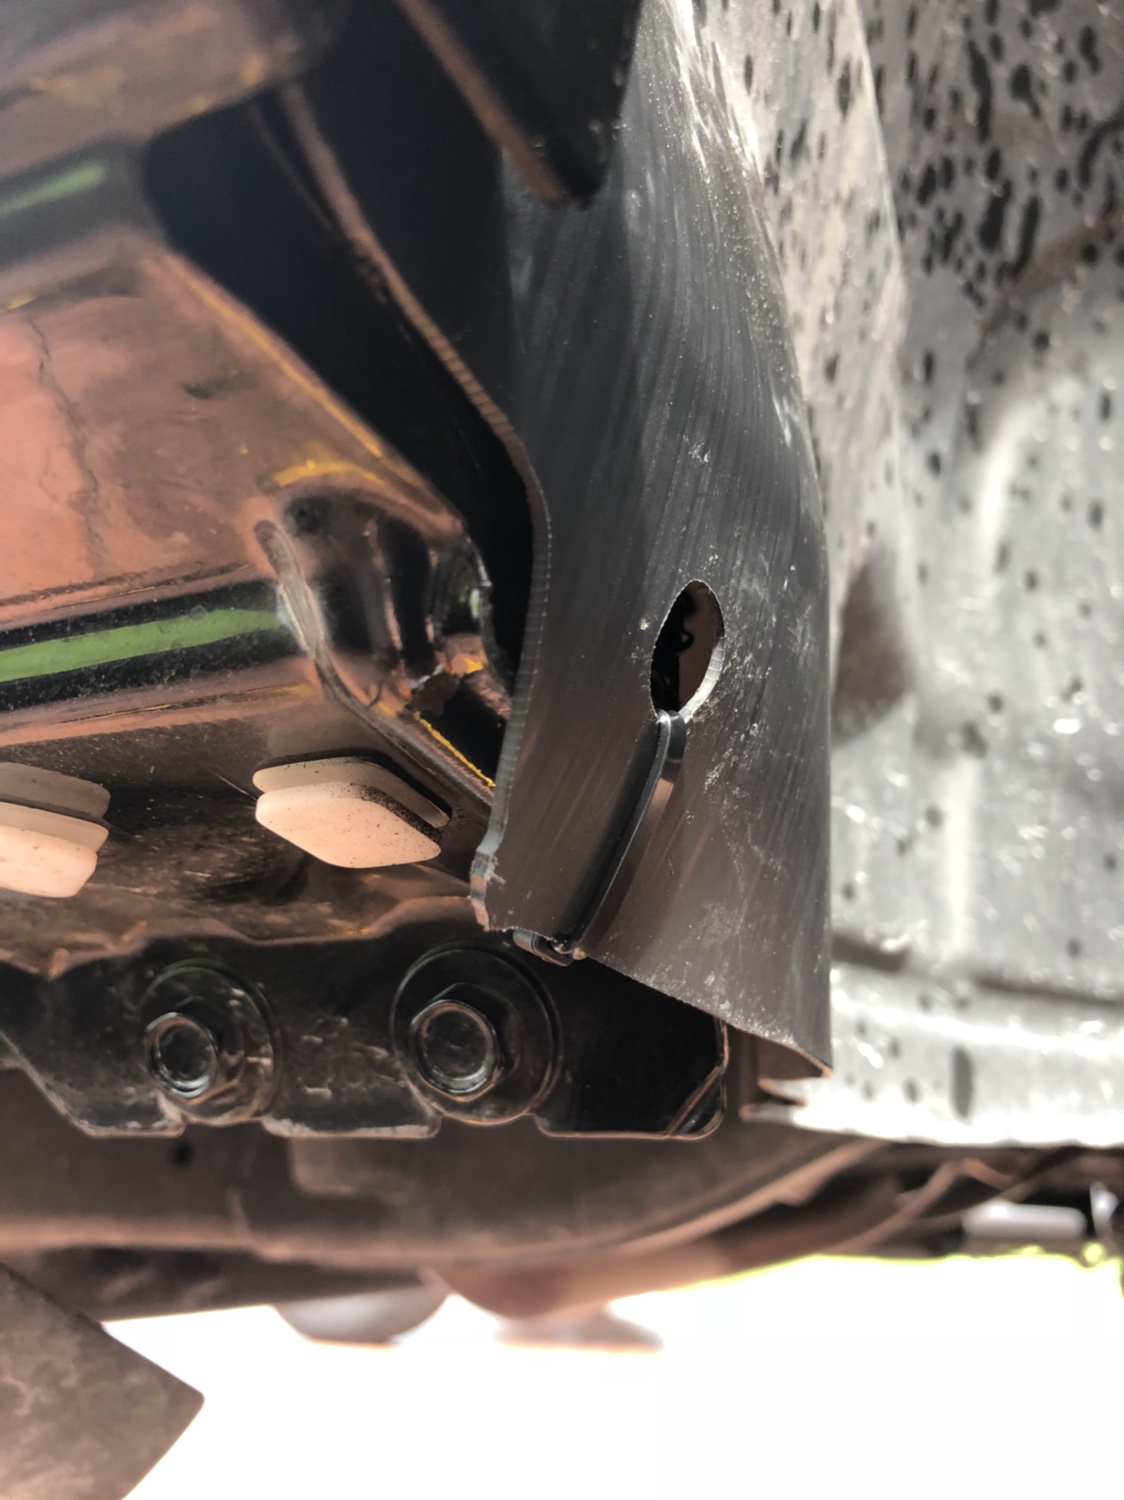
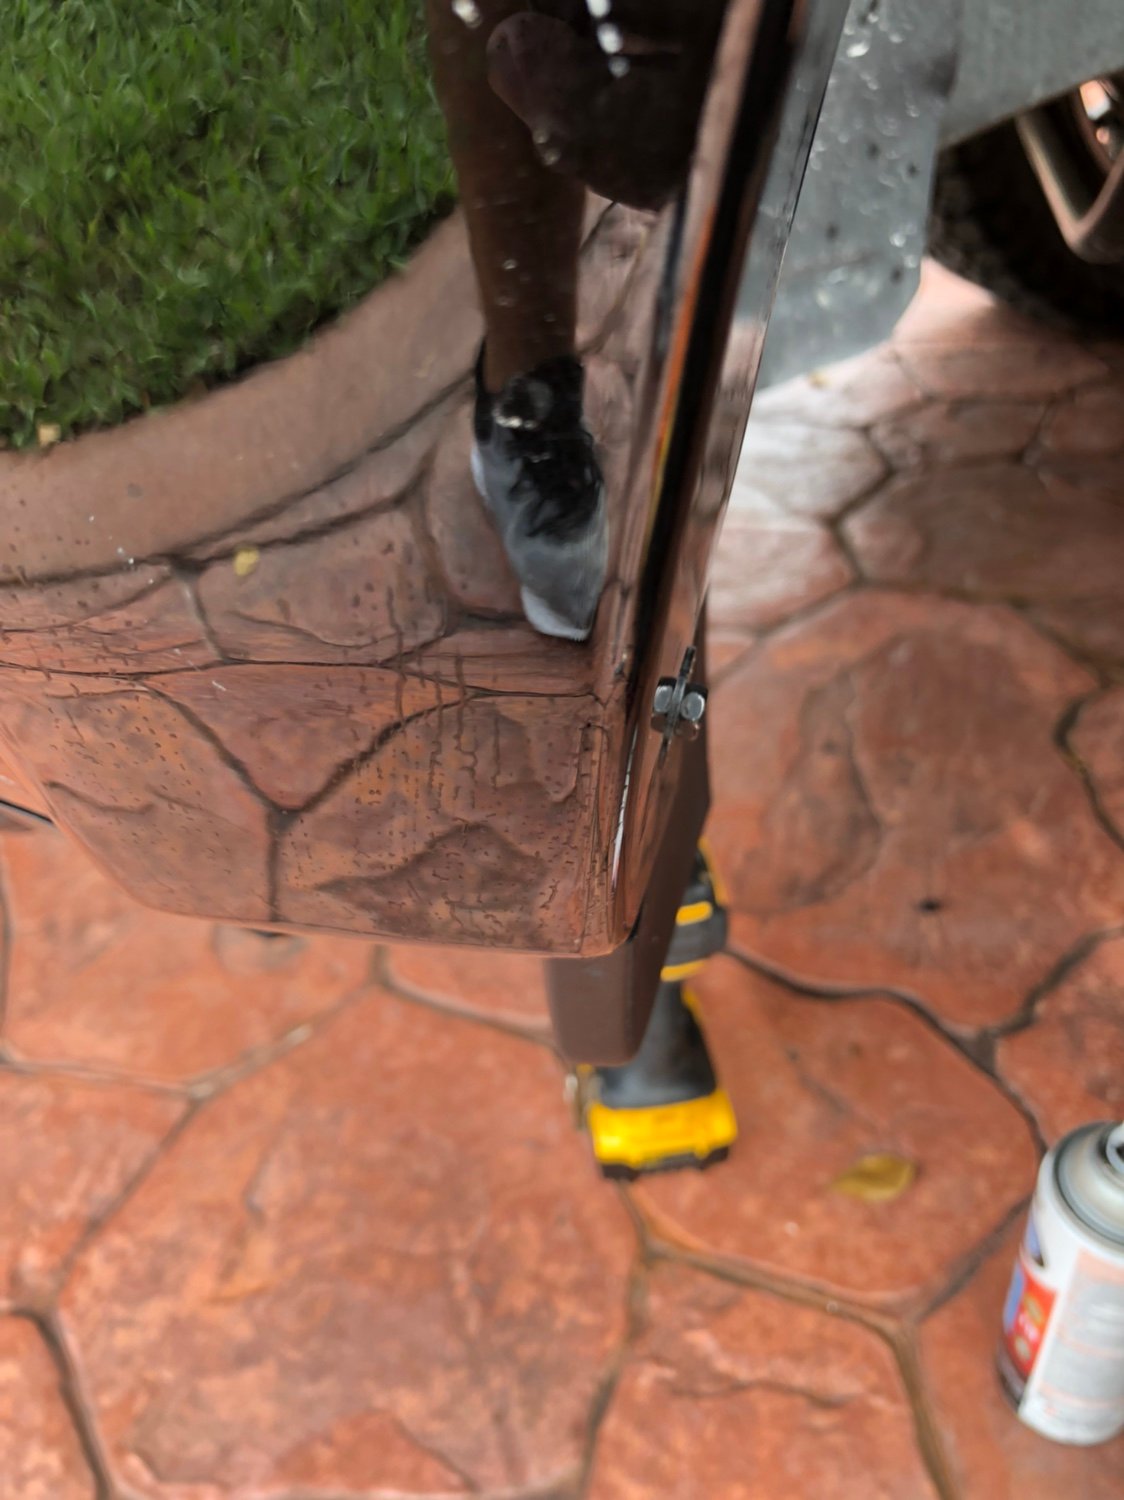
Under the wheel well liner there is a small Metal extension used solely for the retainer clip, this is causing a clearance issue, so I took my grinder and removed it,
eeb380fd7bd6aec3fdf68f603c2c2bde.jpg


2b4d12d4c131d128dbc0ab5eda08643e.jpg


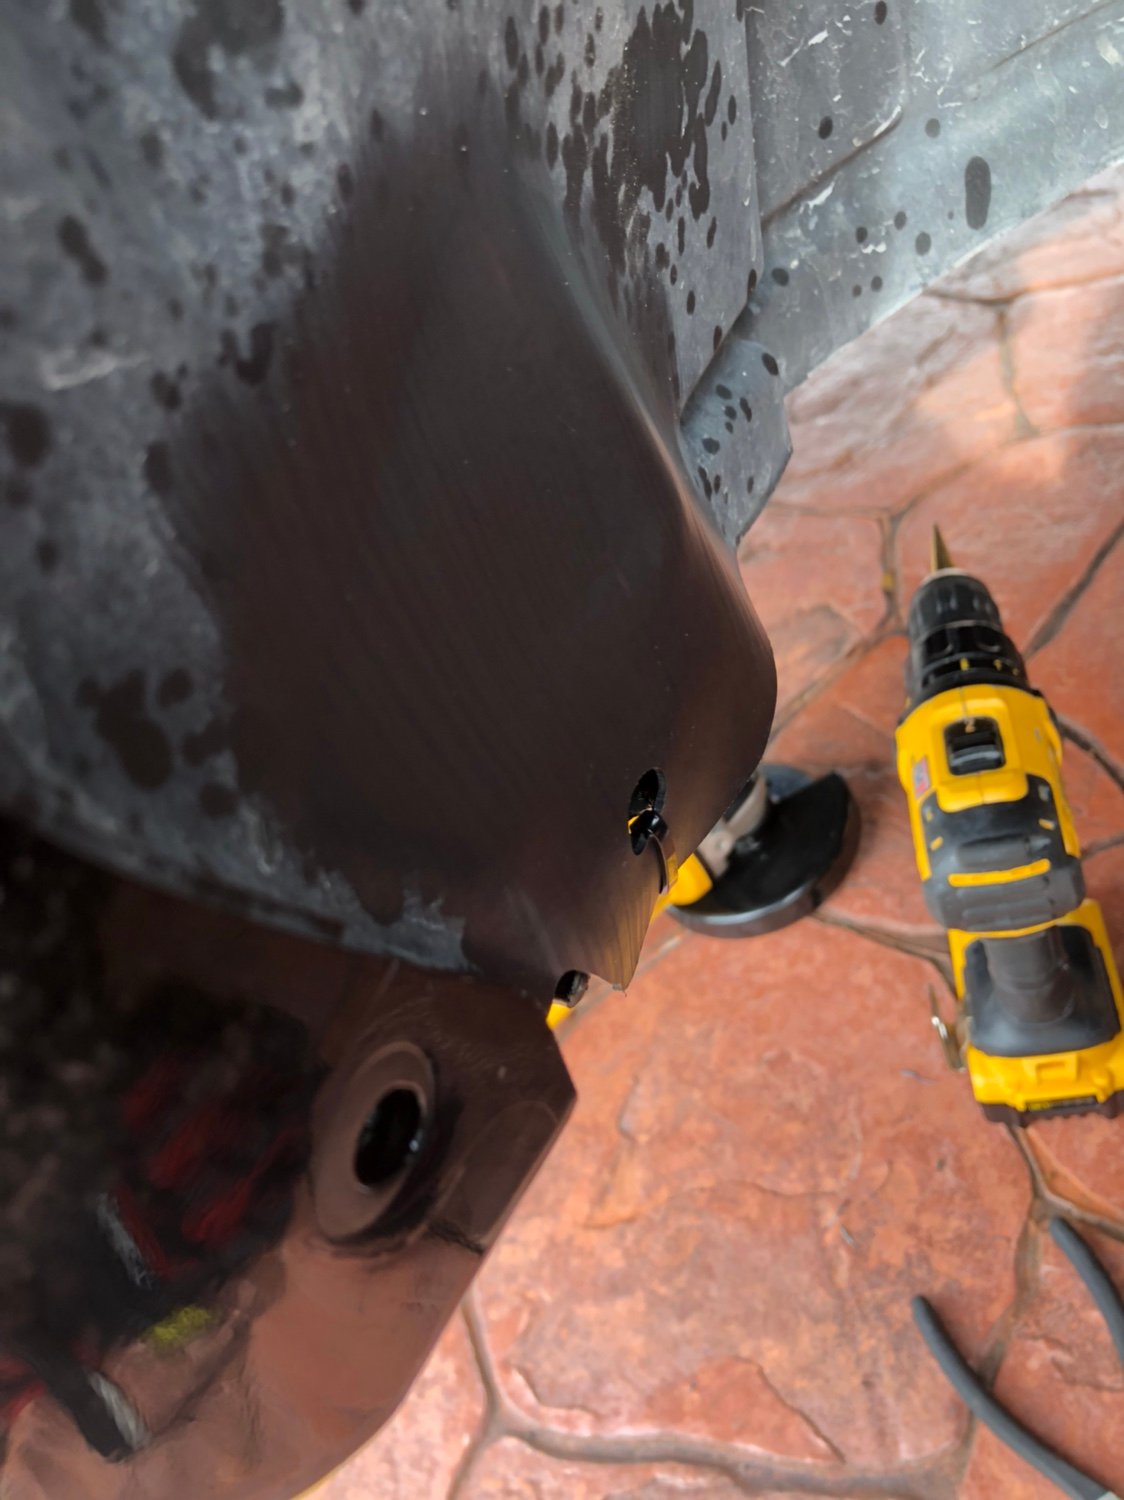
I then drilled a small pilot hole to secure a zip tie to to hold the plastic liner back.

Once done drilling and removing excess sheetmetal apply spray paint of choice to avoid future oxidation.

e41528d9f1e8e9179f01b8dda138746a.jpg


b0775c63403677092cdf1dfb33e45719.jpg


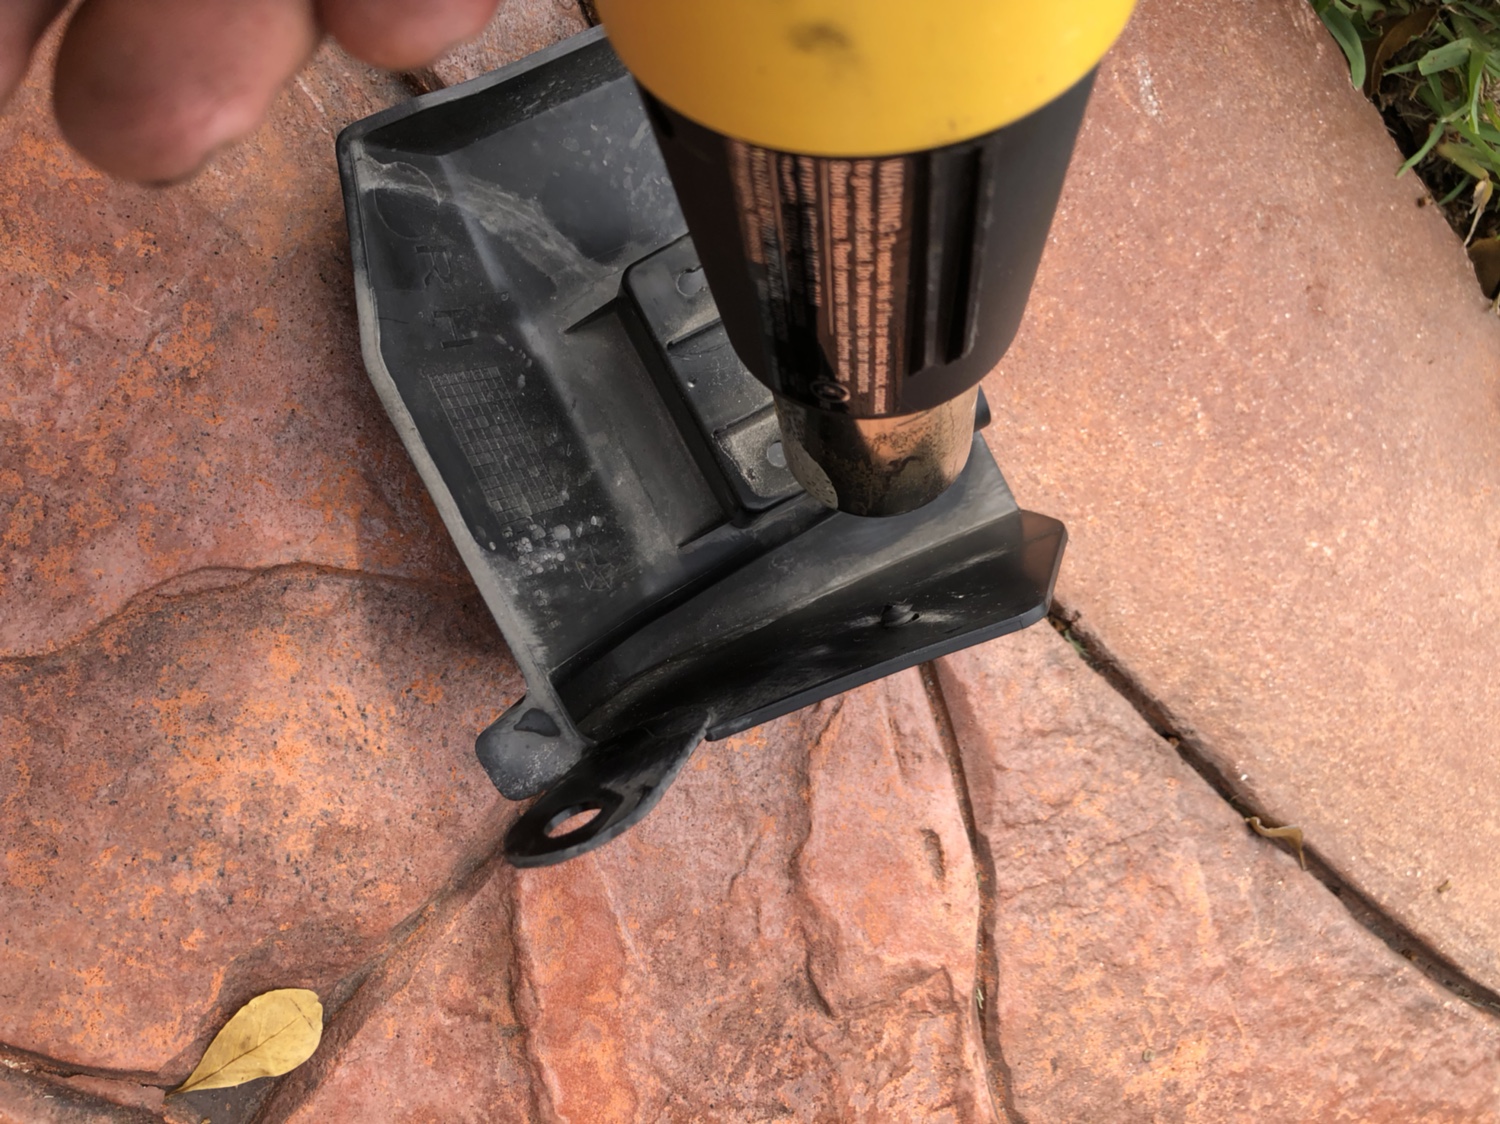
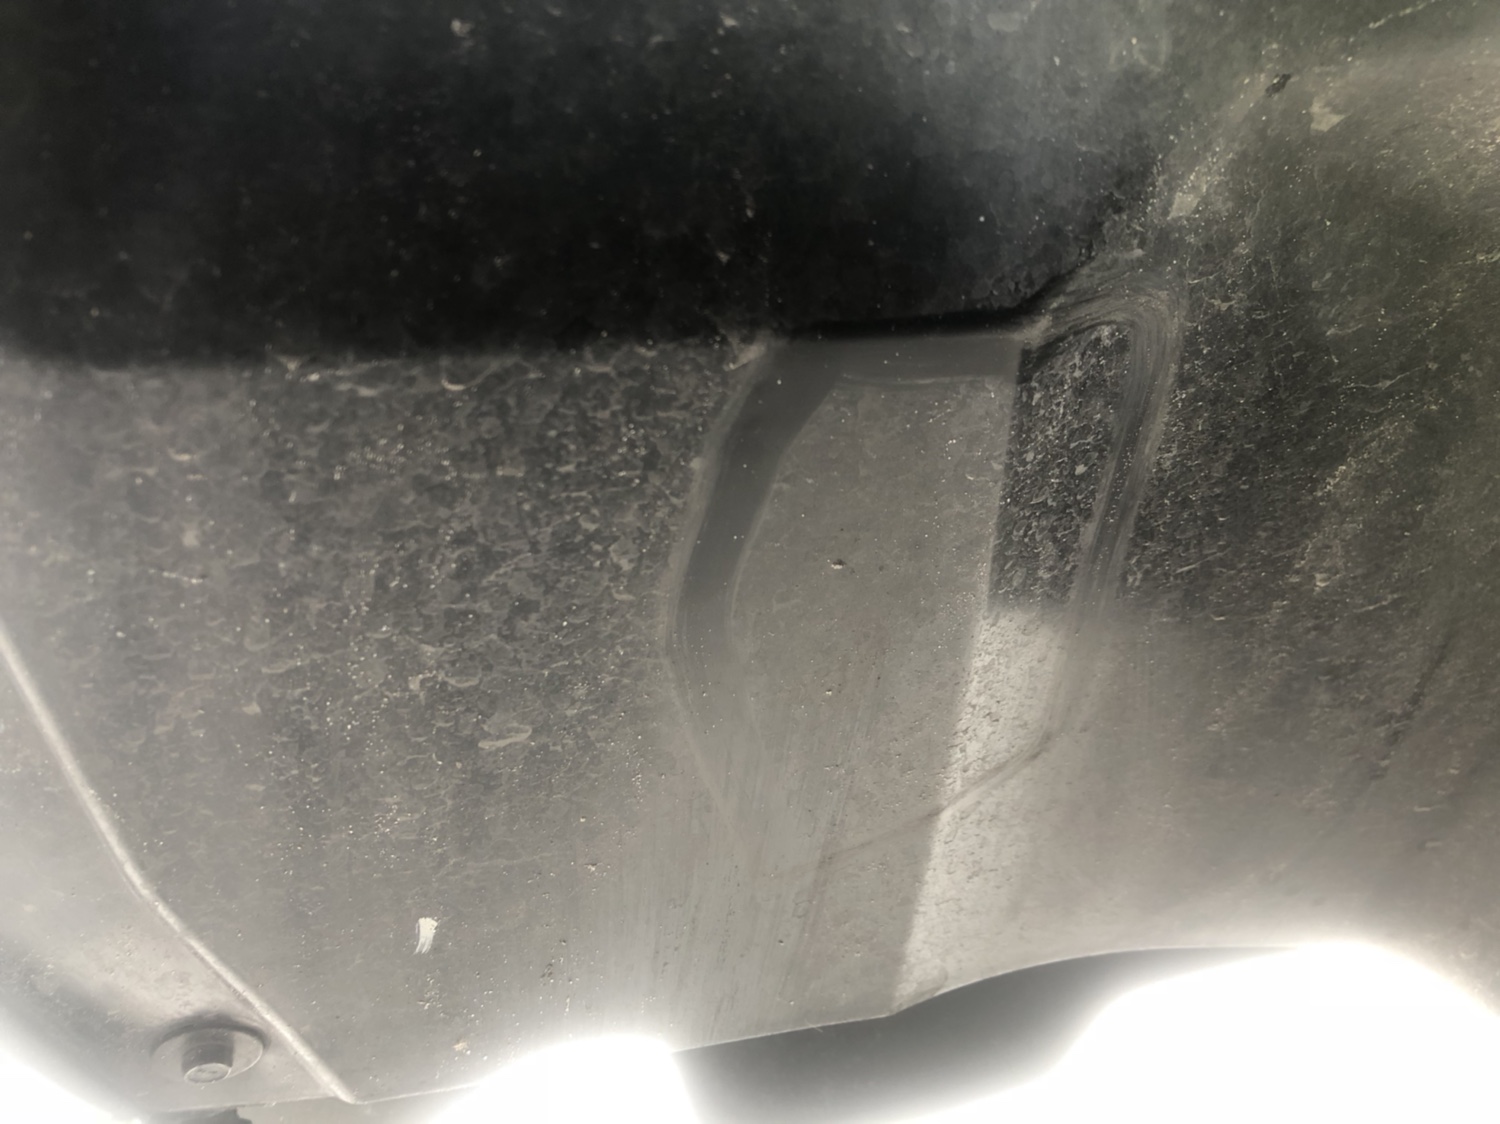
I then proceeded to heat up the plastic liner in the affected area (Clean spot in picture below) as I would heat it up and it would become plyable I then massaged the area with a wet towel in order to mold it back and out of the way giving me more clearance. Move the material around slowly don't heat the area up to much to fast or you can melt it, apply even heat and cool towel pressure will allow you to shape it.


812b4a803e667bfcd9d07aa24678ee78.jpg


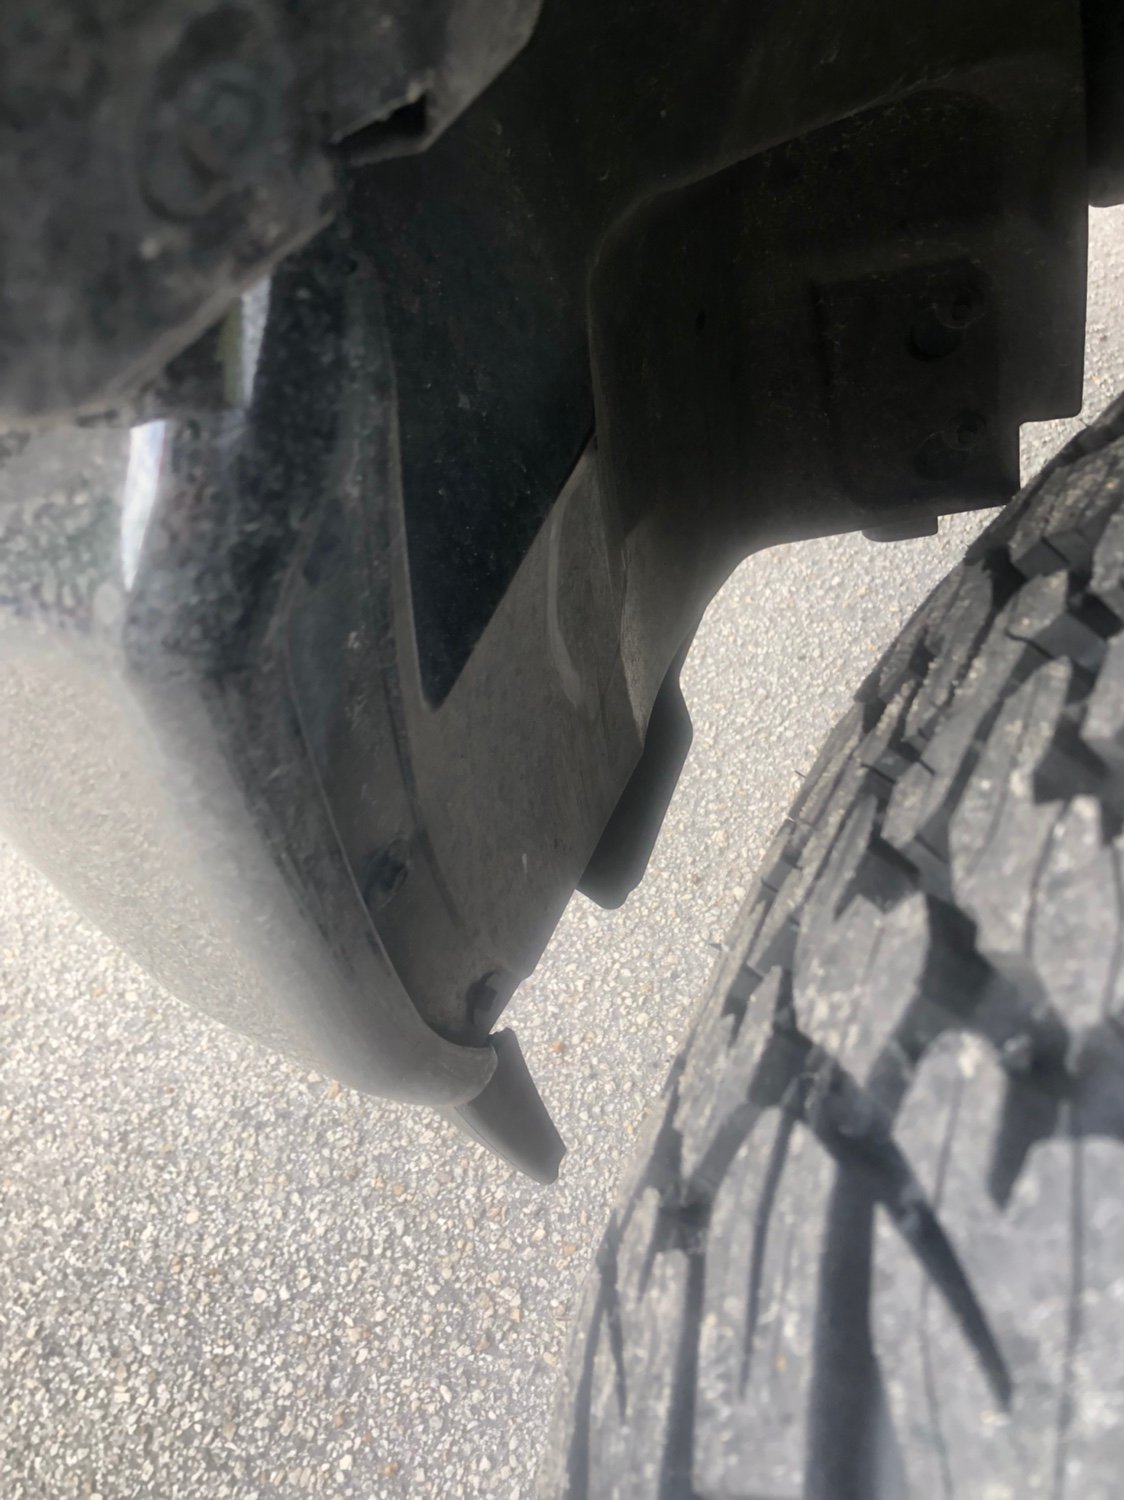
Next item to mold was the plastic trim, I heated the inside area to avoid messing with the finish on it, the lower channel is a bit to wide, so by heating it up and again applying pressure with the wet towel I was able to give myself the play needed to clear the tire.

0ed19ba5555a42fed94de0fa7ed10aaf.jpg


Once installed here is the final look, no one would know the difference and you don't have to chop up your fender liners.
fcf6410c52df9f9ab25744ee9e083f1b.jpg


I also had a little rubbing happening on the front part of the fenders, right on the line (marked with square) so I heated this section up evenly and applied pressure again with a wet towel (Cause its hot, and it cools it down into the shape you want to hold) did this process for a few minutes fine tunning moving the material, letting it cool getting in the truck and turning the wheel all the way and listen for the rub. Once you stop hearing the rub you've completed the project.

2ae7b7fc0869c755dbc19f5642751bcd.jpg


5c93ae6002aa4748a84cbbcd03e9a1c5.jpg


Enjoy your Beer and Rub free ride...
Cheers!
acf688d4281f5a2f151e066478ff5916.jpg
Just ordered my kit today and trying to decide if 35x11.5 would fit any better then the 35x12.5’s… I have fuel rebel 20x10 -18 wheels so wondering if you think the 11.5 would be the same if not better or somehow worse? I’m definitely ok with the trimming you outlined. Thx in advance.
 

Eeram6

Member
Joined
Nov 22, 2018
Messages
11
Reaction score
8
Wow, did this mod today and completely eliminates the rubbing I had at full turn. My plan was to install the Daystar spacer and make a link. I’m thinking I don’t need either now. The truck is perfect at normal height. 22x12 -40 on 33/12.5/22. I’m going to ride it like this for a week and decide if I want to proceed with the other steps or not. View attachment 24861


Sent from my iPhone using Tapatalk
Any run after all?
 

Stillhetfield

Active Member
Joined
Apr 12, 2021
Messages
37
Reaction score
18
Location
Elizabethtown PA
Can anybody tell me with using this technique. Would I have any problem running. 20x9 -12 offset wheels with 35x11.50x20 Mopar 2-in lift plus off-road group total 3-in lift. Also would this work with factory flares
 
Last edited:

Stillhetfield

Active Member
Joined
Apr 12, 2021
Messages
37
Reaction score
18
Location
Elizabethtown PA
Works the same way. But, instead of cutting off the tab just bend it up. Then you can drill a hole on the new vertical surface and reuse the body clip to secure the flare and spat.
Do the fender flares have to be removed before doing this. Thanks for any help Happy Father's Day
 

mriley8683

Member
Joined
May 10, 2021
Messages
17
Reaction score
8
Just got mine back. Thx to all in here as I love the way this turned out. 2019 1500 with no air ride and no off road package. 20x10 -18 fuel rebels and apparently new version of the ready lift 3.5 kit with 35x11.5 ridge grapplers. Haven’t done the trimming yet and incredibly minor rub in the wheel well plastic that the heat gun would fix. After there will be 100% no rub since the only rub now is full trim going off a lip on my driveway.
 

Attachments

  • 34EAAA38-9898-4459-A902-64E23B4E3609.jpeg
    34EAAA38-9898-4459-A902-64E23B4E3609.jpeg
    351.5 KB · Views: 312
  • D050FC1C-882D-4A99-8871-A020C47239AB.jpeg
    D050FC1C-882D-4A99-8871-A020C47239AB.jpeg
    196.6 KB · Views: 313

Stillhetfield

Active Member
Joined
Apr 12, 2021
Messages
37
Reaction score
18
Location
Elizabethtown PA
Just got mine back. Thx to all in here as I love the way this turned out. 2019 1500 with no air ride and no off road package. 20x10 -18 fuel rebels and apparently new version of the ready lift 3.5 kit with 35x11.5 ridge grapplers. Haven’t done the trimming yet and incredibly minor rub in the wheel well plastic that the heat gun would fix. After there will be 100% no rub since the only rub now is full trim going off a lip on my driveway.
Truck looks great man !!! I want to do this same exact setup with off-road package and 2-in Mopar lift which gets me to 3" but I'm afraid I'll hit wheel wells or metal I can't make a final decision which offset to go with.
 
Last edited:

D3vans

Member
Joined
Apr 2, 2022
Messages
7
Reaction score
1
Location
Central Jersey
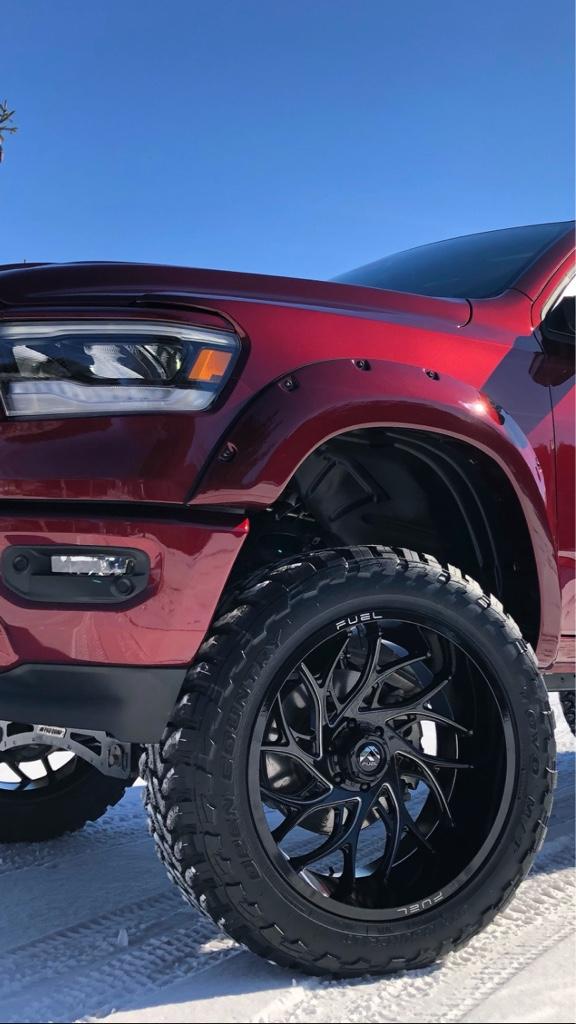
This is what I ended up with
2in Rough Country leveling kit
285/70R18 Nitto Ridge Grapplers
Did you even have to modify the wheel well? It looks like those slipped right in there! I am thinking about staying Falken AT3Ws but the LT285/75R18 on the stock wheel (same as yours). They are about an inch or two in both directions...
 

Blackmer18

Active Member
Joined
Sep 26, 2020
Messages
58
Reaction score
7
Anyone know the name or part number of these plastic pieces? I'm going to do some trimming and want to have back up on hand.... I ordered what I thought was the part from Mopar and it's not correct... I ordered the Front left and right Fender Spats and that's not the correct part....
 

RLee276

Active Member
Joined
Mar 14, 2022
Messages
47
Reaction score
12
This is very detailed, you think this would work with my 22inch stock wheels? I really want some 35's
I have a 2020 1500 bighorn on a 2.5 level lift and Fox shocks. 295/65R20 ridge grapplers . The measure 35 inches. Very slight rubbing in reverse when when cranking the steering wheel as far as it will go. No trimming.
 

BowersFJ

Ram Guru
Joined
Oct 8, 2020
Messages
705
Reaction score
567
33.jpg
Did mine this weekend . . . Hot air on the front side . . . Straighten and bend up method on the back . . . Glad I ordered a few of the fasteners . . . The ones that hold the spats on are pretty brittle . . . Stock suspension, no ORG, 305/55R20 on 20"X10"-18 wheels . . . No rubbing at all . . . Now for 2" Readylift in the front, 1" Motofab with Hellwig in the rear
 

vadedram

Active Member
Joined
Dec 17, 2020
Messages
57
Reaction score
27
Has anyone done any more metal trimming than just the tab? As in maybe part of the pinch weld, maybe going back as far as one of those bolts at the bottom. On my 4th gen 2500 I did some pinch weld trimming for 37s. So was just wanting to see if anyone has done more than just the tab.....

I have RC 3.5 lift, and am about to put on TRX wheels and 305/70R18 Yokahoma Geolander MTs (basically almost the same size as the factory TRX tires. I have seen most of the threads from people installing the TRX wheels/tires on with 1.5" spacers and it seems to be fine with the normal tab mod that this thread is mostly about. However, I have 2" spacers right now with current setup. I know maybe one person did it with 2" , but anyways, i just wanted to know incase i need to trim back the pinch weld too.
 

Users who are viewing this thread

Top