5thGenRams Forums

Register a free account today to become a member! Once signed in, you'll be able to participate on this site by adding your own topics and posts, as well as connect with other members through your own private inbox!

Biggiehorn's Build Thread

6/1/2023 - Changes Made

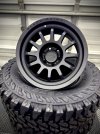
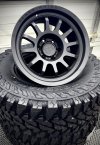
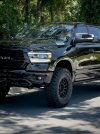
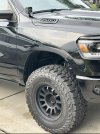
Finally have everything thrown on and together, so I feel comfortable dropping an update! I think I've probably mentioned it at least 2 or 3 times (possibly more) within this thread already, but I was beyond ready to change up my wheel and tire choice. The Fuel Rebel wheels have treated me well for the last two years, but I absolutely could not stand just how popular of a choice they are on these trucks. Yes, they're popular for good reason. They do look great, but I wanted something different and I really wanted to drop down to an 18" wheel.

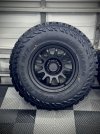
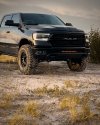
I shopped around for quite some time, and I found myself continuously landing on the same wheel option. The Black Rhino Rapid. I love the look and aggressive styling of this wheel, and out of the very few examples I found of this wheel on our trucks, I have yet to see one with the matte black finish. After deciding that this was the wheel for me, I reached out to Black Rhino directly to see if there were any collaboration opportunities. They reviewed my IG account and to my surprise, they actually were willing to offer these to me within their Black Rhino Partnership program! I'm beyond grateful for the opportunity they gave me and these wheels totally transformed the look of my truck!

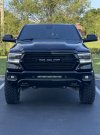
As far as tires go, I really wasn't sure where to even begin. I wasn't displeased with my Kenda's by any means, but I knew I wanted to try something else just to switch things up and give something new a chance. I'm sure @5thgen.ram is tired of me tagging him across platforms by now, but he was a huge help with determining my selection. He recommended the Yokohama Geolandar MT G003s. We decided on 315/70/R18 (35.6"x12.4") which is a pretty unique size offering that they have. I was definitely onboard with the taller tire, but was hesitant on overall fitment given my 3.5" lift. I've got to admit though, it was absolutely the right choice. I love the look and the fitment is great! with this particular wheel sizing, rubbing is very minimal. I will need to push the front of the wheel liners forward about 1/4" as the tires make very slight contact at full lock while turning. I plan to address that very soon but the truck is still completely daily drivable in the meantime. I'm honestly shocked at just how well these fit, and man oh man does this wheel and tire package look mean!

Probably the craziest piece out of all of this is the weight savings! I'm running a slightly larger setup overall, yet I managed to shave off a good chunk of rotational weight.

Old Setup:
Kenda Klever RTs 35x12.5x20 = 71.2 lbs
Fuel Rebel wheels 20x10 -18 = 43.0 lbs
Total Weight Per Wheel = 114.2 lbs

New Setup:
Yokohama Geolandar MT G003 = 72.0 lbs
Black Rhino Rapid 18x9.5 -18 = 27.0 lbs
Total Weight Per Wheel = 99.0 lbs

I'm trying to avoid writing a book here but I'm super excited with how this all came together! Next little project on the list will be blacking out those chrome emblems as they no longer complement the truck.

IMG_7347.jpeg
IMG_7351.jpeg
IMG_7372.jpeg
IMG_7488.jpeg
IMG_7455.jpeg
5A778A19-0815-4D6F-BFF2-6FDA721238A2.jpeg
 
Last edited:
:oops::oops::oops::oops::oops: Dude somehow you have made it better! Wowzers! I love it. Those are the perfect wheel choice, they are similar to the Fuel Variant and I really like those. Weight savings are huge!
 
Last edited:
:oops::oops::oops::oops::oops: Dude somehow you have made it better! Wowzers! I love it. Those are the perfect wheel choice, they are similar to the Fuel Variant and I really like those. Weight savings are huge!
Appreciate it man! It may not be everyone's taste, but I have certainly received an overwhelming amount of positive feedback so far! I couldn't be happier with the new look, and the weight savings are HUGE! I wasn't necessarily shopping for the lightest possible setup, but love that it ended up working out the way it did.
 
👏🏾👏🏾👏🏾👏🏾👏🏾! The tires alone, with the aggressive profile they have, just wow! What a difference! As usual, well done, brother!!!
 
Looks awesome! I’ve been eyeing those same wheels in bronze, but seeing the matte black look so good on your truck has reconsidering (my truck is diamond black too).
How was wheel fitment around the brake calipers with the 18’s? Any issues with wheel weights clearing the calipers?
Thanks for posting, there aren’t many photos of these wheels online and yours look so good.
 
Give us the scoop on those Yokahama's. Noise level, ride comfort, wet traction. When my tires wear out I may go MT next.
 
👏🏾👏🏾👏🏾👏🏾👏🏾! The tires alone, with the aggressive profile they have, just wow! What a difference! As usual, well done, brother!!!
Thank you, and agreed with the tire. This is my first time ever rolling on a MT tire and so far I’m very happy with the decision!

Looks awesome! I’ve been eyeing those same wheels in bronze, but seeing the matte black look so good on your truck has reconsidering (my truck is diamond black too).
How was wheel fitment around the brake calipers with the 18’s? Any issues with wheel weights clearing the calipers?
Thanks for posting, there aren’t many photos of these wheels online and yours look so good.
Thanks man! Stick around on this thread and/or my IG and you’ll be sure to see plenty more photos of them. Hopefully it will help with your decision. Personally, I was debating hard between the matte black and the brushed gun metal finish for these. I honestly think any color you go with will look good against the diamond black paint though.

As far as wheel weights and balancing goes, yes you’ll run into clearance issues if mounted on the inside lip. I was given some bad advice from a guy on Facebook as he told me there was plenty of room on both the inner and outer edge so I didn’t mention anything to the shop because I assumed they would clear. I had the shop mount/balance and I installed on the truck myself. Even with the low profile wheel weights, they were rubbing pretty severely, so unfortunately I had to pull off all the weights that were adhered to the inside lip. The funny part is that even with the weights removed, these still ride better than the balancing beads I had in my previous setup. I will never run those again lol. But anyways, yes clearances around the caliper are tight, but if balanced with caution it shouldn’t be an issue. Just let the shop know and they should be able to work around it. I’m going to get mine rebalanced next time I go in for service.
 
Last edited:
Give us the scoop on those Yokahama's. Noise level, ride comfort, wet traction. When my tires wear out I may go MT next.
Will do! Definitely want to get more miles under my belt before I drop a fair opinion, but so far I am very happy.

Road noise is louder than the Klevers which I fully anticipated going into the tire choice. That said, I don’t think the road noise is obnoxious. I definitely notice it more, but nowhere near to the point where I regret the decision. Reviews claim that these are one of the quieter options available, and while I can’t confirm or deny, I don’t think the noise is too bad at all for what they are.

Like mentioned above, these actually ride better than my previous setup. I’m sure the balance beads from the old setup are a partial factor, but the ride itself is definitely softer as well. I’m sure the tire load rating and dropping down to an 18” wheel are big contributors there.

Will definitely update on wet conditions, tire wear, and the others you mentioned once I get more time on them, but so far absolutely zero regrets switching to these.
 
Got a few more updates that I can share. Will probably need to break it up over two posts due to photo limitations on posts.

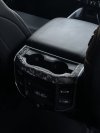
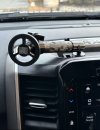
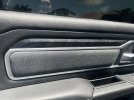
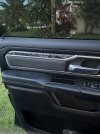
I've seen several others wrap sections of their interior, and it was something I always sort of considered trying but it was very low priority. I finally found some wrap that I liked, and I think it matches the color tones of the BTS seats almost perfectly. It is a ghost metal wrap by vvivid vinyl, and it is a forged carbon fiber design. I wrapped the trim pieces on the door panels, the rear of the center console, and my BulletPoint phone mount. The last section would be the top of the radio bezel itself, but I am debating on removing it from the center console and just leaving the door trim and my phone mount wrapped. Still undecided on what I want to do entirely, but I really like the look of it on the door trim. Whatever I decide, I ultimately don't want it to be too tacky or over the top. I like subtle changes that help accent the already amazing interior.

IMG_7916.jpeg
IMG_8021.jpeg
IMG_8343.jpeg
IMG_8344.jpeg
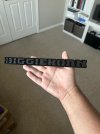
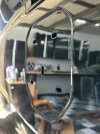
With the switch over to the matte black wheels, I knew I needed to address all the chrome badging on the exterior. While not completely finished in this area, I have started chipping away at it. I debated doing pretty much a full debadge, but again, wanted to try something different and add a personal touch. I reached out to Julia on IG ( The same business owner that made my custom glove box badge) and I had her mock me up a custom rear "BIGGIEHORN" emblem to replace the "BIGHORN" badge. I had the outer perimeter done in gloss black, and the inside of the letters done with matte black to match the wheels. I think it came out great, and it is one of those tiny little changes that could easily be overlooked because it looks very similar to the OEM Night Edition Bighorn badge.

While I was at it, I did decide to debadge the side chrome "RAM" logos, and I'm very happy with the result. It looks so much cleaner without the side emblems in my opinion. I still need to address the remaining rear badges, and decide what I want to do with the front chrome RAM letters. It looks okay with the matte black reflective concepts overlays, but the chrome border is still visible and I do want to eliminate that. I have a couple ideas in mind, but may just end up blacking them out entirely if they don't work out.

IMG_7810.jpeg
IMG_8101.jpeg
4D07332A-30BC-4801-9F58-5527AA7A7348.jpeg
IMG_8185.jpeg
IMG_8186.jpeg
IMG_8188.jpeg
 
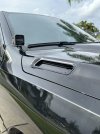
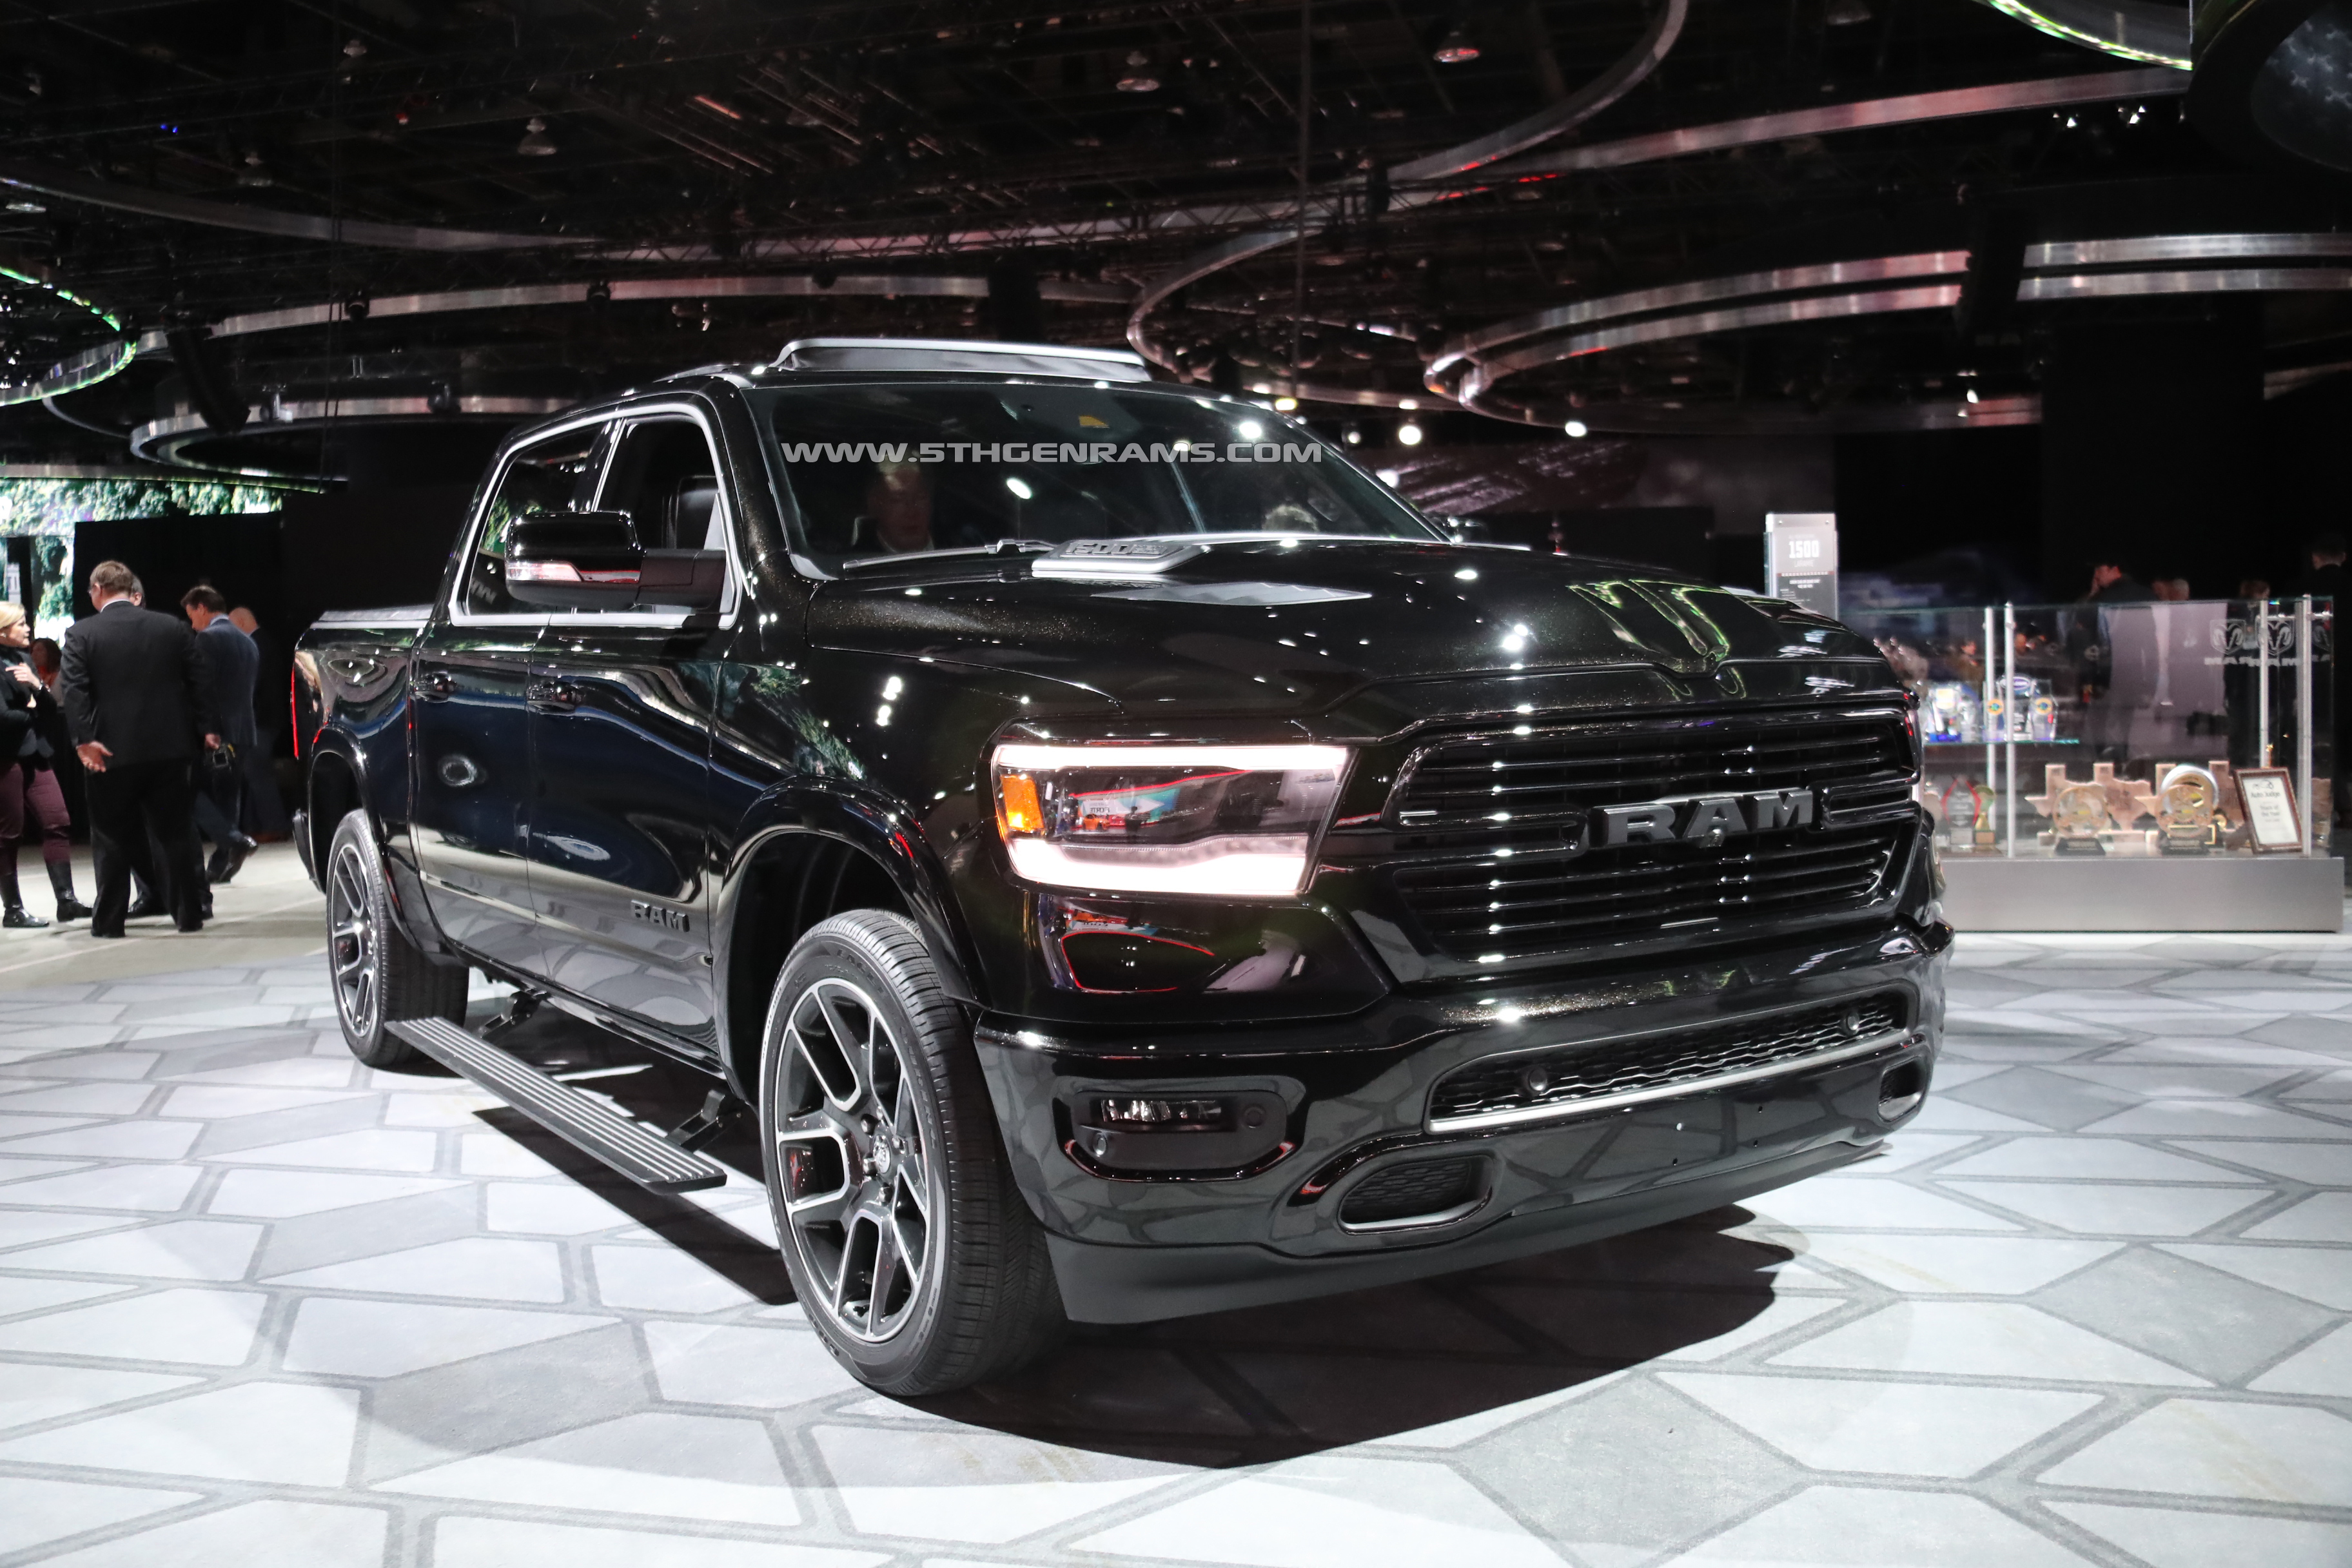
Continuing on the badge topic, I did swap the chrome hood badges for OEM Night Edition hood badges. I thought about doing some custom diamond black paint matching with a portion of these, but after looking at them next to the truck, I think the matte black look goes better and that it helps tie in with the rest of the matte black accents on the truck.

IMG_8266.jpeg
IMG_8345.jpeg

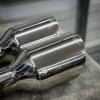
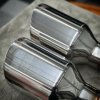
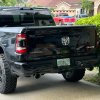
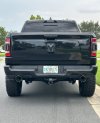
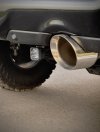
I know this next decision may not make a ton of sense due to all of the de-chroming talk in the few posts above, but I did swap the factory 4" exhaust tips out with B2 Performance 5" exhaust tips. B2 actually provided these to me as a sponsored product before I decided to delete the chrome, and I had them in the garage for a few weeks before getting around to the install. That said, I actually think these offer a really nice look. I thought about swapping them for their ceramic black tips, but I'm going to roll with these for now. I have seen countless pictures of people doing 5" upgraded tips, and I never seen the value. I've got to say though, these look amazing in person and it really does complete the look. I regret not upgrading to these sooner!

E96B6ECD-3220-40EC-9BBE-39DABE71C587.jpeg
5942A766-B181-4E6A-8946-8A1AB82BEBCF.jpeg
5D0EE063-0FE8-4FC8-B87D-6120322EC4A6.jpeg
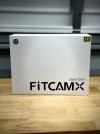
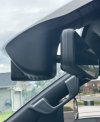
FitCamX also provided me with one of their new model A integrated 4K dash cams, and I am beyond impressed with the quality. The fit and finish is really nice, and I honestly think the camera bezel mounts better than the factory mirror trim panels. Video quality seems great, the app is easy to navigate, and it is such a clean look. It took me longer to remove my original dash camera than it took for me to install this one. Truly a plug and play system that takes 5 or 10 minutes to do.
IMG_7982.jpeg
IMG_8347.jpeg

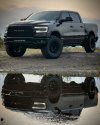
Will end with one of my favorite photos I took a few days back. Absolutely love how this truck is coming together. Fingers crossed, but may have a few more opportunities opening up soon to try out some additional products that I am really excited about. I also have my eyes on a few other things I want to eventually grab, but still need to source a couple items before I can go down those paths.
6BE23013-8003-426B-B464-55C52F858A53.jpeg
 
Last edited:
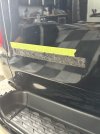
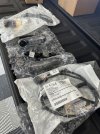
My lower mesh grill is scheduled to be delivered this Wednesday. I figured I would tackle the changes that I wanted to make to the Rough Country wiring harness for the LED bar this past weekend. I cut off the existing on/off button from the RC harness and soldered in my new LED backlit button. The button I went with is the Quentacy 19mm Latching Pushbutton, and it was recommended to me by a member in one of the Facebook groups. The button itself includes its own wiring and while it was inexpensive ($10), it seems to be well made. It looks so much cleaner than the original button in my opinion, and there will be no exposed wiring once it is installed. After everything was soldered, heat shrunk, and taped up, I finished the harness with a wire loom that matches the rest of the RC harness. This created a clean and uniform look. I gave it a quick test once complete and everything works as expected.

View attachment 103629View attachment 103630View attachment 103632
I know it has been a minute since you tackled this project, but do you know how you ran each wire. I have the original switch, which is ugly and was looking to upgrade. I was just curious how the five wires are brought down to 3?
 
I know it has been a minute since you tackled this project, but do you know how you ran each wire. I have the original switch, which is ugly and was looking to upgrade. I was just curious how the five wires are brought down to 3?
The RC harness has a blue, black, and white wire.

The button switch I bought from Amazon had 5 wires, but you won’t need to use all of them.

I wired black from the RC harness to black on the new switch. I wired white from the RC harness to white on the new switch. I wired blue from the RC harness to both blue and red on the new switch. The brown wire from the new switch was unused, and I clipped it off after I verified everything worked properly.

Just note, if you buy the same on/off button I did the wiring colors may be different. I have helped 3 others with this same thing, and two of them matched perfectly. One other guy told me the wiring on his new button switch did not coincide with mine. Was simple enough to sort through with the process of elimination, but something just to be aware of.
 
Got a few more pieces of the puzzle together over the last week or two.

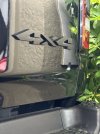
Swapped the remaining chrome emblems on the tailgate over to black.
IMG_8490.jpeg
IMG_8566.jpeg
IMG_8860.jpeg

I recently came across a thread on here for adding OEM bed lights. While there are a few methods to do this, I ended up taking the OEM route that requires the replacement of a couple wiring harnesses up under the bed. Going this route allows the install to be clean and look completely factory. You can take this method for about the same price as the kit Mopar sells that requires you to run the wires up the length of the entire truck, through the firewall, and into the BCM. Once I learned how easy it was to add with the factory style approach, it was a done deal. Took about 20 minutes to install everything. A couple of quick changes in AlfaOBD activated the lights and they are working great!
IMG_8763.jpeg
IMG_8861.jpeg

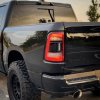
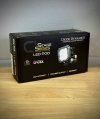
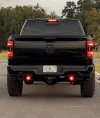
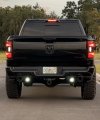
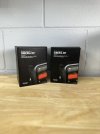
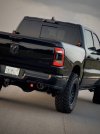
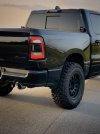
Diode Dynamics recently sent me their new reverse light kit and I was able to get that installed after the bed lights. I opted for their C1R light which includes running lights, brake lights, and reverse lights. This system is completely plug and play and comes with the necessary wiring harnesses to make everything work right out of the box. I’ve only had this on for a couple of days so far, but I’m really happy with both the looks and added functionality of this setup.

IMG_8715.jpeg
IMG_8866.jpeg
IMG_8862.jpeg
IMG_8863.jpeg

And just to wrap this post up, one last photo of the rig.
D0BEE937-1706-4570-98C8-C46709A55734.jpeg
 
Light it up! Just another quick lighting addition to the rear of the truck.

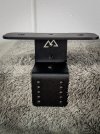
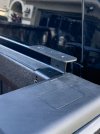
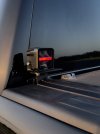
Shortly after adding the Strands light bar and cubes up front, I found a set of matching Siberia cubes that I knew I wanted to eventually add in the rear as a chase light setup. The biggest obstacle was trying to find a mounting solution that would fit with my build. There aren't many chase light bracket options available to begin with, and even fewer options that will work with tonneau covers.

After some searching, I came across these brackets by GODZ MFG. They are advertised as a Chase Light Antenna (CLA) bracket that will work with most bed covers on the market. These are listed as a universal product, but the company owner has a set of them installed on his Ram 2500, so I figured I could make them work on my truck relatively easily. The CLA brackets are amazing. There are two mounting points per bracket giving you added versatility to really customize the setup to your liking. The intention behind the dual mounting points is so that you can install both a light and antenna if desired, but you could realistically use that second point to mount whatever you'd like. Fitment was absolutely perfect on these brackets and the included tie down point on the rear side helps with cable management. I can't speak for every truck, every tonneau cover, or every lighting option out there, but everything fit together flawlessly with my specific setup.

The lights are Strands Siberia RP's, and the RP stands for Red Panda. Kind of an odd name for pod lights, but after seeing them, I knew I wanted to add them to the build. They have the same shape, specs, and overall dimensions as my A pillar lights. The only difference is the optional DRL colors. While my front cubes have the option between white or an amber DRL bar, these lights have red or amber. I'm currently only using the red DRL option for additional running lights. I think this setup came out sweet. Both the lights and brackets were sponsored items, but that in no way changes my opinion on either one of them. I'm proud to run these on my truck. Awesome quality all around.

IMG_9172.jpeg
IMG_9155.jpeg
IMG_9203.jpeg
IMG_9351.jpeg
IMG_9395.jpeg
IMG_9362.jpeg
IMG_9366.jpeg
IMG_9388.jpeg

This last one just because I love my warehouse photos lol.
8D2E42A0-1FE4-4AE3-BE83-739D54A26A94.jpeg
 
12/28/2021
Bulletpoint Phone Mount

I asked for this purely based on the hundreds of positive reviews I came across online. I didn’t realize how much I actually liked the product until I had it. I had become accustomed to using the phone holders in the center console so I didn’t think this would really add any value for me but I’ll tell you that I’ve quickly changed my mind. I have to carry two cell phones regularly, one of which being my work phone that I do not have connected to my Ram. This holder works perfect for allowing me to keep a line of sight on calls as they come in and keep both hands on the wheel. Not to mention I think the holder looks bada** and it is built extremely well. Love the versatility of this in that you can add additional accessories to the ball mount however you please.

View attachment 116442
View attachment 116443
1/8/2022
Recon LED 3rd Brake Light
Factory OEM Night Edition LED Tails

At the time of this post, the Recon 3rd Brake Light is still a very new product. I really liked the look of the light, and with minimal reviews or information on it, I decided to jump in and take the gamble with it. I’ve only had it installed for two days, but I’m pretty impressed with it so far. It adds a clean appearance to the back of the truck and has the look that I was going for. I have a separate thread created for this light in the modifications section of the forum if you care to read about it in greater detail or would like to see additional photos.

View attachment 116446
View attachment 116447

Okay so for the taillights… I have drooled over the night edition LED taillights probably since before I had this truck. I’ve wanted them since day 1 of ownership, and unfortunately it only seems like they keep going up in price. I’ve seen prices as high as $1500 asking for a set, and as bad as I wanted them, I just couldn’t pay that. I found these listed on eBay as a new/open box item and the price was adjusted to reflect that. They were guaranteed so I decided to take a deep breath and pull the trigger lol. These have the blind spot modules in them and I do plan on adding BSM to the truck in the coming months so I used that as leverage to help convince my buying decision 😂. I also have a buyer lined up for my halogen tails at a couple hundred bucks so that will help recoup some of the money for this upgrade. I absolutely love the look of these and the taillights were definitely brand new. There wasn’t a mark on them whatsoever or any indication that they had ever been installed. I can’t get over how much of a difference the taillights and 3rd brake light makes to the back end of the truck. Expensive upgrade, but I can breathe a sigh of relief (for now).

View attachment 116448
View attachment 116449
View attachment 116450
I’m only a few pages into your thread, after having the 3rd brake light for some years what are your final impressions. I tried to search for your thread on the write up on it but can’t seem to find it
 
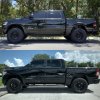
So I just crossed over 1 year of ownership back on 5/22/22. Feels like I've had this truck forever and at the same time it seems like I just signed the paperwork yesterday. One year, approximately 10,500 miles later and I have no regrets. I'm just as happy with this purchase as I was back on day one, if not even happier now because I've made it my own. Speaking of making it my own, I decided to recap with a list of pretty much everything I have done to it over the previous 12 months.
  • Spray In Bed Liner
  • Ceramic Window Tint
  • TAC Straight Bar Side Steps
  • Bumper Plugs
  • 3W All Weather Floormats
  • Enixwill Tow Hooks
  • Autmatch Shackle Hitch
  • 3.5" ReadyLIFT SST Kit
  • 20x10 -18 Fuel Rebel Wheels
  • 35x12.5x20 Kenda Klever Tires
  • VLAND LED Reflector HeadLights
  • Rough Country Black Series Light Bar
  • Lasfit Interior LED Lights
  • Lasfit LED Fog Lights
  • Infinity Reference Dash Speakers
  • Built To Serve Edition Seat Covers
  • Rexing V1-4K Dash Camera
  • B2 Fab Round Muffler & Res Delete
  • Bulletpoint Phone Mount
  • Recon LED 3rd Brake Light
  • OEM Night Edition LED Taillights
  • Added Rain Sensing Wipers
  • Added Passive Entry
  • Added Blind Spot Monitoring
  • Blacked Out Sport Decals
And here are a couple of before/after pictures just for the hell of it.

View attachment 130332
View attachment 130335
View attachment 130334

Looking forward, I've got several items still on my wish list that I would like to add to the truck. I'm not sure if a build is ever really finished, but these are the things that I have my eyes on the most.
  • BAK Revolver X4S Bed Cover ( I have already ordered and it just arrived today. A separate post will be added for that)
  • Power Folding Tow Mirrors W/ BSM (Still backordered and I cannot seem to source anywhere right now)
  • Amp Research Power Steps
  • OEM/similar bed step
  • OEM Bed Lights
  • Rock Lights? (I'm still on the fence with these. I'm considering just buying true white lights to help accent the truck. I don't have much desire for RGBW but that could change lol)
  • 33 Gallon Fuel Tank (I've wanted to add this for awhile, seems pretty straightforward and it isn’t very expensive to add since I have the 26 gallon currently. Low priority, but would be cool to have)
  • Wheels? (Love the Fuel Rebels, but man they are just too common. Everyone runs them. Also a very low priority, but I would like to eventually sell the Fuel Rebels and throw on a different set of wheels to change things up a bit)
I’ll leave this post with a recent photo I dropped on my Instagram. I didn’t think it was anything special, but it has managed to rack up almost 4k likes in just a few days so I’m assuming that the people must love it lol.

View attachment 130336
This is a just a reminder to myself to check if you did the 33gal swap
 
Thanks man! Yeah the rear passive entry seems to get some really mixed opinions from what discussion I've had with others so far. Some just don't see the value, and I completely understand that it may not really add value or convenience for everyone. Others think it is great. In my case, I almost always open one of my rear doors before the front. Rather it be loading my bag and equipment for work, or most recently, loading my 5 month old son and his belongings in the back of the truck whenever we go somewhere. It may not seem like a huge deal, but when your hands are full carrying bags, backpacks, a baby and his toys, or whatever else I'm hauling around, it is going to be so much easier to just grab any door handle and have it unlock the truck. I'm hoping to get the last door finished and operational soon. The other three doors are working great though!

Assuming you have passive entry on the front doors, all you need for the rear is two new passive entry door handles and two new door handle caps in your vehicle's paint code. You will also need to make or purchase the wiring for the passive entry from Jimmy. I bought all of this back in October and I don't remember off hand what I paid for the wiring, but Jimmy can send you a price for the harness if interested. Here was the price for the handles and caps.

View attachment 151256
Sorry you are getting so many notifications but I’m replying to the stuff that I like for my truck.

Truck looks awesome, and as someone with 2 kids I can absolutely see the value in the passive entry for rear doors
 
I’m only a few pages into your thread, after having the 3rd brake light for some years what are your final impressions. I tried to search for your thread on the write up on it but can’t seem to find it
This is a just a reminder to myself to check if you did the 33gal swap
Sorry you are getting so many notifications but I’m replying to the stuff that I like for my truck.

Truck looks awesome, and as someone with 2 kids I can absolutely see the value in the passive entry for rear doors
Will try to address all three comments below.

1. I had the third brake for probably a year or so. I ended up selling it and replacing it with the OEM LED version. I had no issues with the Recon light at all. I just wanted to add the digital rear view mirror, and that requires the OEM LED third brake light with the camera. While I had a good experience with my Recon unit, there have been multiple instances documented on here of moisture and condensation build up inside of the plastic lens. Recon has pretty good customer service and will replace any defective units, but just something to keep in mind if you decide to purchase one. It has been quite awhile since that issue was initially discovered, so Recon may have fixed that problem by now. I'm not entirely sure. Back when I purchased mine, these lights were only like $200. They have since skyrocketed in price. I would not be willing to pay the current price for one of these units. I'd much rather spend a little more and grab the OEM LED version.

Here is the thread mentioned for that brake light.

2. I have not done the 33 gallon swap. It is on my to do list, just hasn't been a very high priority.

3. No problem. Glad to hear that you're grabbing some ideas from here. Yes, the rear passive entry has been a great addition. 100% worth the time and effort in my opinion. It is something so simple and it may seem insignificant for many, but I use it everyday. Love the added convenience.
 

Users who are viewing this thread

Back
Top