MikeyHo808
Ram Guru
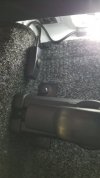
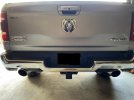
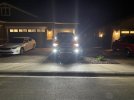
Finally got around to installing my bed lights. Wasnt that difficult, as I opted to wire to the rear of the 7 pin receptacle. However, the receptacle was dead, no power. After some digging, I found the 30 amp Trailer tow receptacle fuse under dash was blown, so more time taken to run to Autozone and get a replacement.
Read a post about loose fuses, and to my irritation, a good portion of the fuses in the interior block were not fully seated. So while i was in there, i checked them all to make sure no more blown fuses. Luckily, that was it.
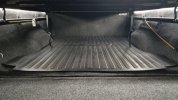
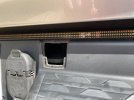
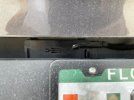
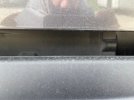
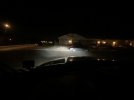
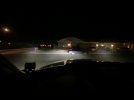
LED's were an Amazon purchase, came with the on off button, which i put velcro on the back of switch and stuck to my bedrug on the driver's side inside corner of the bed. Light strips are mounted on the bedside just above the top of the Bedrug side panels. Ran the wiring from passenger strip to driver side strip under the bedrug, which made it even easier...no extra work trying to hide wiring.
Overall, about 3 hours if you include the trip to the parts store for the fuse.
Next up, running board lights.
Read a post about loose fuses, and to my irritation, a good portion of the fuses in the interior block were not fully seated. So while i was in there, i checked them all to make sure no more blown fuses. Luckily, that was it.
LED's were an Amazon purchase, came with the on off button, which i put velcro on the back of switch and stuck to my bedrug on the driver's side inside corner of the bed. Light strips are mounted on the bedside just above the top of the Bedrug side panels. Ran the wiring from passenger strip to driver side strip under the bedrug, which made it even easier...no extra work trying to hide wiring.
Overall, about 3 hours if you include the trip to the parts store for the fuse.
Next up, running board lights.