Thanks for the information. Anticipating seeing the picks of her lifted high with new shoes.Thanks! I thought the chrome ram head was pretty gaudy! The billet badge was a little pricey, but totally worth it!. Not a big fan of all the Ram badges/stickers. First day I owned it, I peeled off the Sport stickers. I put grey vinyl on the door emblems and grill emblem. I may switch those to black since my running boards will be black. Can't wait to get the new rims, tires, and lift! I will post picks next week when it's done.
No issue at all with the MFT. The cab end was the tricky part with the corner bed braces. It took a little maneuvering, but the locking rods on the front fit into the bolt holes for the corner bed braces. I don't anticipate using the front lid a ton, so I'm not super concerned about that. No leaks anywhere now. Initially, there was a bit of a gap on the cab end, but Diamondback sends extra weather stripping specifically for that purpose. Been through several rain storms and the car wash a few times. No leaks.
5thGenRams Forums
You are using an out of date browser. It may not display this or other websites correctly.
You should upgrade or use an alternative browser.
You should upgrade or use an alternative browser.
What did you do to your Ram today???
- Thread starter 19BlkRam
- Start date
ez.allgood
Active Member
Check out this thread, they might be able to help you out better than I can.Yes, mine are hex shape. I did get a gun, but I can’t pull it tight enough for them to get tight and stay in the holes , without just popping out of the holes.
Bed Utility rail installation
Your guys that have lit in the utility rails. The manual says to torque to 10.5 Nm (7.5 ft lbs) that math does translate. 10.5nm is like 90 ft lbs. what’s the right torque to use?
The only other thing I can think of is to put some JB Weld on the rivnuts and let it cure to hold them in place before you use the tool to crush it tight.
But try that thread, maybe someone with more knowledge about rivets can chime in
brotherGood
Active Member
Black running boards on that red look amazing. Glad the little lady liked them too. Happy wife makes for a happy life. At least that is what my wife tells me!View attachment 60197
Got my Amazon running boards installed today. Wife loves em, so I guess all is well. Install was less than an hour, which surprised me.
Im glad it's out of the way too, ive gotta get the car fixed so it can be street ready...to be track ready..haha
Waterfowler41
Ram Guru
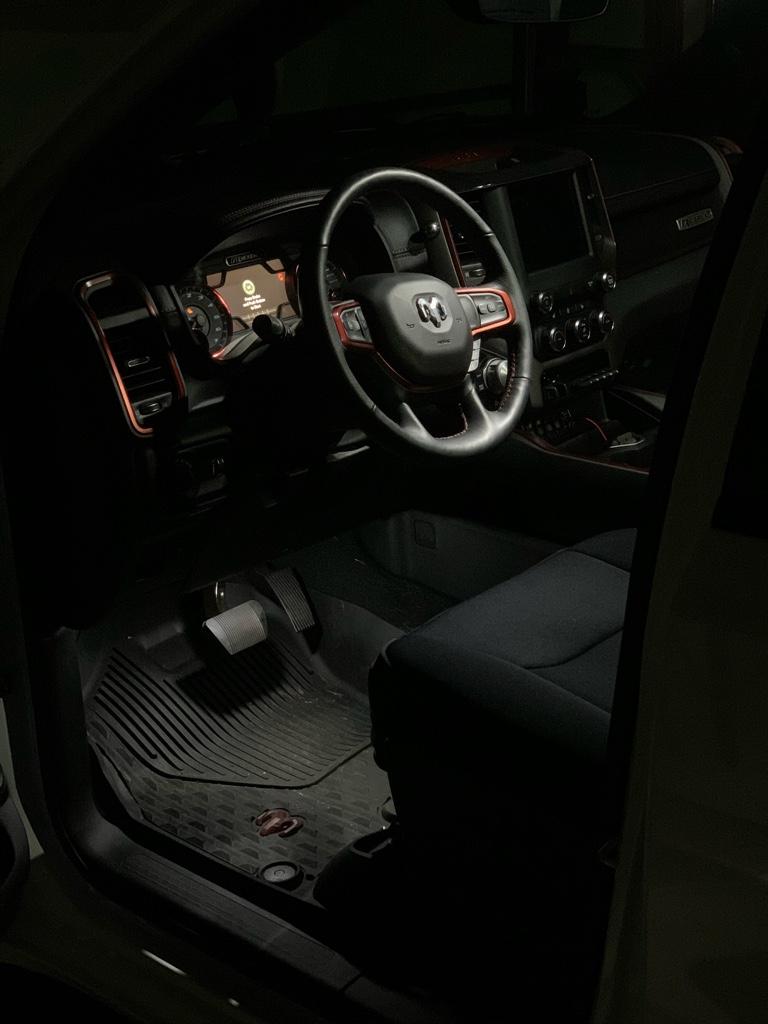
Finished up my Lasfit led conversion tonight with footwell and vanity mirrors. Also upgraded my glove box to LED as well but took a different but fun angle in there that I’ll save for my video.

Thr33BlindMice
Active Member
Yeah....I did the samething and more with the Fyre Flys 15 Piece 6000K White Led Interior Lights from Amazon. Very Happy with the results.Finished up my Lasfit led conversion tonight with footwell and vanity mirrors. Also upgraded my glove box to LED as well but took a different but fun angle in there that I’ll save for my video.
Last edited:
Did you do anything with the upper glove box? It has that small light in the center and I can’t tell if it’s led or not already but if it is doesn’t look as bright as my aftermarket ledsFinished up my Lasfit led conversion tonight with footwell and vanity mirrors. Also upgraded my glove box to LED as well but took a different but fun angle in there that I’ll save for my video.

Yeah....I did the something and more with the Fyre Flys 15 Piece 6000K White Led Interior Lights from Amazon. Very Happy with the results.
Do you have specifics on which bulbs fit which lights interior / puddle lamps on a 2019 1500 Limited? Or, can you direct me to the best place to find out which bulbs to order? Thanks!
Paultg
Well-Known Member
Thr33BlindMice
Active Member
This was the interior lighting from Amazon that I ordered.Do you have specifics on which bulbs fit which lights interior / puddle lamps on a 2019 1500 Limited? Or, can you direct me to the best place to find out which bulbs to order? Thanks!
Amazon.com: Fyre Flys 15 Piece 6000K White LED Interior Lights for 2019 & Up Dodge Ram 5050 Series SMD Package Kit and Install Tool: Automotive
Buy Fyre Flys 15 Piece 6000K White LED Interior Lights for 2019 & Up Dodge Ram 5050 Series SMD Package Kit and Install Tool: Lighting - Amazon.com ✓ FREE DELIVERY possible on eligible purchases
www.amazon.com
This was the youtube video instructions.
Tips on the foot lights. The bulbs for the foot light are very hard to take out by hands.... best trick to take them out is to use a small zip tie, make a loop wide enough to loop it thru the bulb, pull down to tighten the zip tie, and pull the bulb out.
Last edited:
406Rebel
Active Member
- Joined
- Dec 26, 2019
- Messages
- 47
- Reaction score
- 153
- Points
- 33
- Age
- 39
My wheel is finished. Can’t wait to see it in person
Attachments
brawler1588
Well-Known Member
- Joined
- Aug 28, 2019
- Messages
- 217
- Reaction score
- 164
- Points
- 43
- Age
- 37
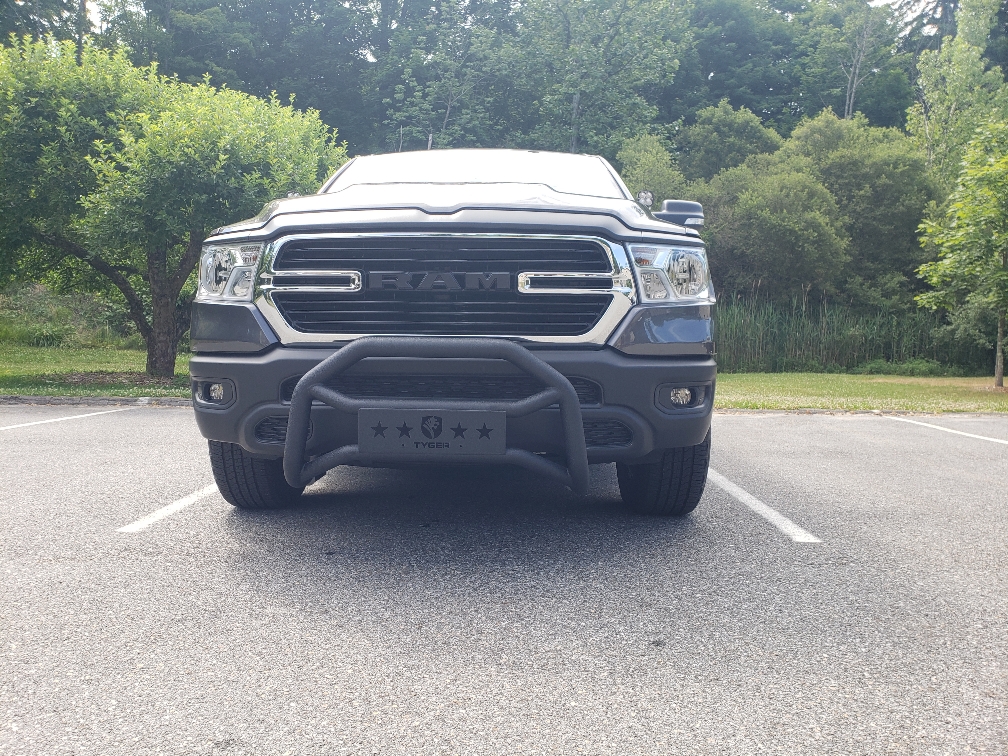
Added the tyger bull bar next will be the light bar mounted on top.
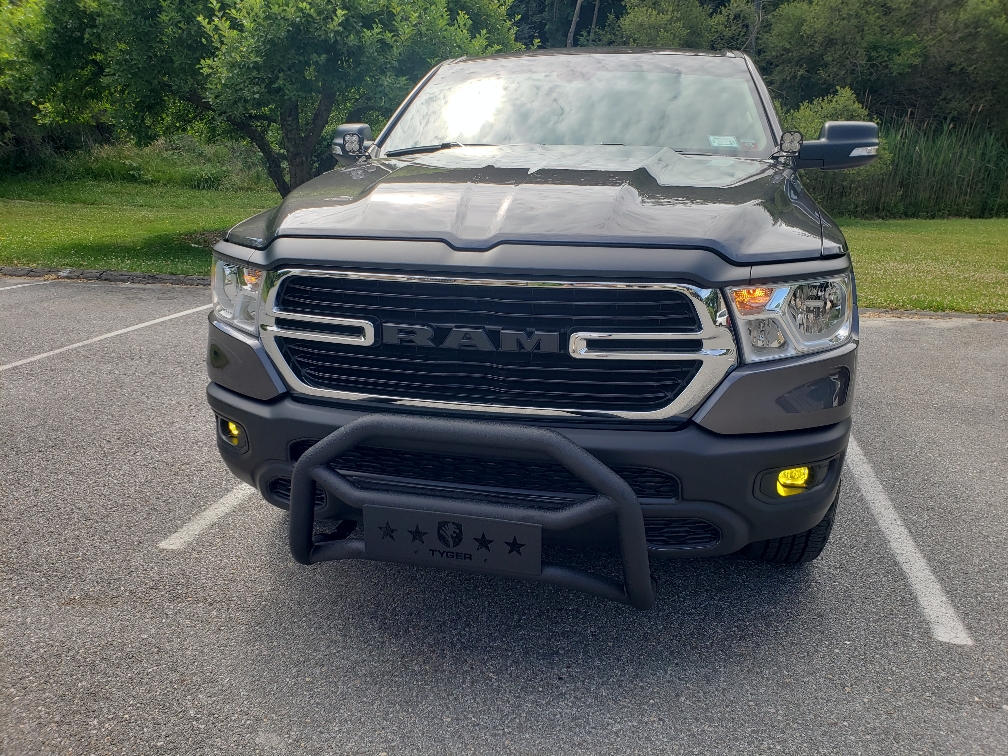
Sent from my SM-G965U using Tapatalk


Sent from my SM-G965U using Tapatalk
Sultanobaidan
Member
Dune bashed in Qatar...
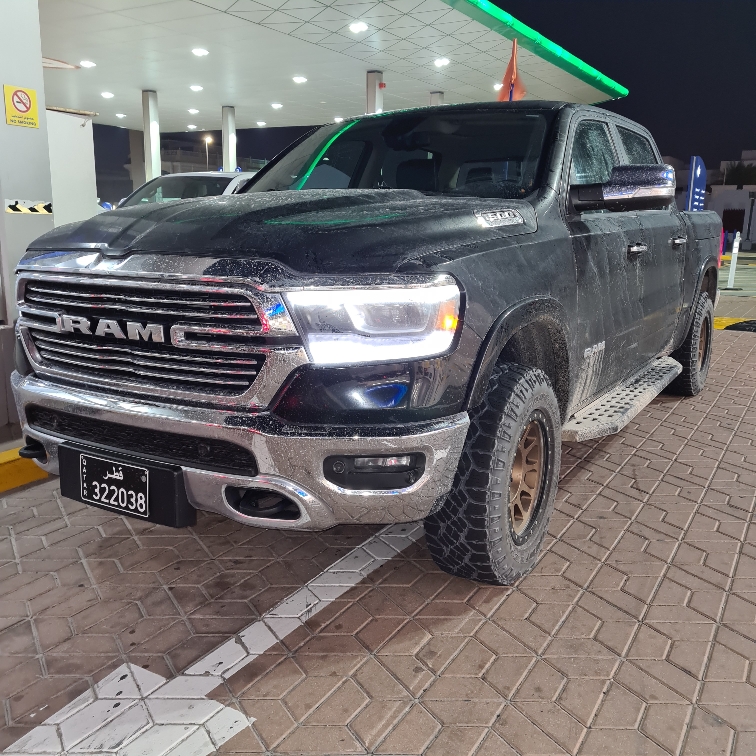
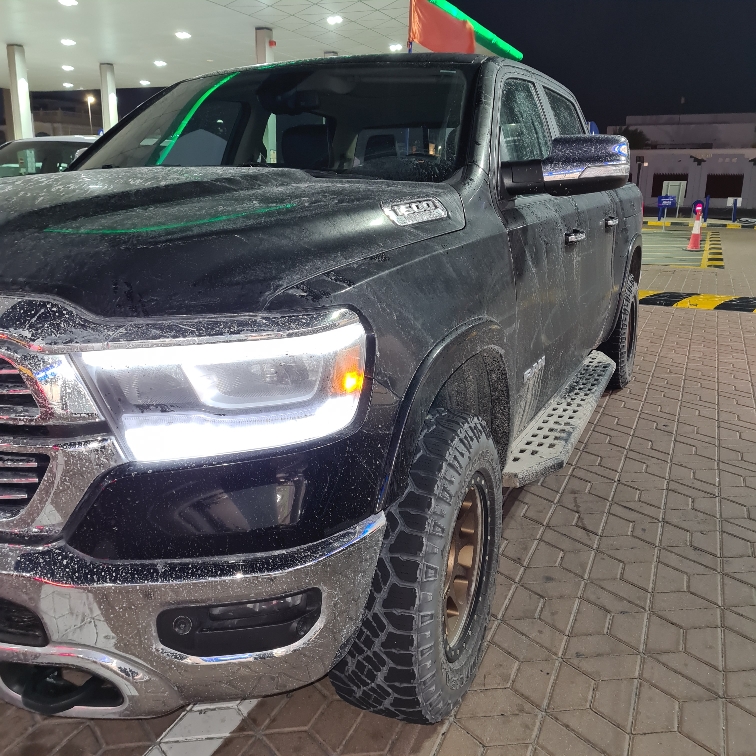
Sent from my SM-G986B using Tapatalk


Sent from my SM-G986B using Tapatalk
thrillracing
Active Member
- Joined
- Mar 11, 2020
- Messages
- 79
- Reaction score
- 83
- Points
- 18
- Age
- 49
My wheel is finished. Can’t wait to see it in person
Real interested in how you think the quality is in person. That’s really nice! I could see some hydro blue in that really helping the interior look.
orange01z28
Active Member
- Joined
- Mar 12, 2020
- Messages
- 101
- Reaction score
- 80
- Points
- 28
- Age
- 45
I put in a Weathertech underseat strorage thing that goes under the back seat
LimitedGRR
Ram Guru
Bought her a cousin.....
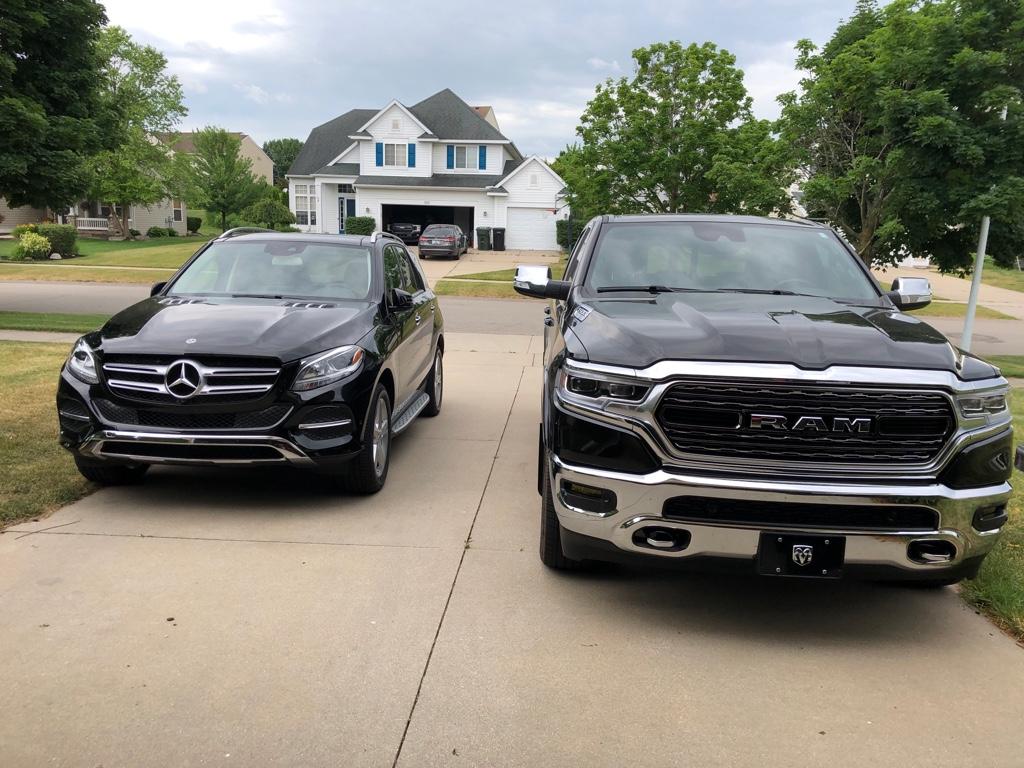
Sent from my iPhone using Tapatalk

Sent from my iPhone using Tapatalk
PorBoy
Spends too much time on here
^^^ Nice, I’m currently looking for a project vehicle also, which model is that one ?
LimitedGRR
Ram Guru
^^^ Nice, I’m currently looking for a project vehicle also, which model is that one ?
GLE 350
Sent from my iPhone using Tapatalk
Swag1981
Member
Users who are viewing this thread
Total: 7 (members: 0, guests: 7)


