blownout1500
Well-Known Member
- Joined
- Sep 17, 2018
- Messages
- 260
- Reaction score
- 291
- Points
- 63
- Age
- 49


Got level, wheels & tires on : ) The top pic is our NEW 2019 (4x4 NAV Pano 3.92 and a slew of upgrades that we traded for the 2019 4x2 below it, and below that is my 2019 : ) (On the 4x4, went with a more aggressive tire & all black wheel this time to compliment the sport pkg... so glad to see all that chrome go bye - bye lol ; )
View attachment 25045
View attachment 25044
(Here's mine...Didn't do "NUTHIN' today to her" but love her to bits, as i do everyday...lol)
View attachment 25041
If you remove 2 bolts, the panel under the steering wheel pops off. This will give you easy access to the factory OBD-II mounting spot. I removed the factory OBD-II from it's mount, rerouted the cables and reattached it up out of the way under the dash. I then did some plastic trimming to both the bypass OBD-II unit and factory mount location to mount the bypass unit.
Give us the details on the level and tires. Looks great!


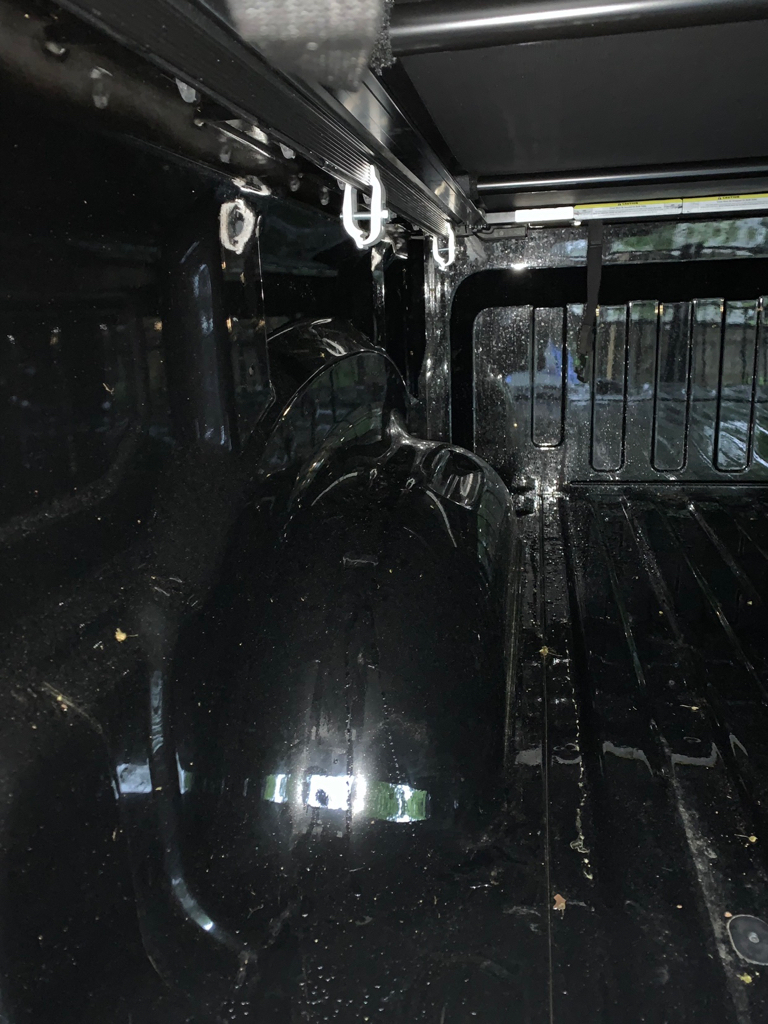
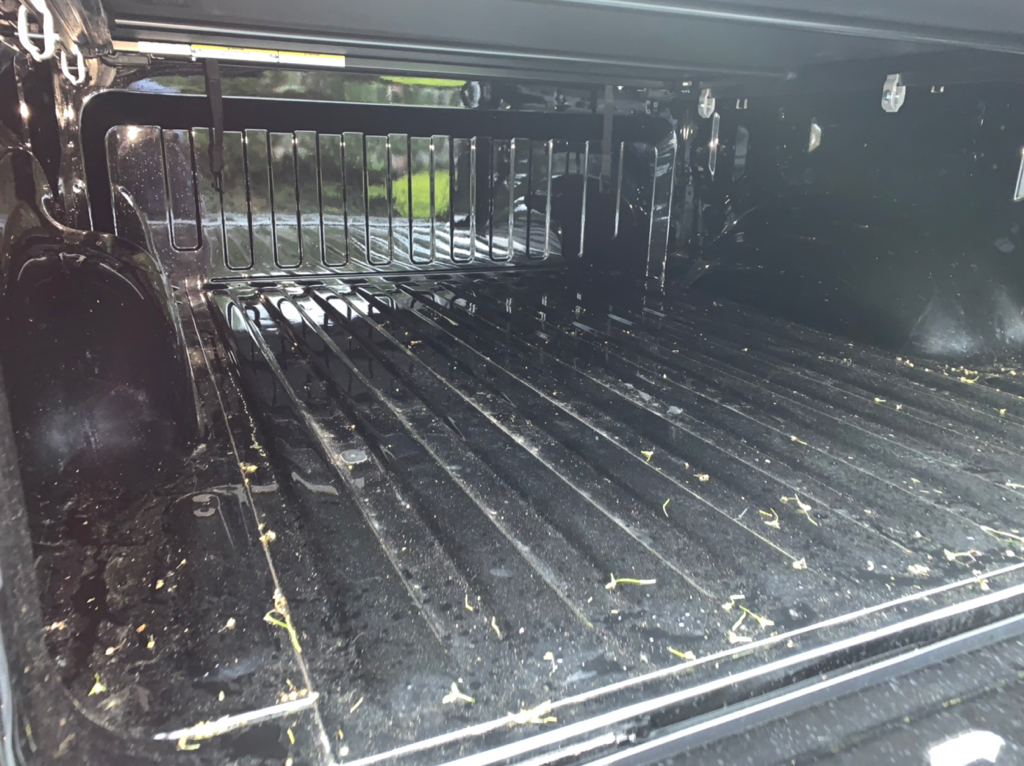
Update: I love my Diamondback HD Cover. Thing can hold 1600 lbs on top. One thing I don't love it how its secured to the truck. They use 4 aluminum clamps that could break and/or the threads can shear. More likely and what happened to me is the clamps can wiggle loose because the whole top is rimmed with a rubber gasket which lets the top bounce up and down and sideways just enough and the top can flex a wee bit enough to allow the clamps to loosen. So to address the issue and make the top is still removable with a wrench in 10 mins, rock solid and cannot wiggle free. I had a local auto body shop bolt the center section to the bed rails. Took less than 4 hours (mostly measuring and test fitting time) and $200 bucks and its done. The bolts hide under the rail so they can't get bumped by anything in the bed (or me) and you can't see them. They also now allow me to install the Mopar Bed Divider kit because the clamps prevented install. And if I ever take the top off all the way for period of time I can just insert 4 plug caps to cover the holes on top of the plastic bed rail cover. They rust proofed the drilled holes, hardware and steel flat bar sandwich I put in and I can re-rust proof later if needed. I'll take some pics tonight. Here's the design I gave to the shop. . The rubber gasket is awesome and have had ZERO leaks though rain storms and car washes. Peace of mind now.Picked up Diamondback HD cover from FedEx Freight. Guy loaded it right into the bed and off I went. Install took me little over an hour because I did it myself and I'm short. A second person would make it easier. No drilling. Fit perfectly first try. For those that don't know about this top: both panels lock. it makes bed waterproof. it will hold 1600 lbs on top. you can add mounts to it like racks and a RTT. its double coated with Line-X that has UV coat. I've seem interior mods where folks add brackets to hold shovels, axes, hi-lift jacks etc... Its rock solid. Gas shocks make opening easy. And the panels are easily removed - one or both. And if you need to take the whole thing off - Two people would make the whole take off less than 10 min job - unscrewing the clamp nuts would take most time. Up next: Will add Mopar Cargo bed divider this weekend. The top and internal stainless steel locking bars or clamps don't interfere with the cargo rails. Then Frontrunner rack tracks, mounts and rack followed by RTT.
Got home and found this by front door,, plan is to install tomorrow View attachment 25191
How much? Let me know how it does when that rain comes back.


Must be nice to get bubble wrap. Mine had brown paper and was hanging out of its box through a fairly large hole. The shippers really seem to hate that bed step for being so heavy.
Sent from my iPhone using Tapatalk
Got home and found this by front door,, plan is to install tomorrow View attachment 25191
I got an AMP Research step after the dealer wanted around $600 for the Mopar step. Is that in the ballpark? I paid a little over $200 for mine
Is there much difference between the 2? Would the Amp Research clear the Magnaflow cat back system better as I understand the Mopar one interferes with the big exhaust tips. Does one seem sturdier built than the other?Mopar is around $275 depending where you get it.
Does AMP make a bumper step yet? They do make a side bed step.I got an AMP Research step after the dealer wanted around $600 for the Mopar step. Is that in the ballpark? I paid a little over $200 for mine
Mine too. It looked like it had been thru a tumbler by the time it got to me. But the actual unit was fine.Must be nice to get bubble wrap. Mine had brown paper and was hanging out of its box through a fairly large hole. The shippers really seem to hate that bed step for being so heavy.
Sent from my iPhone using Tapatalk
