5thGenRams Forums
You are using an out of date browser. It may not display this or other websites correctly.
You should upgrade or use an alternative browser.
You should upgrade or use an alternative browser.
What did you do to your Ram today???
- Thread starter 19BlkRam
- Start date
raygun9
Well-Known Member
- Joined
- Oct 23, 2022
- Messages
- 344
- Reaction score
- 184
- Points
- 43
- Age
- 45
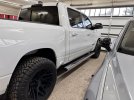
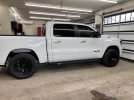
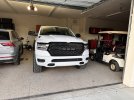
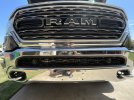
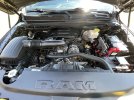
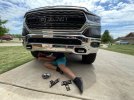
Looks great, what fog and headlights are these?Some minor tweaking. New steps and vinyl overlay for the RAM in the front.
View attachment 157103View attachment 157104View attachment 157105
Sent from my SM-G781U1 using Tapatalk
familywagon
Active Member
- Joined
- Dec 28, 2022
- Messages
- 80
- Reaction score
- 108
- Points
- 33
- Age
- 38
Thanks you.Those tips look nice.
After driving around the last several days. I believe the muffler is starting to break in. Tone is a little louder and it’s absolutely perfect for me. No drone at all and wife and kid approved while on the highway
boogielander
Spends too much time on here
- Joined
- Jun 29, 2022
- Messages
- 3,566
- Reaction score
- 5,674
- Points
- 113
make your friend run while you ride the bike! simple lol
Idahoktm
Spends too much time on here
I did the same thing. I got a couple of wireless pads and a plug in for 115 volt. Then used two sided tape and put them on. They work really good and quick charging.
That's the cleanest aftermarket install that I've seen yet. It would look even better if you tucked the wires into the channels on the left and right of your wireless pads.
Fcso227
Active Member
You are right. We had just put them up minutes before I took the picture. I am definitely going to tuck them up.That's the cleanest aftermarket install that I've seen yet. It would look even better if you tucked the wires into the channels on the left and right of your wireless pads.
Belvedere
Ram Guru
- Joined
- Feb 28, 2022
- Messages
- 1,017
- Reaction score
- 1,379
- Points
- 113
- Age
- 48
make your friend run while you ride the bike! simple lol
I rode anyway...
Shine006
Active Member
Insanity
Ram Guru
- Joined
- Apr 14, 2023
- Messages
- 818
- Reaction score
- 1,075
- Points
- 93
- Age
- 41
That looks really good. I want to tint mine but thinking 20 or 30 front and something to bring the rear to as close to like 5%. Did you do a brow also? How does it look from inside?Got her tinted yesterday. 15% upfront with 50% over the factory on rears. View attachment 157126
JamRam
Ram Guru
- Joined
- Aug 17, 2021
- Messages
- 887
- Reaction score
- 2,110
- Points
- 93
- Age
- 25
I did the same thing. I got a couple of wireless pads and a plug in for 115 volt. Then used two sided tape and put them on. They work really good and quick charging.
I like this!
I've been rocking my brain trying to come up with a neat way to install wireless charging in my truck. I have a jump seat in the front, which means no center console.
Can't identify a good spot to put and connect a charging pad. :-/
Loudram
Ram Guru
I like the way the square pads look better than the round ones. I may replace it with a couple of square ones. We'll see.I did the same thing. I got a couple of wireless pads and a plug in for 115 volt. Then used two sided tape and put them on. They work really good and quick charging.
jimothy
Ram Guru
I like this!
I've been rocking my brain trying to come up with a neat way to install wireless charging in my truck. I have a jump seat in the front, which means no center console.
Can't identify a good spot to put and connect a charging pad. :-/
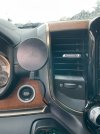
Checkout Course Motorsports mounts. This is their MagSafe mount, which works with iPhone 12 and later. A friend attached a ring to the back of his Android phone, and it works.
I hardwired a USB charger for mine, as the built in USB ports weren’t supplying enough power. But the same friend instead used his 115V outlet in his Big Horn. (Mine is a Longhorn, and unless I’m crazy, the only 115V outlet is in front of the back seats).
P.S. The upcoming Qi2 standard is based on Apple MagSafe, so before long, almost all phones will be MagSafe compatible.
JamRam
Ram Guru
- Joined
- Aug 17, 2021
- Messages
- 887
- Reaction score
- 2,110
- Points
- 93
- Age
- 25
I'm an android user so I appreciate specifics shared.View attachment 157165
Checkout Course Motorsports mounts. This is their MagSafe mount, which works with iPhone 12 and later. A friend attached a ring to the back of his Android phone, and it works.
I hardwired a USB charger for mine, as the built in USB ports weren’t supplying enough power. But the same friend instead used his 115V outlet in his Big Horn. (Mine is a Longhorn, and unless I’m crazy, the only 115V outlet is in front of the back seats).
P.S. The upcoming Qi2 standard is based on Apple MagSafe, so before long, almost all phones will be MagSafe compatible.
I have an outlet in on the passenger side in the front but my teenage daughter always commandeers thar one on long trips. I would likely hardwire mine. Which fuse did you tap for the install?
1BADRAMLIMITED
Spends too much time on here
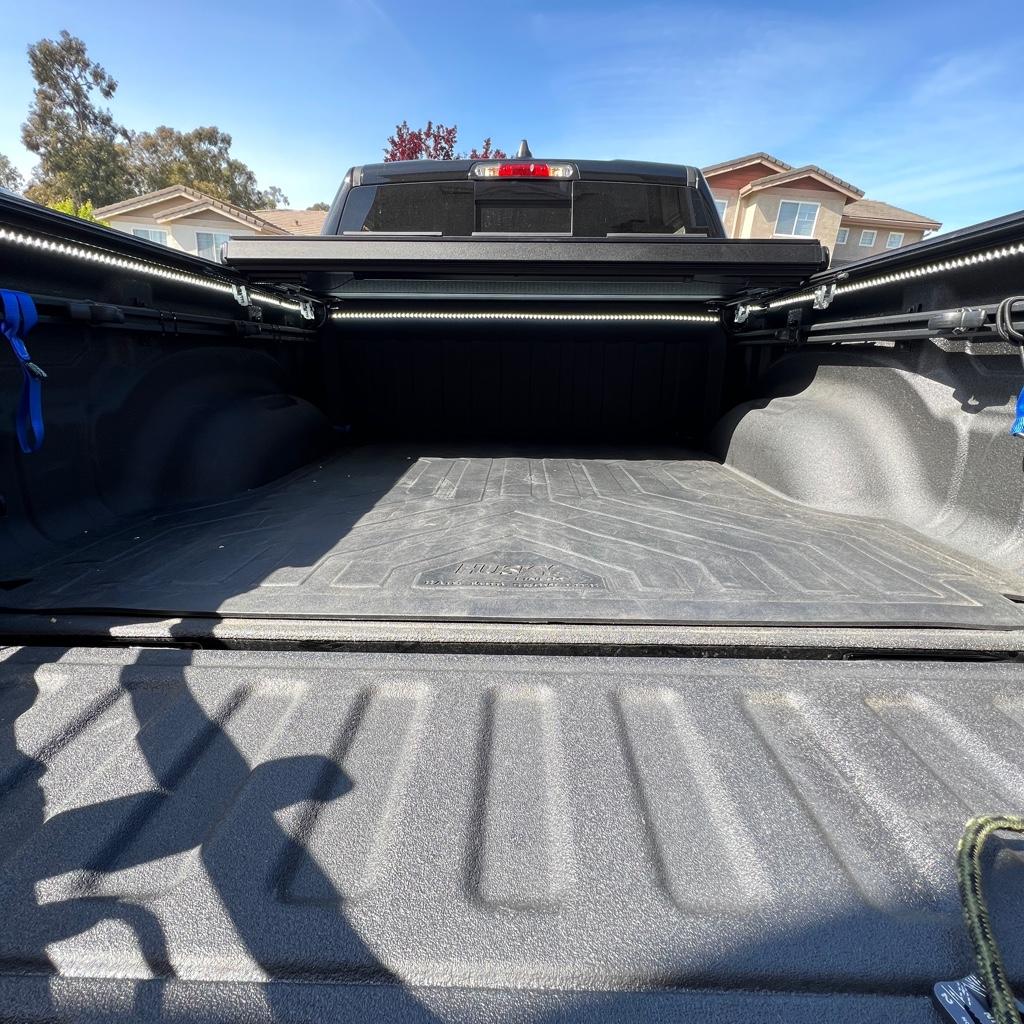
Finished the install of my 32” Lasfit light bar.
• shift and grins brackets
• Lasfit 32” light bar
• 16ga wire
•Deutsch connector (2 pin)
• Blazer remote
• shift and grins brackets
• Lasfit 32” light bar
• 16ga wire
•Deutsch connector (2 pin)
• Blazer remote
Attachments
Last edited:
lapoolboy
Well-Known Member
- Joined
- Mar 5, 2022
- Messages
- 234
- Reaction score
- 319
- Points
- 63
- Age
- 47
Nice! Write up?
Finished the install of my 32” Lasfit light bar.
• shift and grins brackets
• Lasfit 32” light bar
• 16ga wire
•Deutschmark connector (2 pin)
• Blazer remote
1BADRAMLIMITED
Spends too much time on here
I didn’t do a write up but I would suggest watching waterfowler video or this oneNice! Write up?
For the blazer controller it’s very straightforward and wiring is easy.
JamRam
Ram Guru
- Joined
- Aug 17, 2021
- Messages
- 887
- Reaction score
- 2,110
- Points
- 93
- Age
- 25
Upgraded my headlights and both fogs to LEDs. Went with yellow lights for the Fogs.
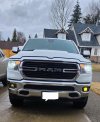
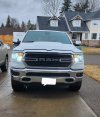
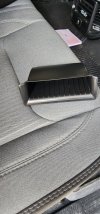
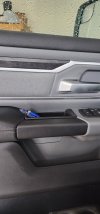
Also installed some more storage options in the doors to help when the jump seat is being used.
While installing the headlight bulbs, my dumb self chose to leave the door open and checked the headlights after each bulb install. Ended up with a dead battery, but I got the chance to test out my tiny jump starter. Worked like a charm.
I also intended to change my cabin air filter but the one I bought was the wrong size. I just dusted out the old one and put it back in for now.
Not too bad for a rainy day.


Also installed some more storage options in the doors to help when the jump seat is being used.


While installing the headlight bulbs, my dumb self chose to leave the door open and checked the headlights after each bulb install. Ended up with a dead battery, but I got the chance to test out my tiny jump starter. Worked like a charm.

I also intended to change my cabin air filter but the one I bought was the wrong size. I just dusted out the old one and put it back in for now.
Not too bad for a rainy day.
lapoolboy
Well-Known Member
- Joined
- Mar 5, 2022
- Messages
- 234
- Reaction score
- 319
- Points
- 63
- Age
- 47
How much of a pain is it to replace the solid bumper panel with the see-through one?I didn’t do a write up but I would suggest watching waterfowler video or this one
For the blazer controller it’s very straightforward and wiring is easy.
ferraiolo1
Spends too much time on here
Pretty easy. I think I had mine done, from that video in a couple hours.
Sent from my iPhone using Tapatalk
Sent from my iPhone using Tapatalk
Users who are viewing this thread
Total: 12 (members: 5, guests: 7)

