5thGenRams Forums

Register a free account today to become a member! Once signed in, you'll be able to participate on this site by adding your own topics and posts, as well as connect with other members through your own private inbox!

What did you do to your Ram today???

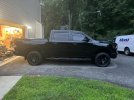
Remove the AAD finally. Will leave the ridged air dam in place until I get the new front and rear bumpers installed.
 
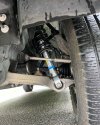
Yes I have a 2" lift in the rear. I also replaced the rear fox shocks with 5100s. I like the ride much better than my Mopar lift so far, bilsteins eat up bumps much better.
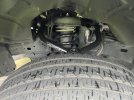
Measurements from center hub:
PF 25 3/4
PR 25 3/4
DF 25 1/4
DR 25 1/2

Your truck looks good. I'm surprised clip 6 makes your front so much higher than mine. My front is only about 24.5 on clip 5 with tophat and my rear is about 26 just with a quick eyeballing of the tape.

I've thought about moving it to clip 6, but I'm already getting close to my 7' garage door. (photo taken with full tank of gas)
 

Attachments

  • 20220630_190343 (1).jpg
    20220630_190343 (1).jpg
    35.3 KB · Views: 141
6482e3dfde8413a89f4e8815c7df3b49.jpg

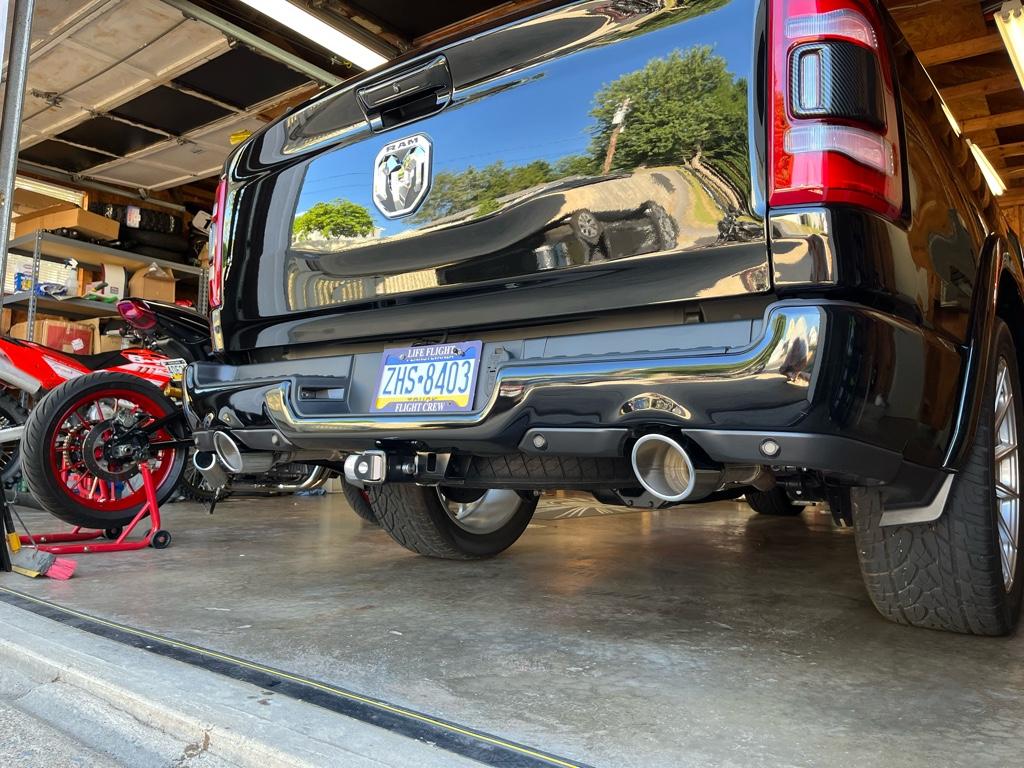
Put the stock tips back on. They look better, but they really changed the tone of the exhaust believe it not, nor sure how I feel about it.


Sent from my iPhone using Tapatalk
 
Your truck looks good. I'm surprised clip 6 makes your front so much higher than mine. My front is only about 24.5 on clip 5 with tophat and my rear is about 26 just with a quick eyeballing of the tape.

I've thought about moving it to clip 6, but I'm already getting close to my 7' garage door. (photo taken with full tank of gas)
Thx, I suspect the front will settle a little bit (prob close to 25). I read on here that someone else was around 24.5 on clip five with same setup and I wanted to be closer to 25 which is why I went clip 6.
Yeah that's a tight squeeze 😬, clip 6 might put you close to hitting.
 
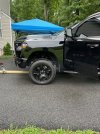
Installed my Readylift 3.5 inch lift kit along with Bilstein 5100. Didn’t use the preload spacer. Set the strut to setting 5. After it settled. Center Hub to fender front is 25.25 and rear is also 25.25. After I got gas everything stayed the same but driver rear. Dropped to 24.5. Ground to fender before gas all was 40inches even. Drives great. Smooth front end. Really did notice anything. Except it feels more boated lol. More body lean now. Waiting on one more wheel to deliver and then I’ll mount the wheels and get the alignment. But she not even pulling left or right. So I’ll deal with the no alignment until I mount my new wheels and tires. Had to drill out one strut since the 8mm spot on shaft Broke off. So much rust on the nuts. At least only spot on the truck that I seen have rust. And luckily I had new struts to install. Or I would have been dead in the water. Install was super easy. Even having to drill out the one I did that side in 2.5 hrs. Oh yeah it was raining and had a tent over me. Picture of the truck next to me. At that time it was only lifted in the front. I had to take a brake during install. Help my wife. I have no idea who that is. Just seen it and parked. To get a idea how much it lifted visually.
 

Attachments

  • 2B2AD7A3-4C7D-4CC6-8DC5-8AB618DAE02A.jpeg
    2B2AD7A3-4C7D-4CC6-8DC5-8AB618DAE02A.jpeg
    231.3 KB · Views: 167
  • 00DBE7C9-4A55-4EC9-9E13-958994D05BB1.jpeg
    00DBE7C9-4A55-4EC9-9E13-958994D05BB1.jpeg
    225.1 KB · Views: 152
  • D9F7A22B-6B99-4F86-B633-AD53F56ADF70.jpeg
    D9F7A22B-6B99-4F86-B633-AD53F56ADF70.jpeg
    268.2 KB · Views: 133
  • 723D2FDA-8A56-4180-91C1-B20D79B49BB2.jpeg
    723D2FDA-8A56-4180-91C1-B20D79B49BB2.jpeg
    295.4 KB · Views: 130
  • 3F1DC3E3-39C6-46CA-8D13-9D61D0290953.jpeg
    3F1DC3E3-39C6-46CA-8D13-9D61D0290953.jpeg
    185.3 KB · Views: 132
  • 275E05EB-97EF-4141-946E-04DE520DC141.jpeg
    275E05EB-97EF-4141-946E-04DE520DC141.jpeg
    180 KB · Views: 132
  • 57669167-AC4A-456C-800C-38985C5C5AD3.jpeg
    57669167-AC4A-456C-800C-38985C5C5AD3.jpeg
    152.8 KB · Views: 150
  • 0CCCDCE1-7B43-4CFE-8A06-F54CBD135C81.jpeg
    0CCCDCE1-7B43-4CFE-8A06-F54CBD135C81.jpeg
    295.7 KB · Views: 167
  • 40C8F04B-9236-47B7-8AA7-4991FA75D1C8.jpeg
    40C8F04B-9236-47B7-8AA7-4991FA75D1C8.jpeg
    238.9 KB · Views: 170
Any tips for the Putco install? Also looking at the weathertech bug/stone deflector...Mopar Ram air a bit pricey right now. Working through the limited tonneau cover options (rambox, MFT, and the infamously limiting black cargo rails)...
Sorry for delayed reply, didn’t notice you had tagged a question to me. The Putco install was pretty straight forward. I used 1/2” spacers all across and it fit well. Just be sure you line up your drill points well for where you’re going to mount the bolts/brackets. I lined up so the bottom of the Putco was aligned right at the top of the bumper to ensure tailgate clearance, but was off slightly on one of my drill points and had to redrill (Doh!). I secured the bolts with lock washers and wing nuts.

I’m happy with the Weathertech bug/stone deflector. It’s a bit pricey, but the powered ReTrax tonneau cover has been great as well.
 
6482e3dfde8413a89f4e8815c7df3b49.jpg

Put the stock tips back on. They look better, but they really changed the tone of the exhaust believe it not, nor sure how I feel about it.


Sent from my iPhone using Tapatalk
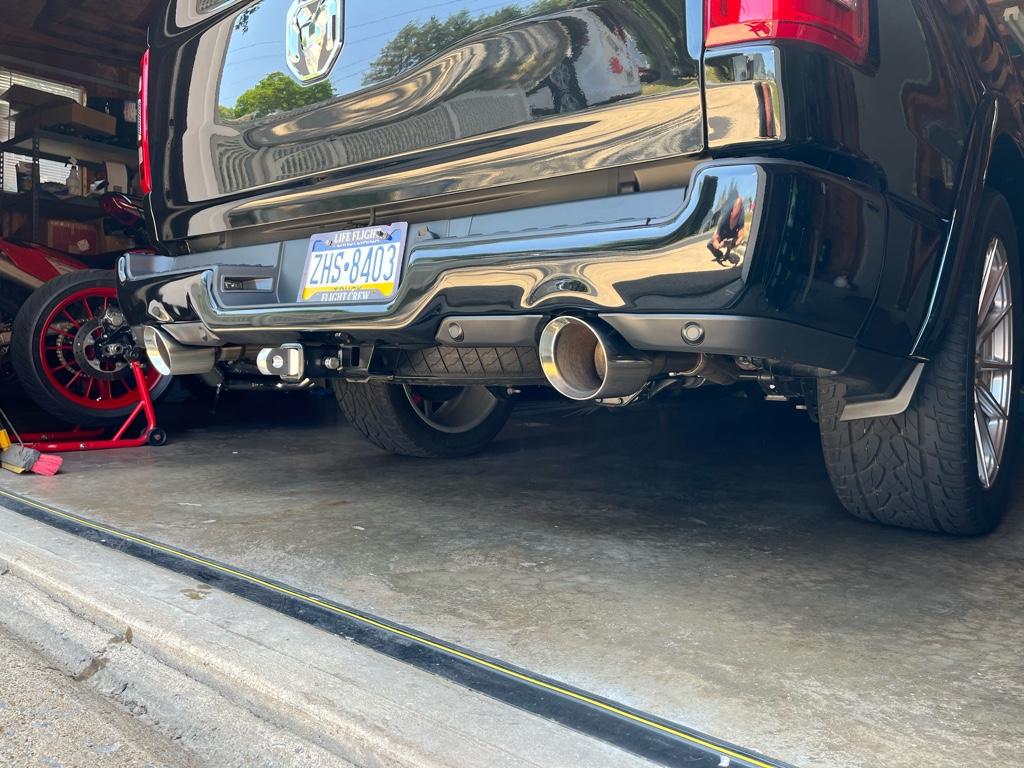
And put the 5in tips back on. They really do change the sound for the better. They act like a megaphone. I didn’t do a vid with the rams. But this is what it did on my Silverado with a similar type tip

a1684f819dbce0532cf03b1362ff9533.jpg


Sent from my iPhone using Tapatalk
 
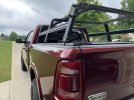
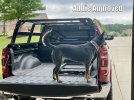
I installed my third—and final, goshdarnit—iteration of a bed rack. It's from Xtrusion Overland, and is constructed from 15 series aluminum extrusion. This makes it super customizable, and I'll be adding other goodies to it over time. I've got the parts to add an additional set of side bars to each side to hold more stuff, and the bars can be set at any height along th vertical supports.

tempImageiXMxxB.jpg

You can get these in multiple configurations: Different heights, lengths, black or silver (I kinda which I had gone for silver), four or six vertical supports, different ways of mounting (mine works with my Retrax XR retractable cover). Mine is 66" long, 18" heigh, which places it about 5" below the top of the cab.

I really want to find a way to add/relocate the camera for the digital rearview mirror to the back of the rack, so I've got an unobstructed view of what's behind me. The rack partially covers the CHMSL camera, and went my rooftop tent is mounted, the camera (and brake light) will be completely blocked. I have a 2021 Ram; 2022 added an option for trailer surround view cameras, which would make this easy provided you can find the parts. I know I can use a Fakra cable to extend the camera, but I still have to work out how to route the cable, what camera to use, and how to make the camera waterproof.

If you've got ideas or experience on relocating the CHMSL camera (perhaps for a topper), please let me know.

The second photo, below, is my slightly tweaked install from the first photo. I moved the whole rack about 3-4 inches back (toward the tailgate), and relocated the grab handles.

Addie Approved.jpg
 
And put the 5in tips back on. They really do change the sound for the better. They act like a megaphone. I didn’t do a vid with the rams. But this is what it did on my Silverado with a similar type tip

a1684f819dbce0532cf03b1362ff9533.jpg


Sent from my iPhone using Tapatalk
They changed the sound of my 3.6 also. Seemed to make it deeper.
 
I installed the Suspension Maxx front sway bar end links p/n SMX-1319L today.

Overall, I think they are pretty nice. But there are two design issues, in my opinion, that will keep me from recommending them. Firstly, there is not proper thread engagement through the nut holding the 5 degree swivel link to the sway bar. My right side is barely flush with no threads coming through the locking end of the nut and the left side does not even reach the end of the locking end of the nut. This is even after verifying correct alignment of the tapered washers. The threaded portion of the swivel link needs to be longer by several threads.

Secondly, there is no easy way to hold the swivel link in proper orientation while torquing the nut. It always wants to rotate. A redesign that includes a hex on the swivel link, to hold with a wrench, would help keep it aligned while torquing. It took a bit of effort to keep them aligned while they were being torqued.
 

Attachments

  • endlink.jpg
    endlink.jpg
    94.3 KB · Views: 93
Need to fix the left tail light for the 2019 ram 1500 with the LED. Anyone have a part number. Online I can only find the one with the black middle not the red.


2019 Ram 1500 ORP “long bed” - setting #5 bilsteins, 2”mopar ucas, hellwig sway bar, tonneau cover, bed mat, 20” Laramie sport wheels on 285/60r20 falkens. Flowmaster outlaw.
 
Sorry for delayed reply, didn’t notice you had tagged a question to me. The Putco install was pretty straight forward. I used 1/2” spacers all across and it fit well. Just be sure you line up your drill points well for where you’re going to mount the bolts/brackets. I lined up so the bottom of the Putco was aligned right at the top of the bumper to ensure tailgate clearance, but was off slightly on one of my drill points and had to redrill (Doh!). I secured the bolts with lock washers and wing nuts.

I’m happy with the Weathertech bug/stone deflector. It’s a bit pricey, but the powered ReTrax tonneau cover has been great as well.
No worries. Last time I spoke with a Putco rep, they said they have extended spacers for their light bar for the 5th gen rams, which in theory compensate for the molded protrusions in the MFT (maybe the regular tailgate as well...not sure). Did you get those and still need to drill different spacers as other on this forum did? Thanks for the feedback on the other items as well. Too many options for truck additions....
 
Put the stock tips back on. They look better, but they really changed the tone of the exhaust believe it not, nor sure how I feel about it.
I believe it. When I put the 5" Carvens on my GT it definitely sounded a different, better though it's a little hard to describe.
 
Went in for oil change and came back to this. Dealer going to fixed it but all the beeping from the sensors and the back up camera and the oil change guy still backs it into something. Expensive oil change thinking about $4000. Needs new tail light and the body work and they renting me a vehicle for 1 to 2 weeks at $750 a week.
 

Attachments

  • PICT0207.JPG
    PICT0207.JPG
    111.1 KB · Views: 157
  • PICT0208.JPG
    PICT0208.JPG
    104.7 KB · Views: 157
  • PICT0209.JPG
    PICT0209.JPG
    126.7 KB · Views: 157
Went in for oil change and came back to this. Dealer going to fixed it but all the beeping from the sensors and the back up camera and the oil change guy still backs it into something. Expensive oil change thinking about $4000. Needs new tail light and the body work and they renting me a vehicle for 1 to 2 weeks at $750 a week.

I jack knifed my 2014, and the damage looked exactly like that. Did the bed panel buckle as well? The body guy did an amazing job. He pulled the entire dent out and had to paint bed side. Make sure you check the gapping on tailgate before you leave with the truck when it’s finished


Sent from my iPhone using Tapatalk
 
Went in for oil change and came back to this. Dealer going to fixed it but all the beeping from the sensors and the back up camera and the oil change guy still backs it into something. Expensive oil change thinking about $4000. Needs new tail light and the body work and they renting me a vehicle for 1 to 2 weeks at $750 a week.
Wait - the dealer wrecked your truck and they are charging you for a rental??
 

Users who are viewing this thread

Back
Top