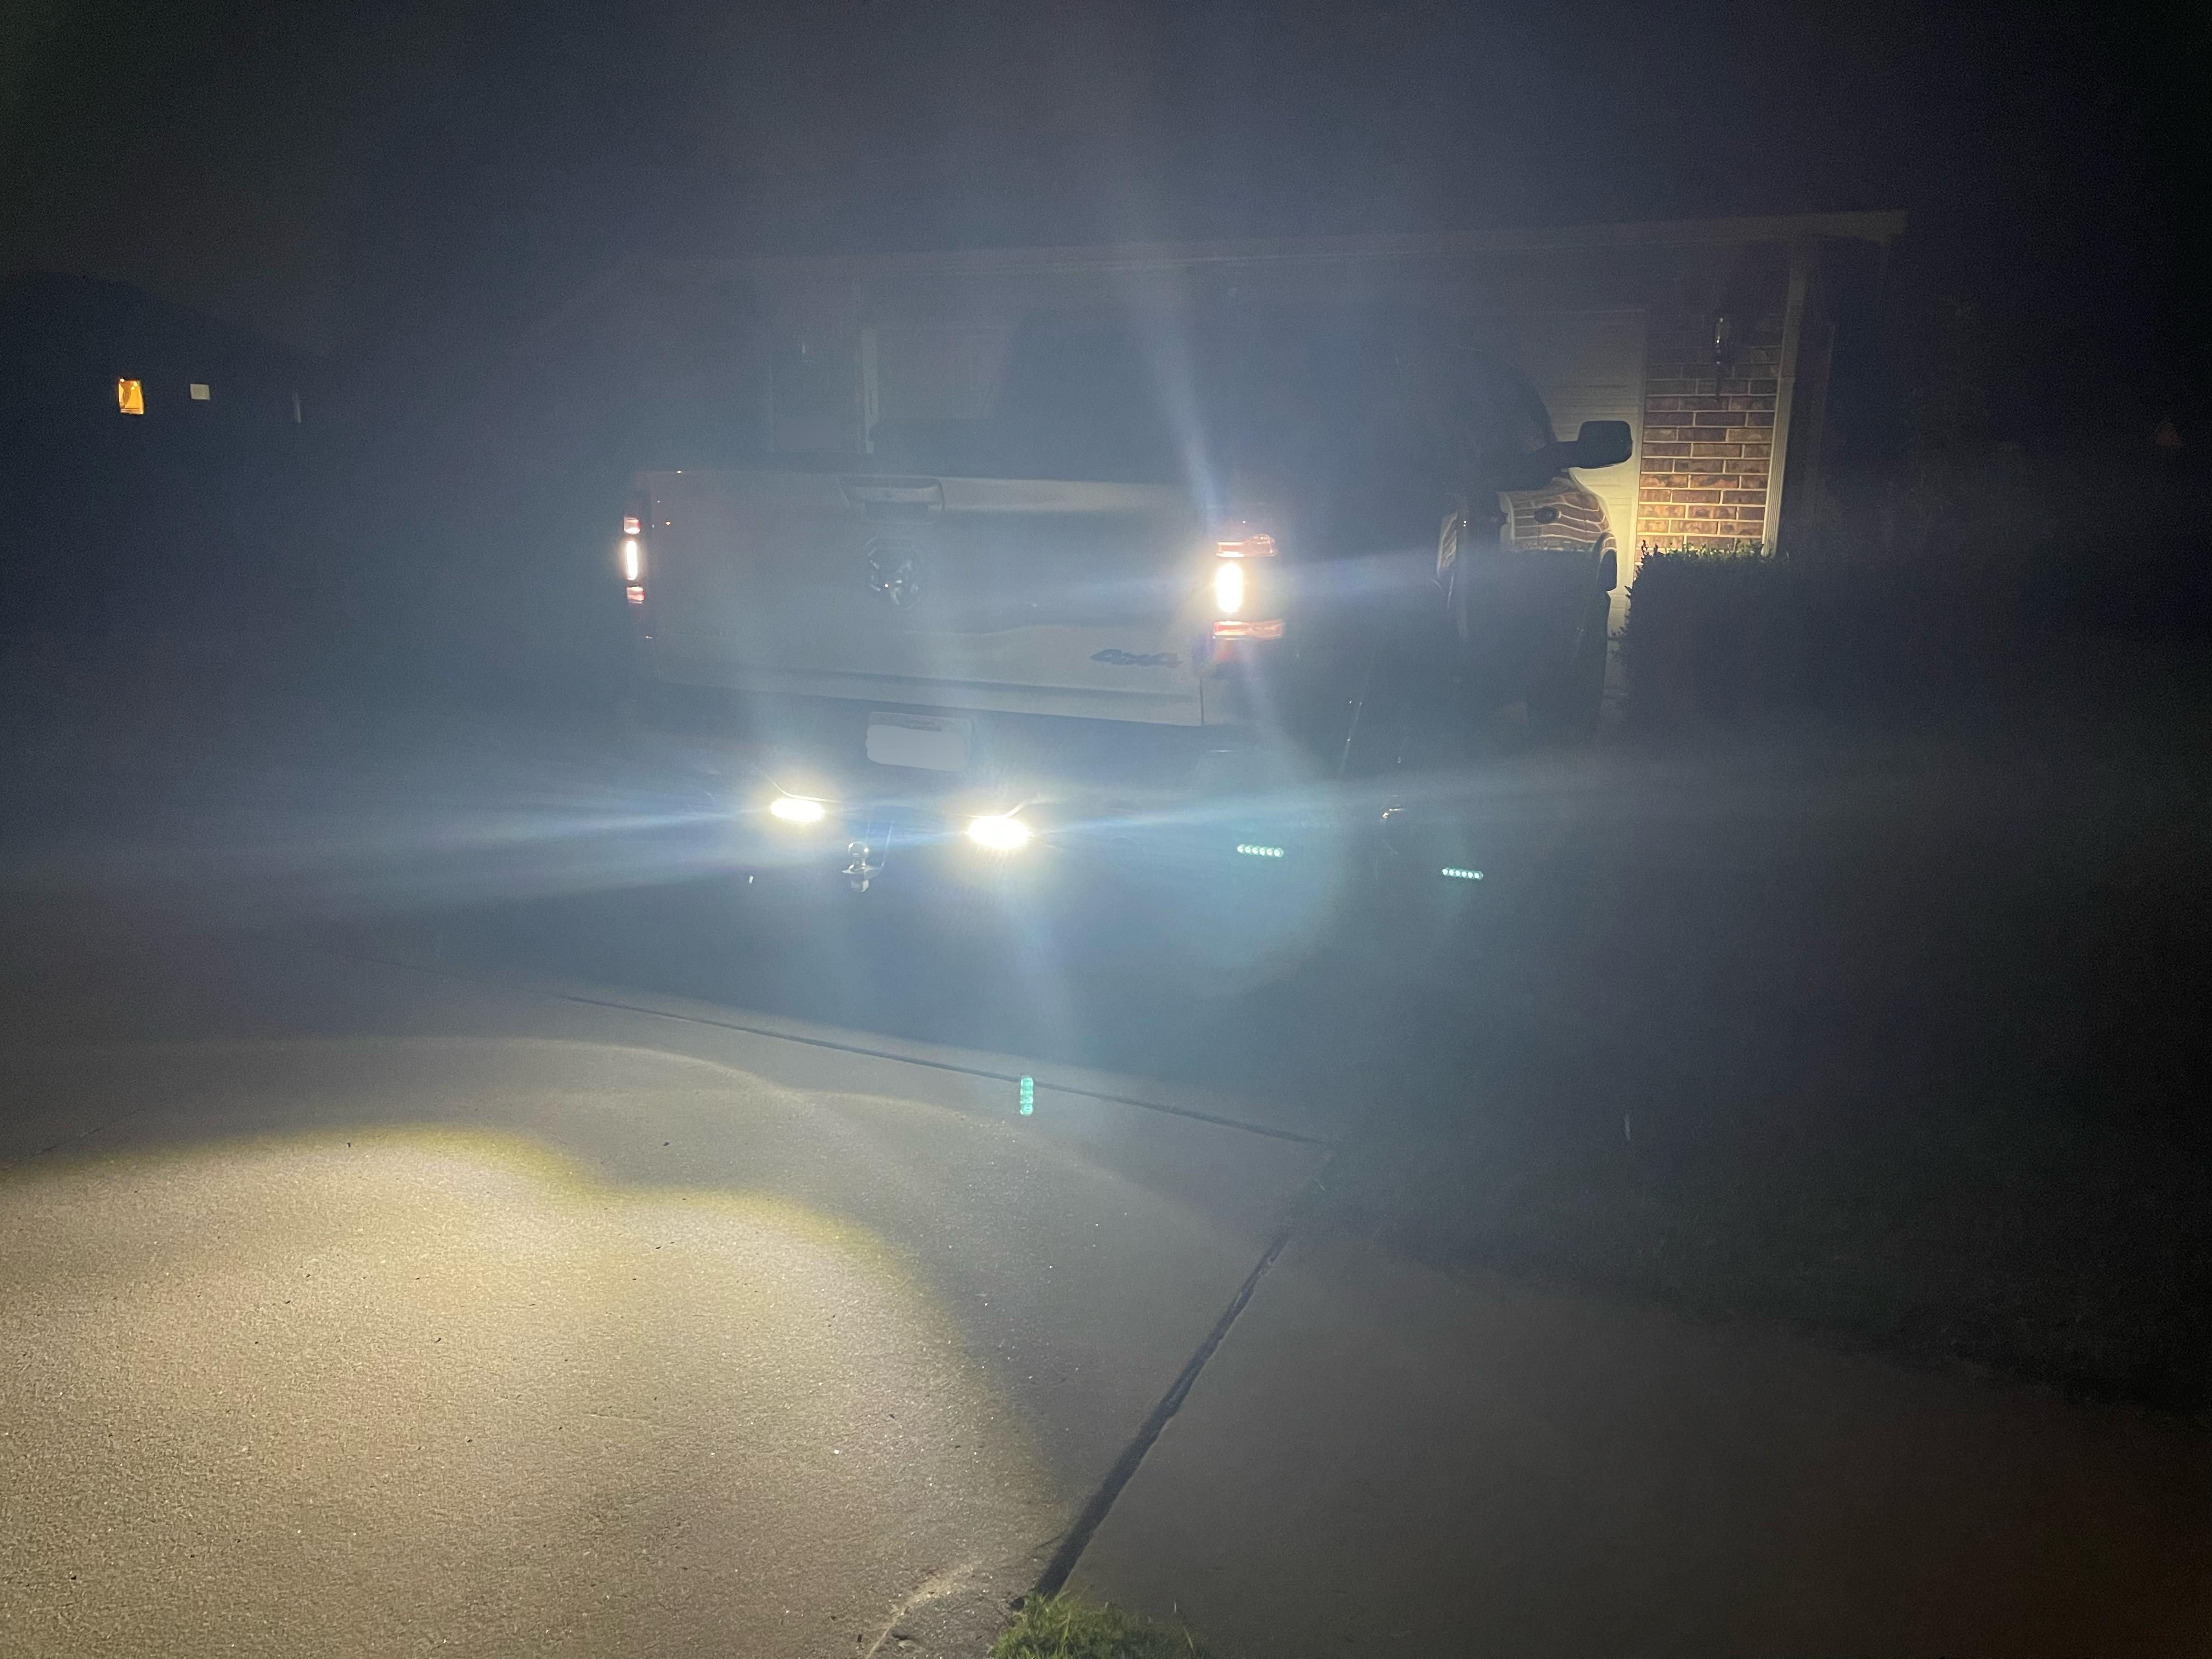
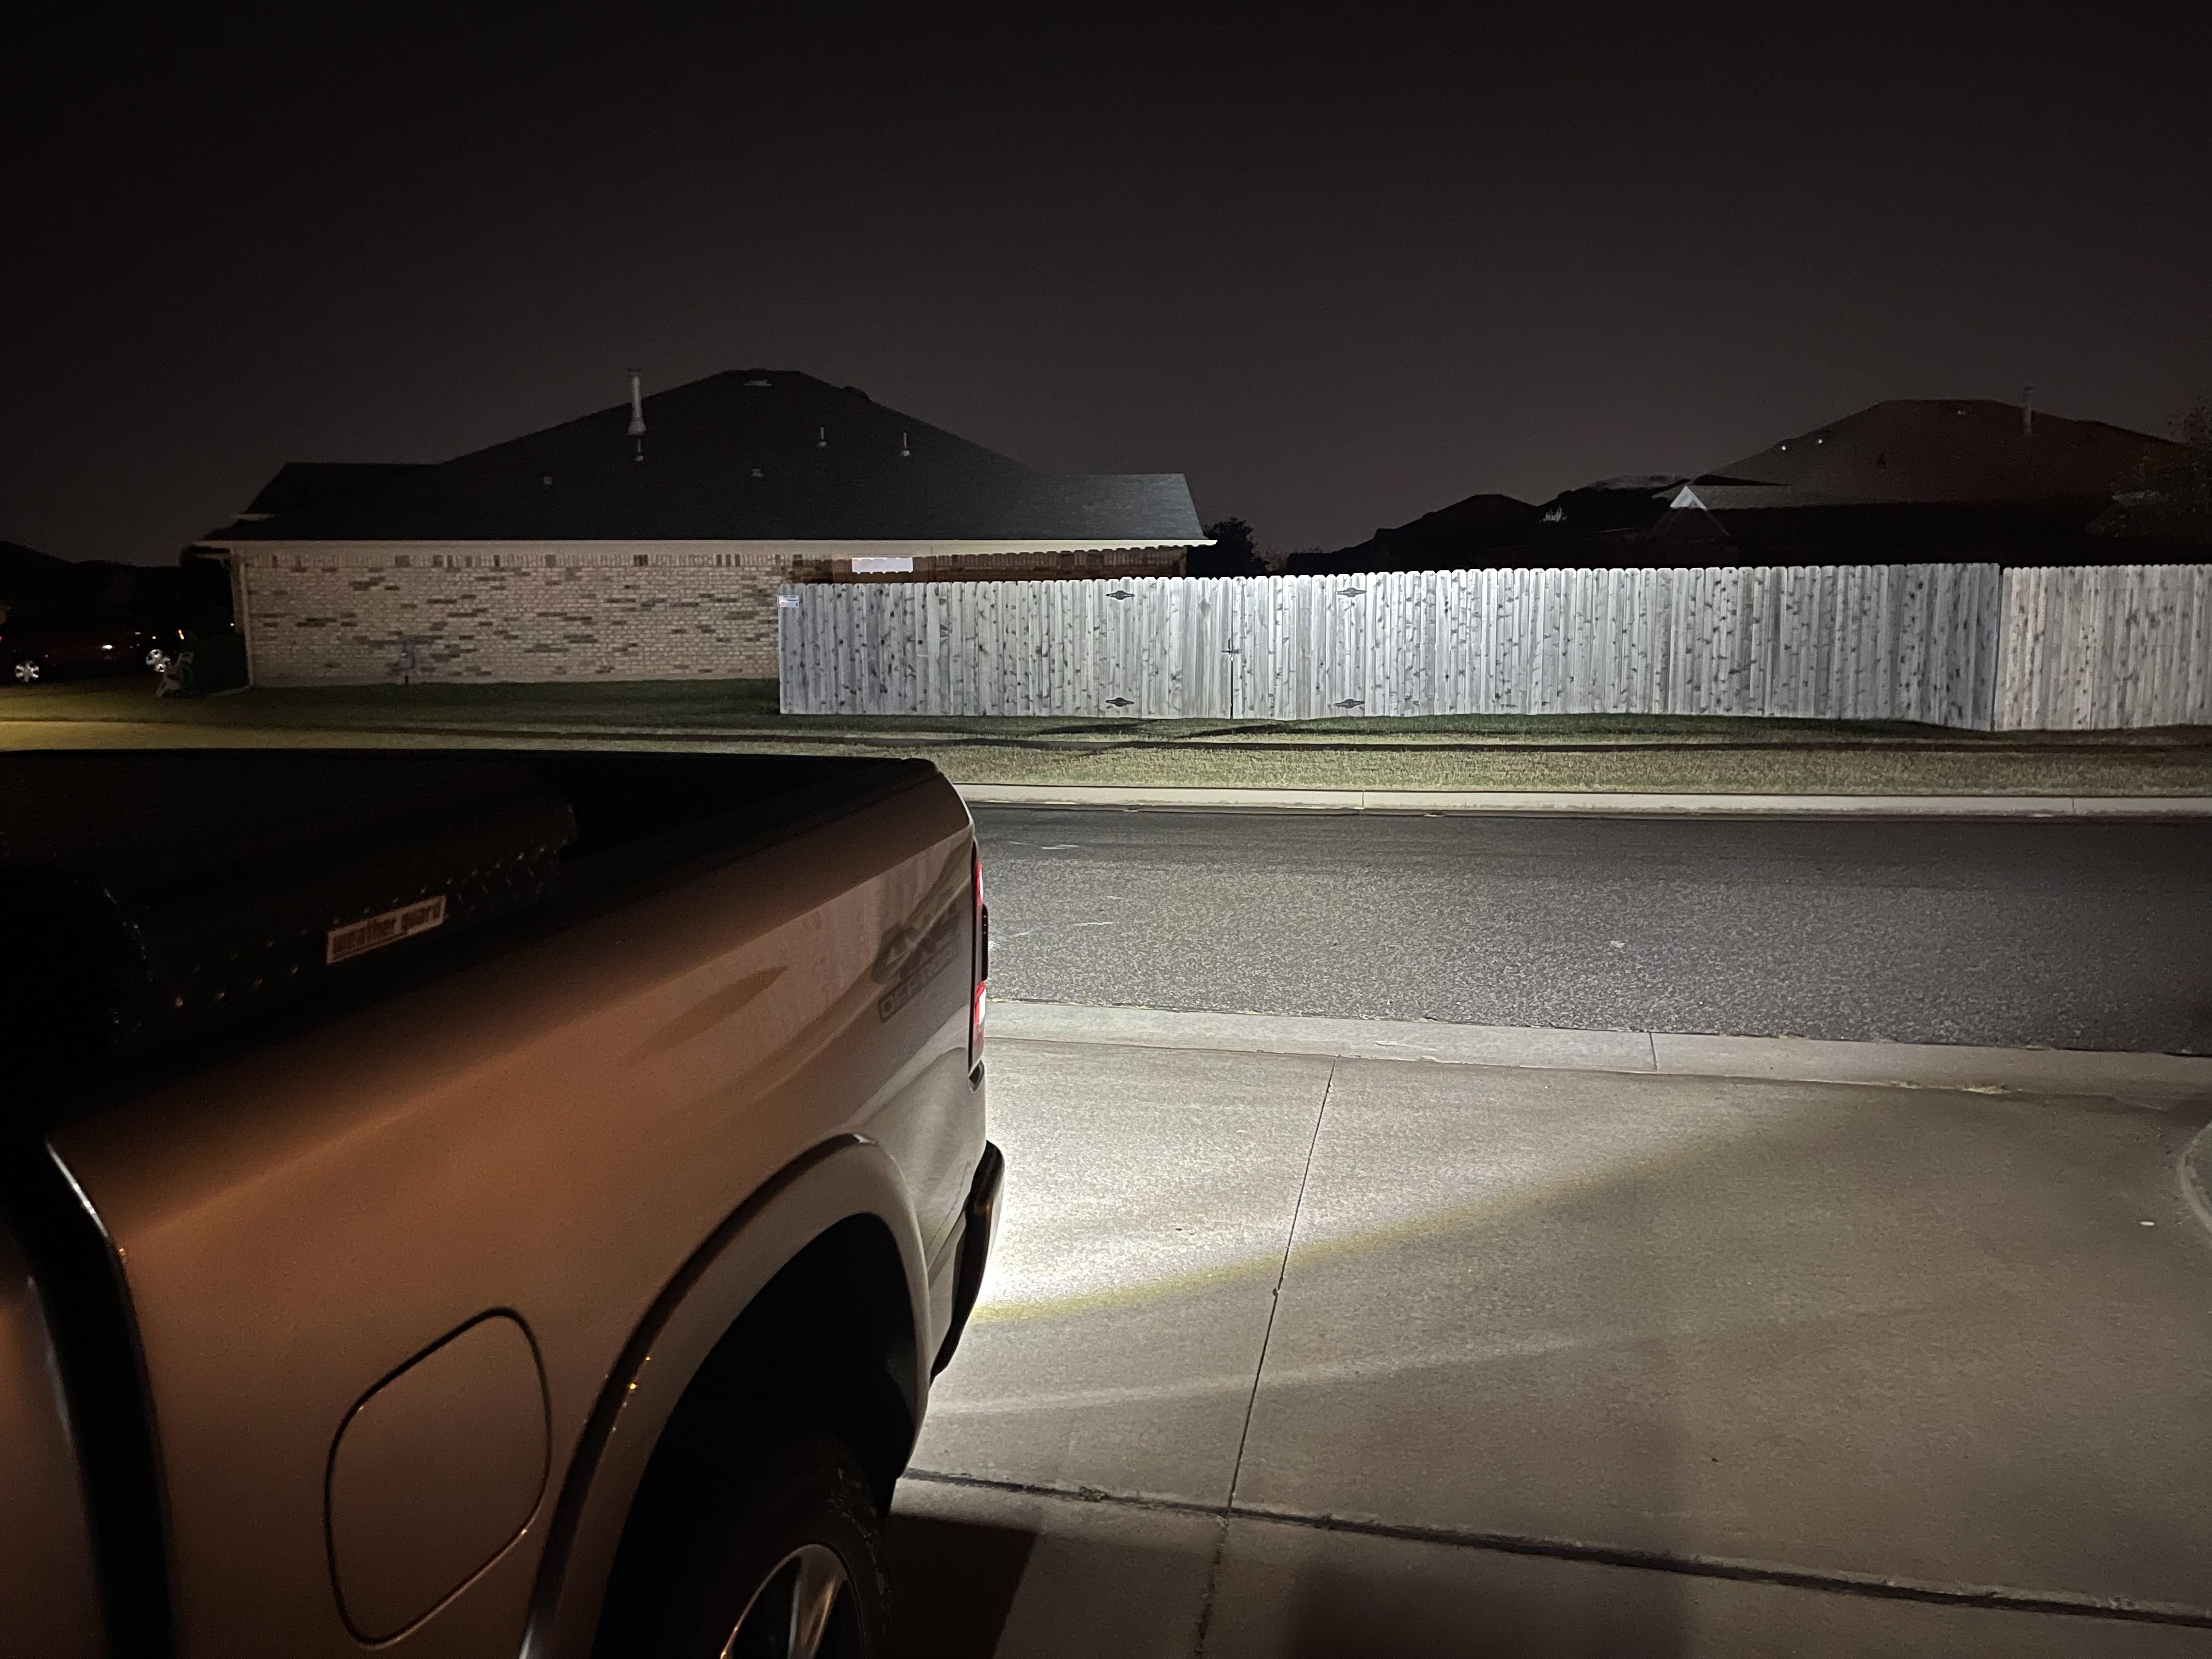
Wanted to say thanks to the OP for this. Finished the install today (first set of lights had issues - one LED didn't light up, so had to do a second install) and it's great.
Picked up some of the recommendations others made:
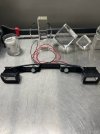
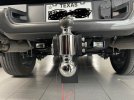
* Used the Curt 56584 adapter to split off a 5-pin connector so I could avoid cutting into factory wiring at all.
* Bought a 5-pin patch cable which I cut one end off, and connected the lights to the blue and white wires via crimp/heat shrink connectors. Perhaps overkill, but makes it easy to disconnect the lights if I ever want to
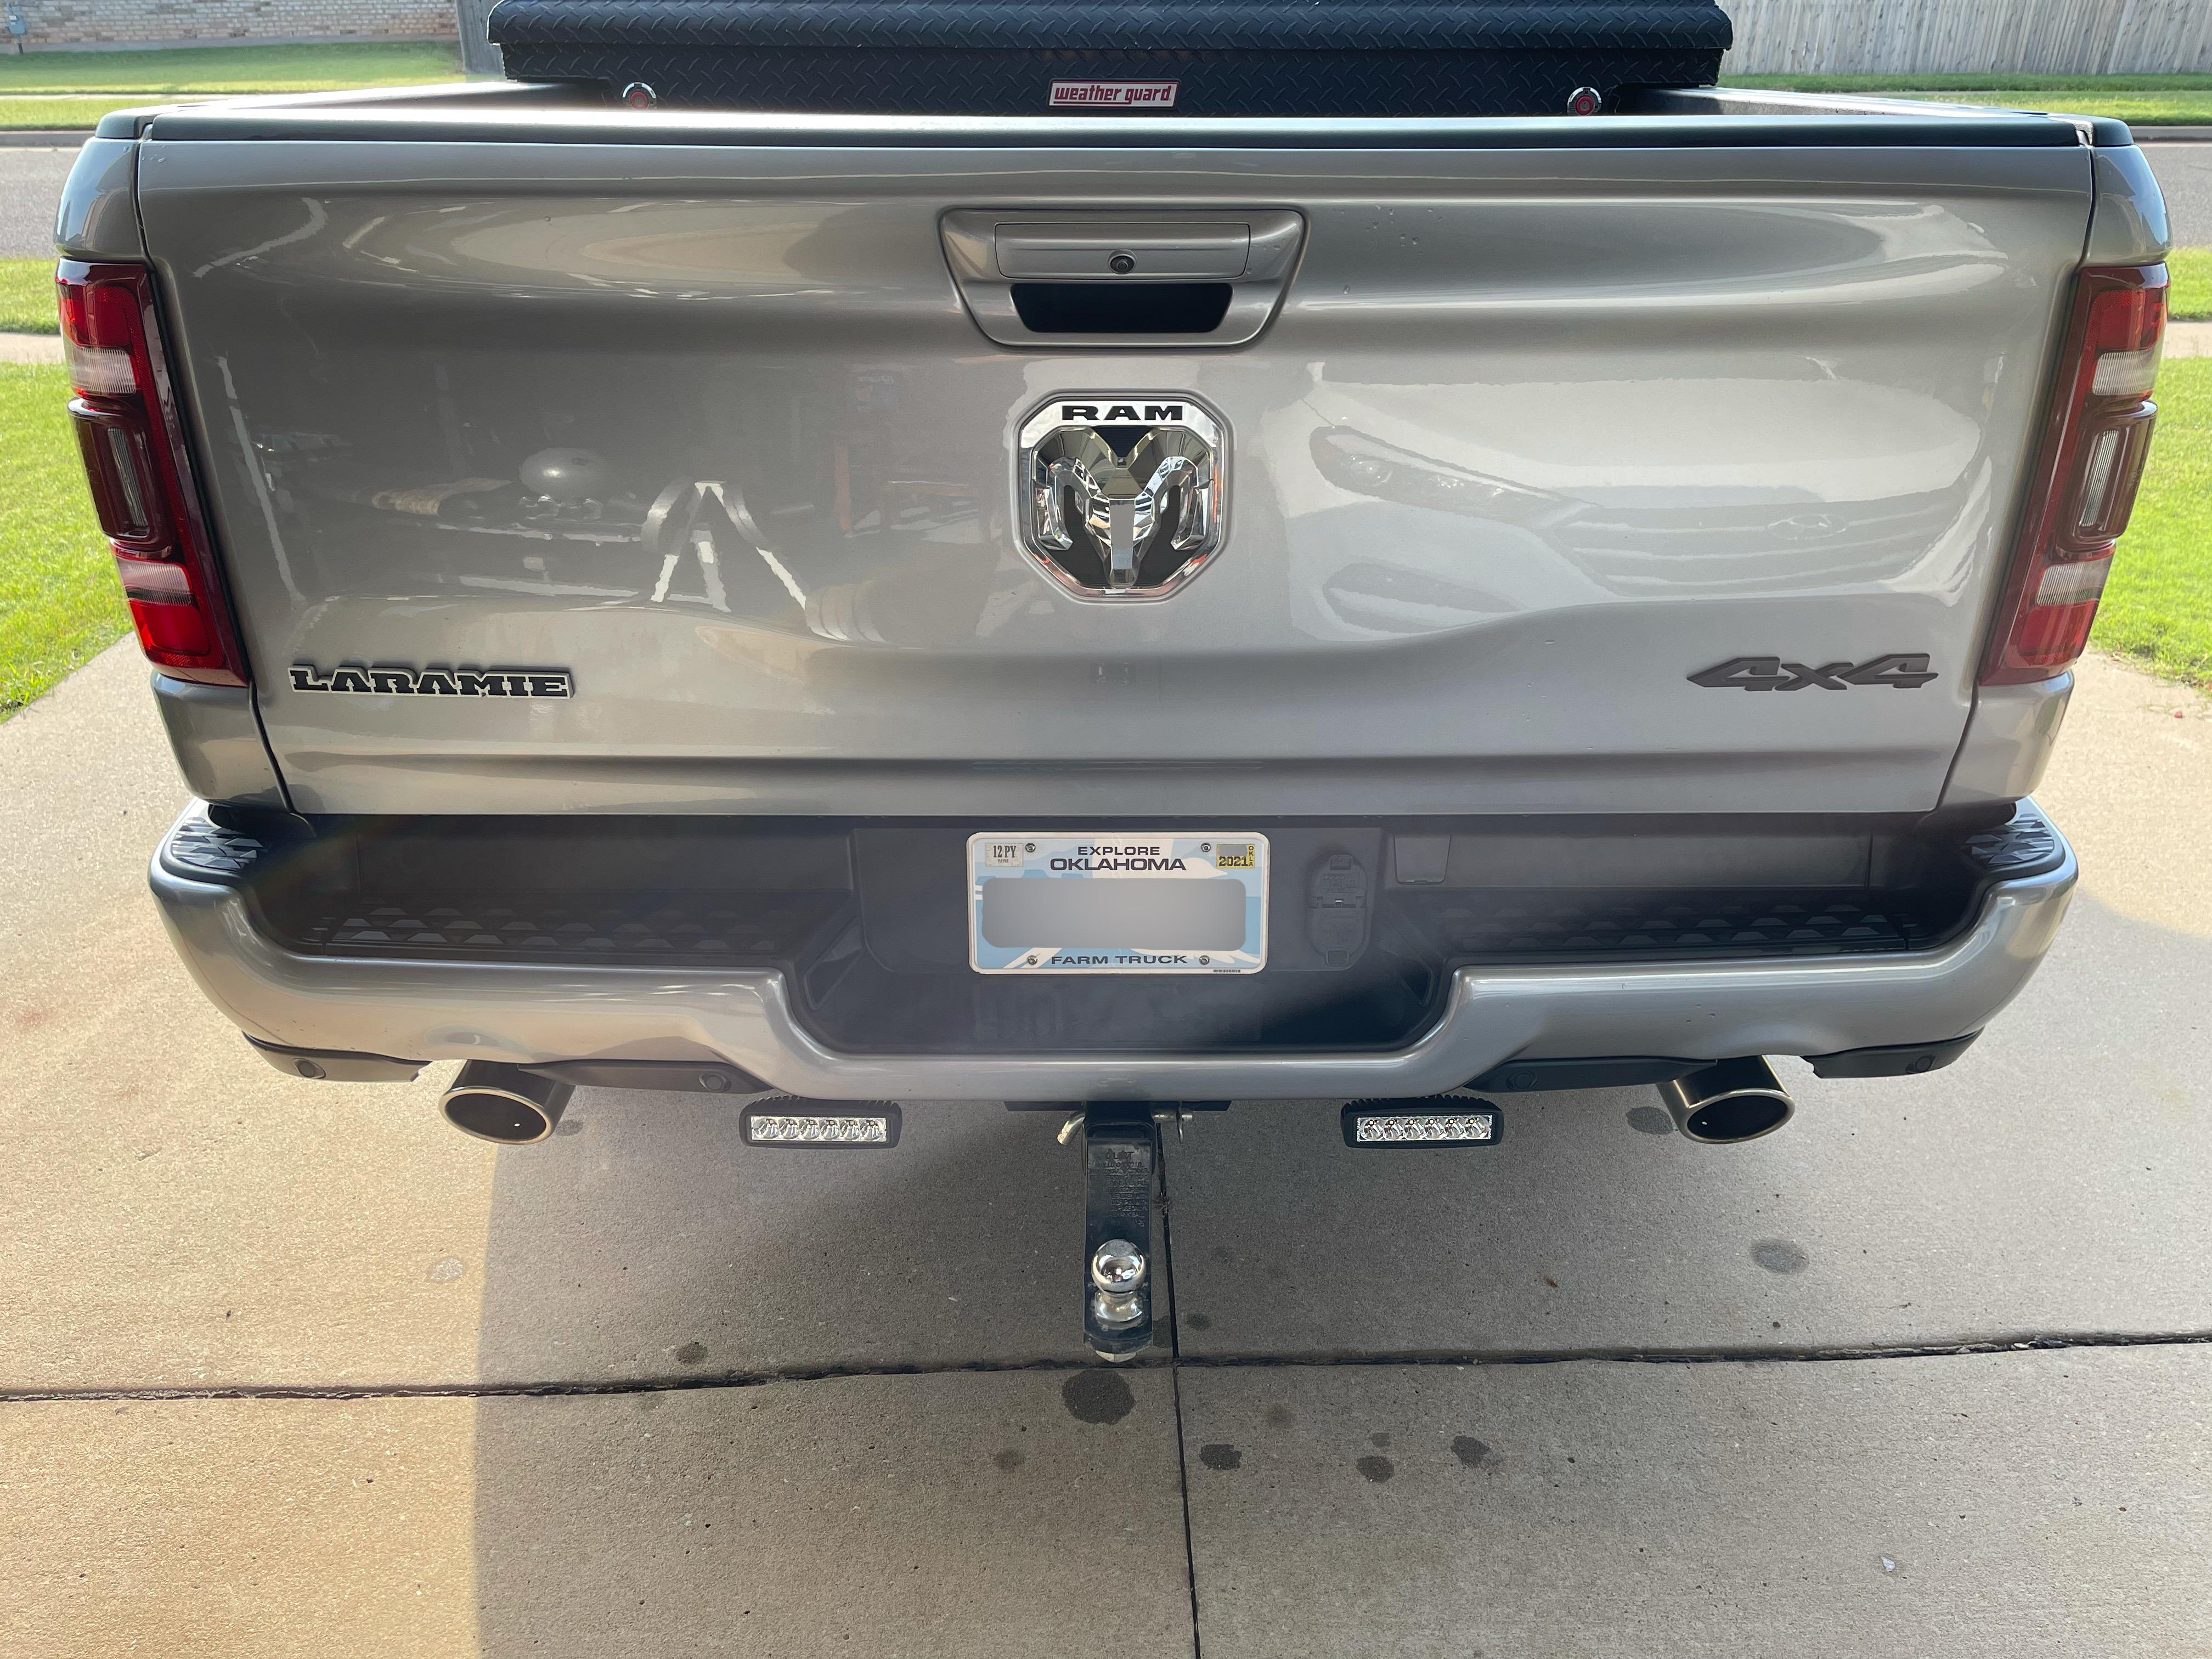
* Bought some rubber sheeting to make a gasket, as someone suggested. Unfortunately, the 1/25" thickness I bought isn't quite thick enough vs the contour of the plastic where I mounted it. Better than nothing, but I'd try 1/16"
Install was clean. Only thing I'd add to what others have said is around the wire lengths -- you'll need some of your own wire to be able to reach to the lights, as the wires attached to the lights are short. I just cut up and spliced in an old power cord for a phone charger.


")