5thGenRams Forums

Register a free account today to become a member! Once signed in, you'll be able to participate on this site by adding your own topics and posts, as well as connect with other members through your own private inbox!

Katzkin installation

Ldc2335

Well-Known Member
Joined
Aug 16, 2021
Messages
310
Reaction score
502
Now starting Katzkin installation, already done 1/3 rear seat. Could anyone say me the order to install leather on rear armrest in 2/3 rear seat my Big Horn?
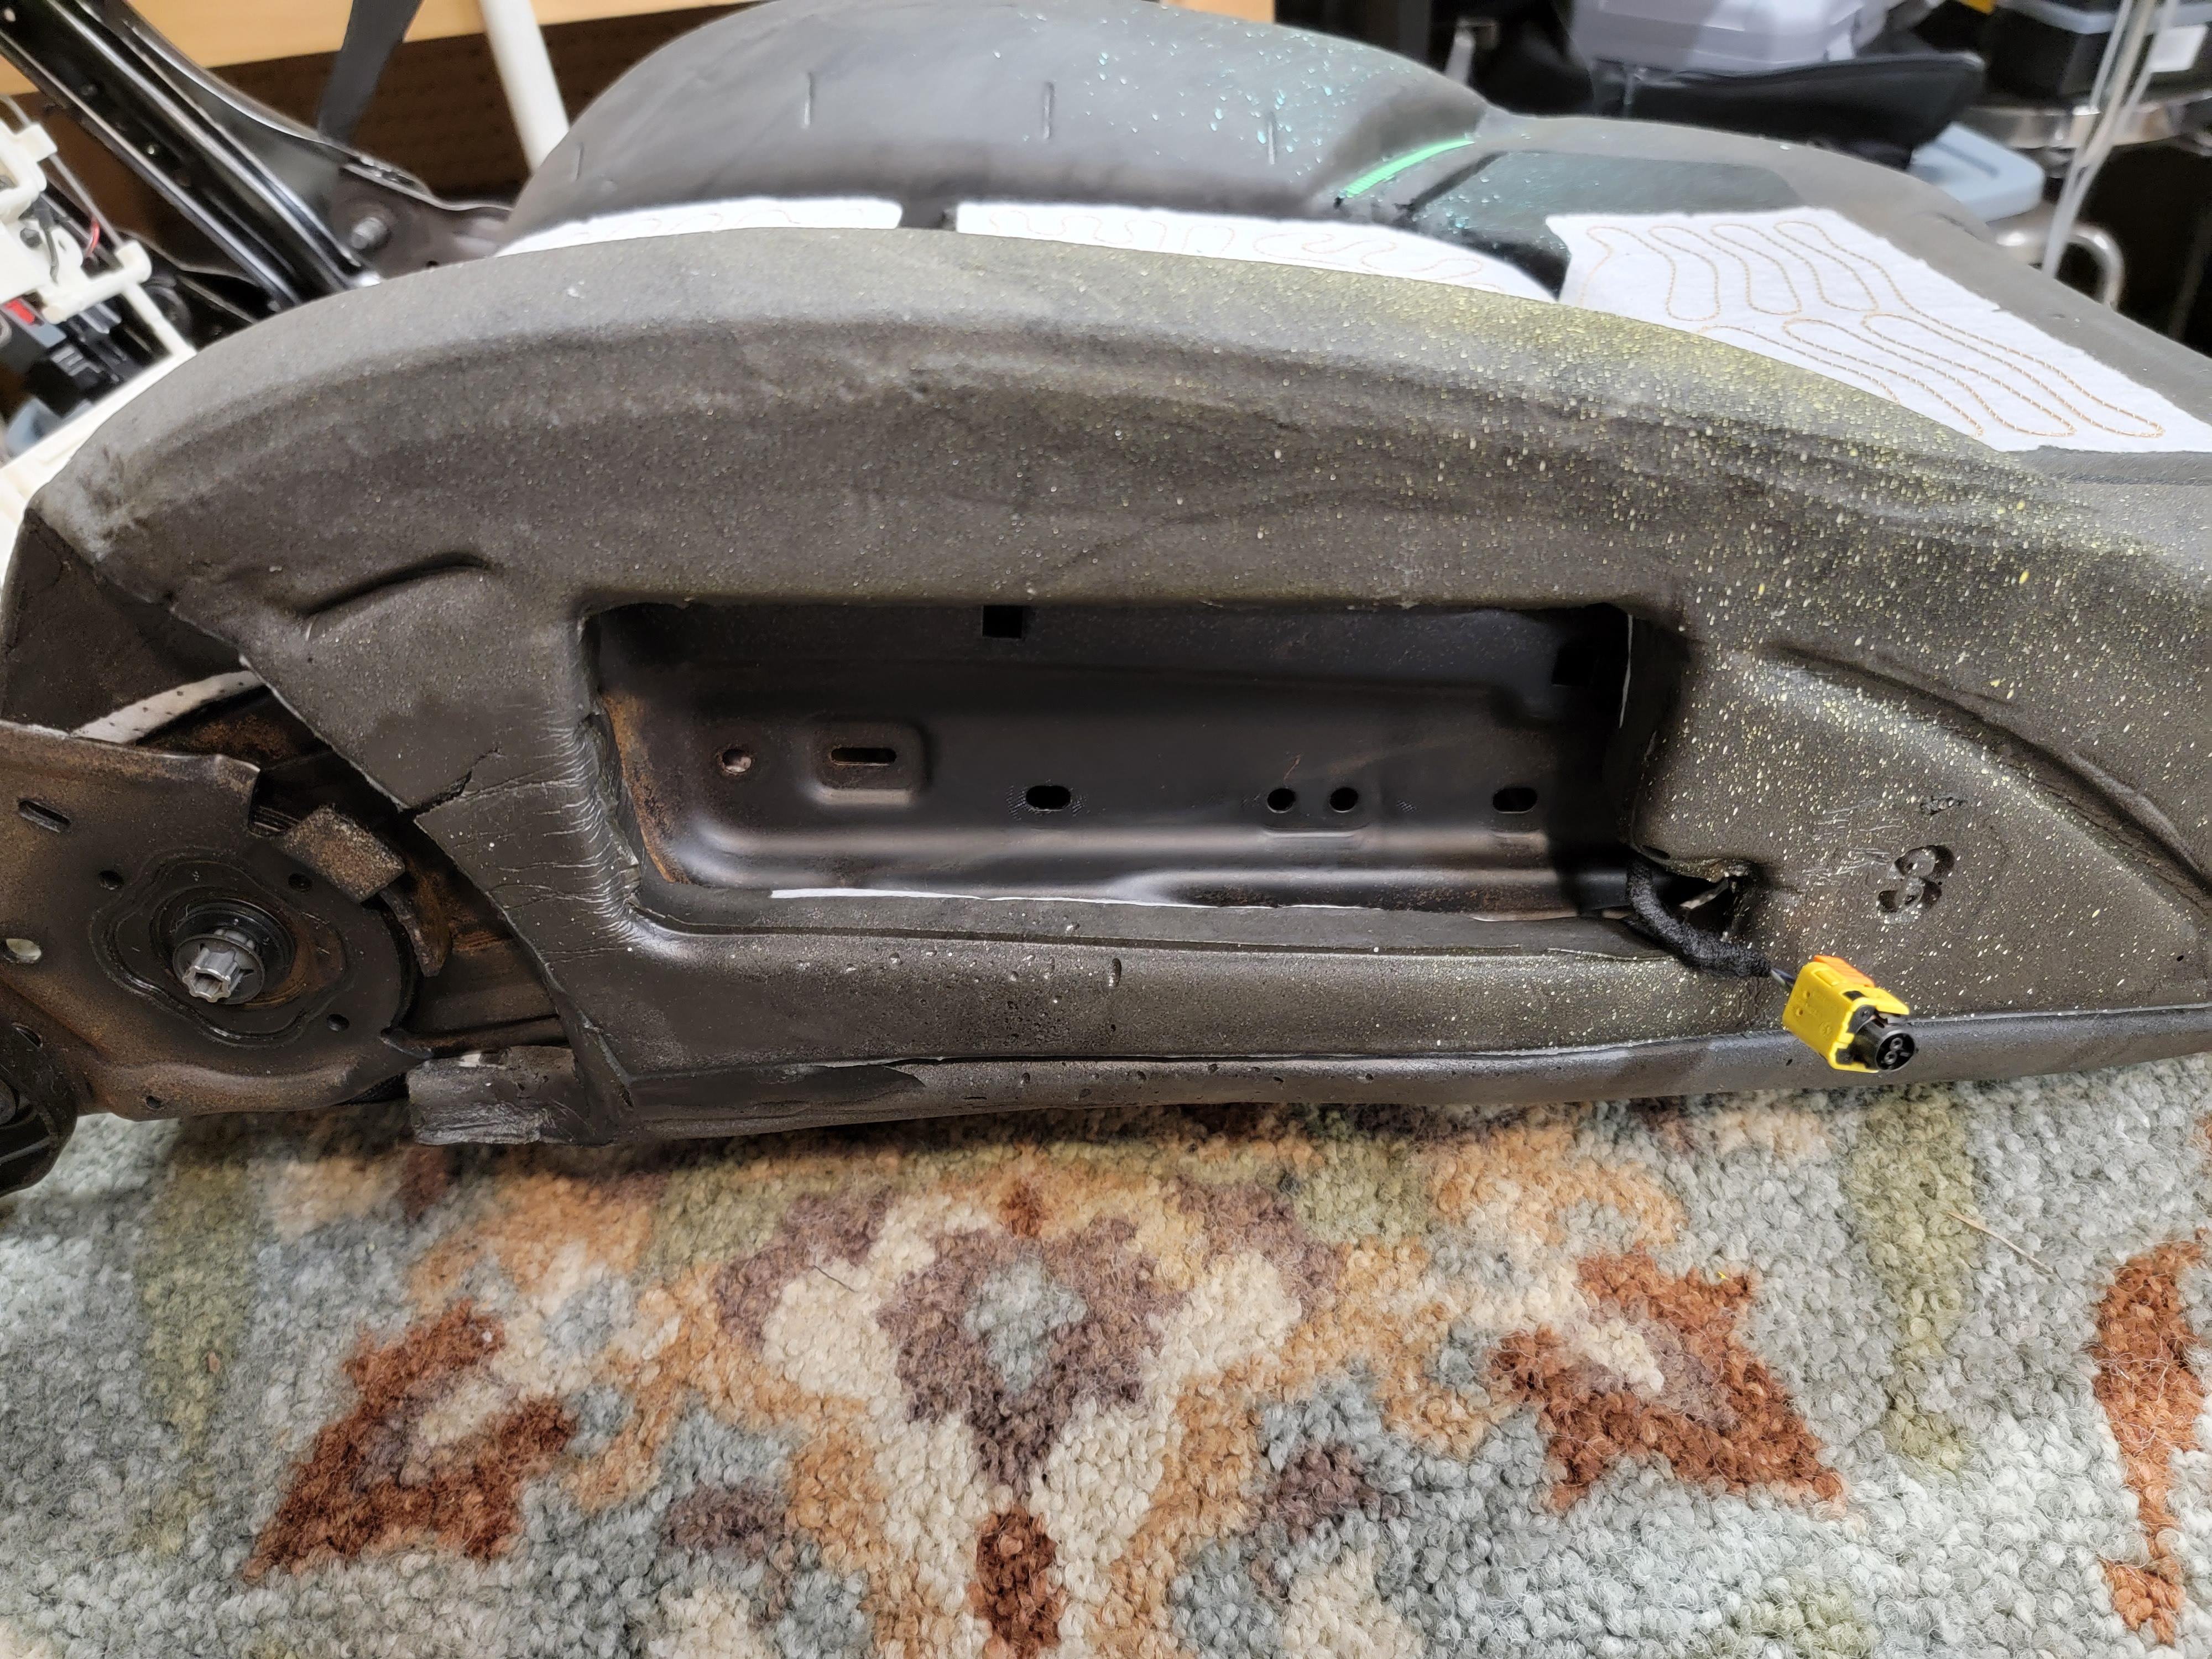
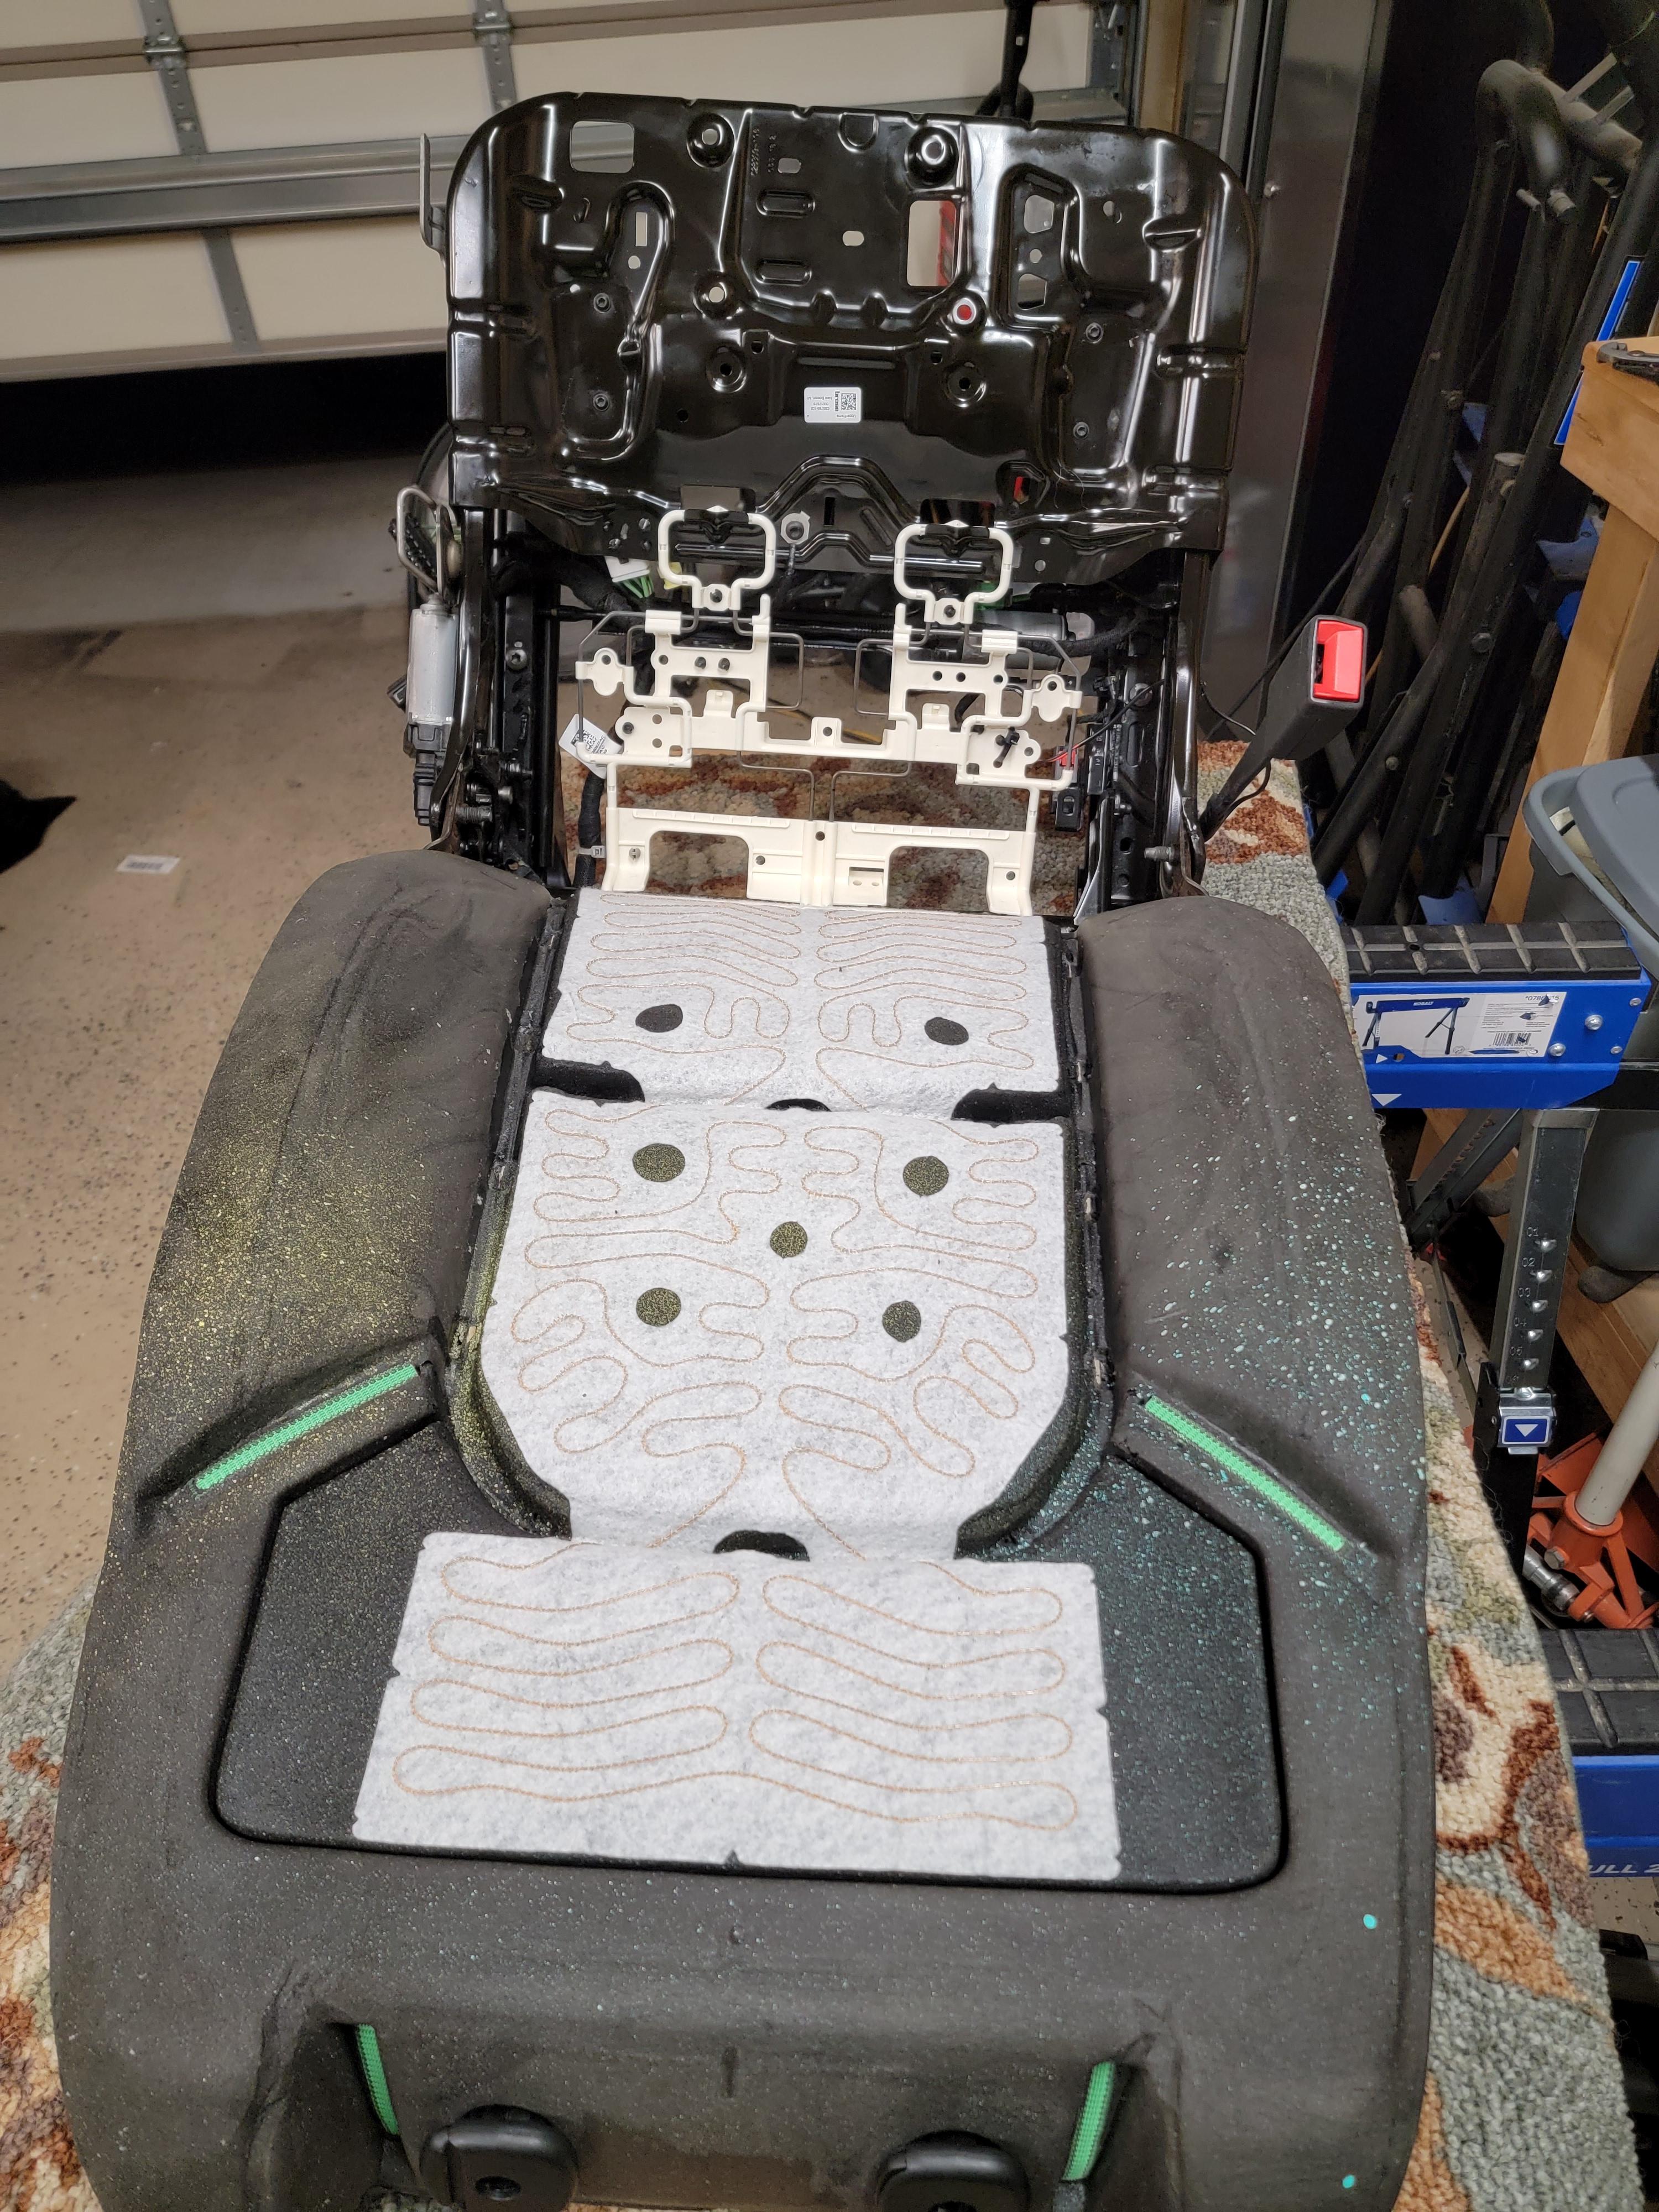
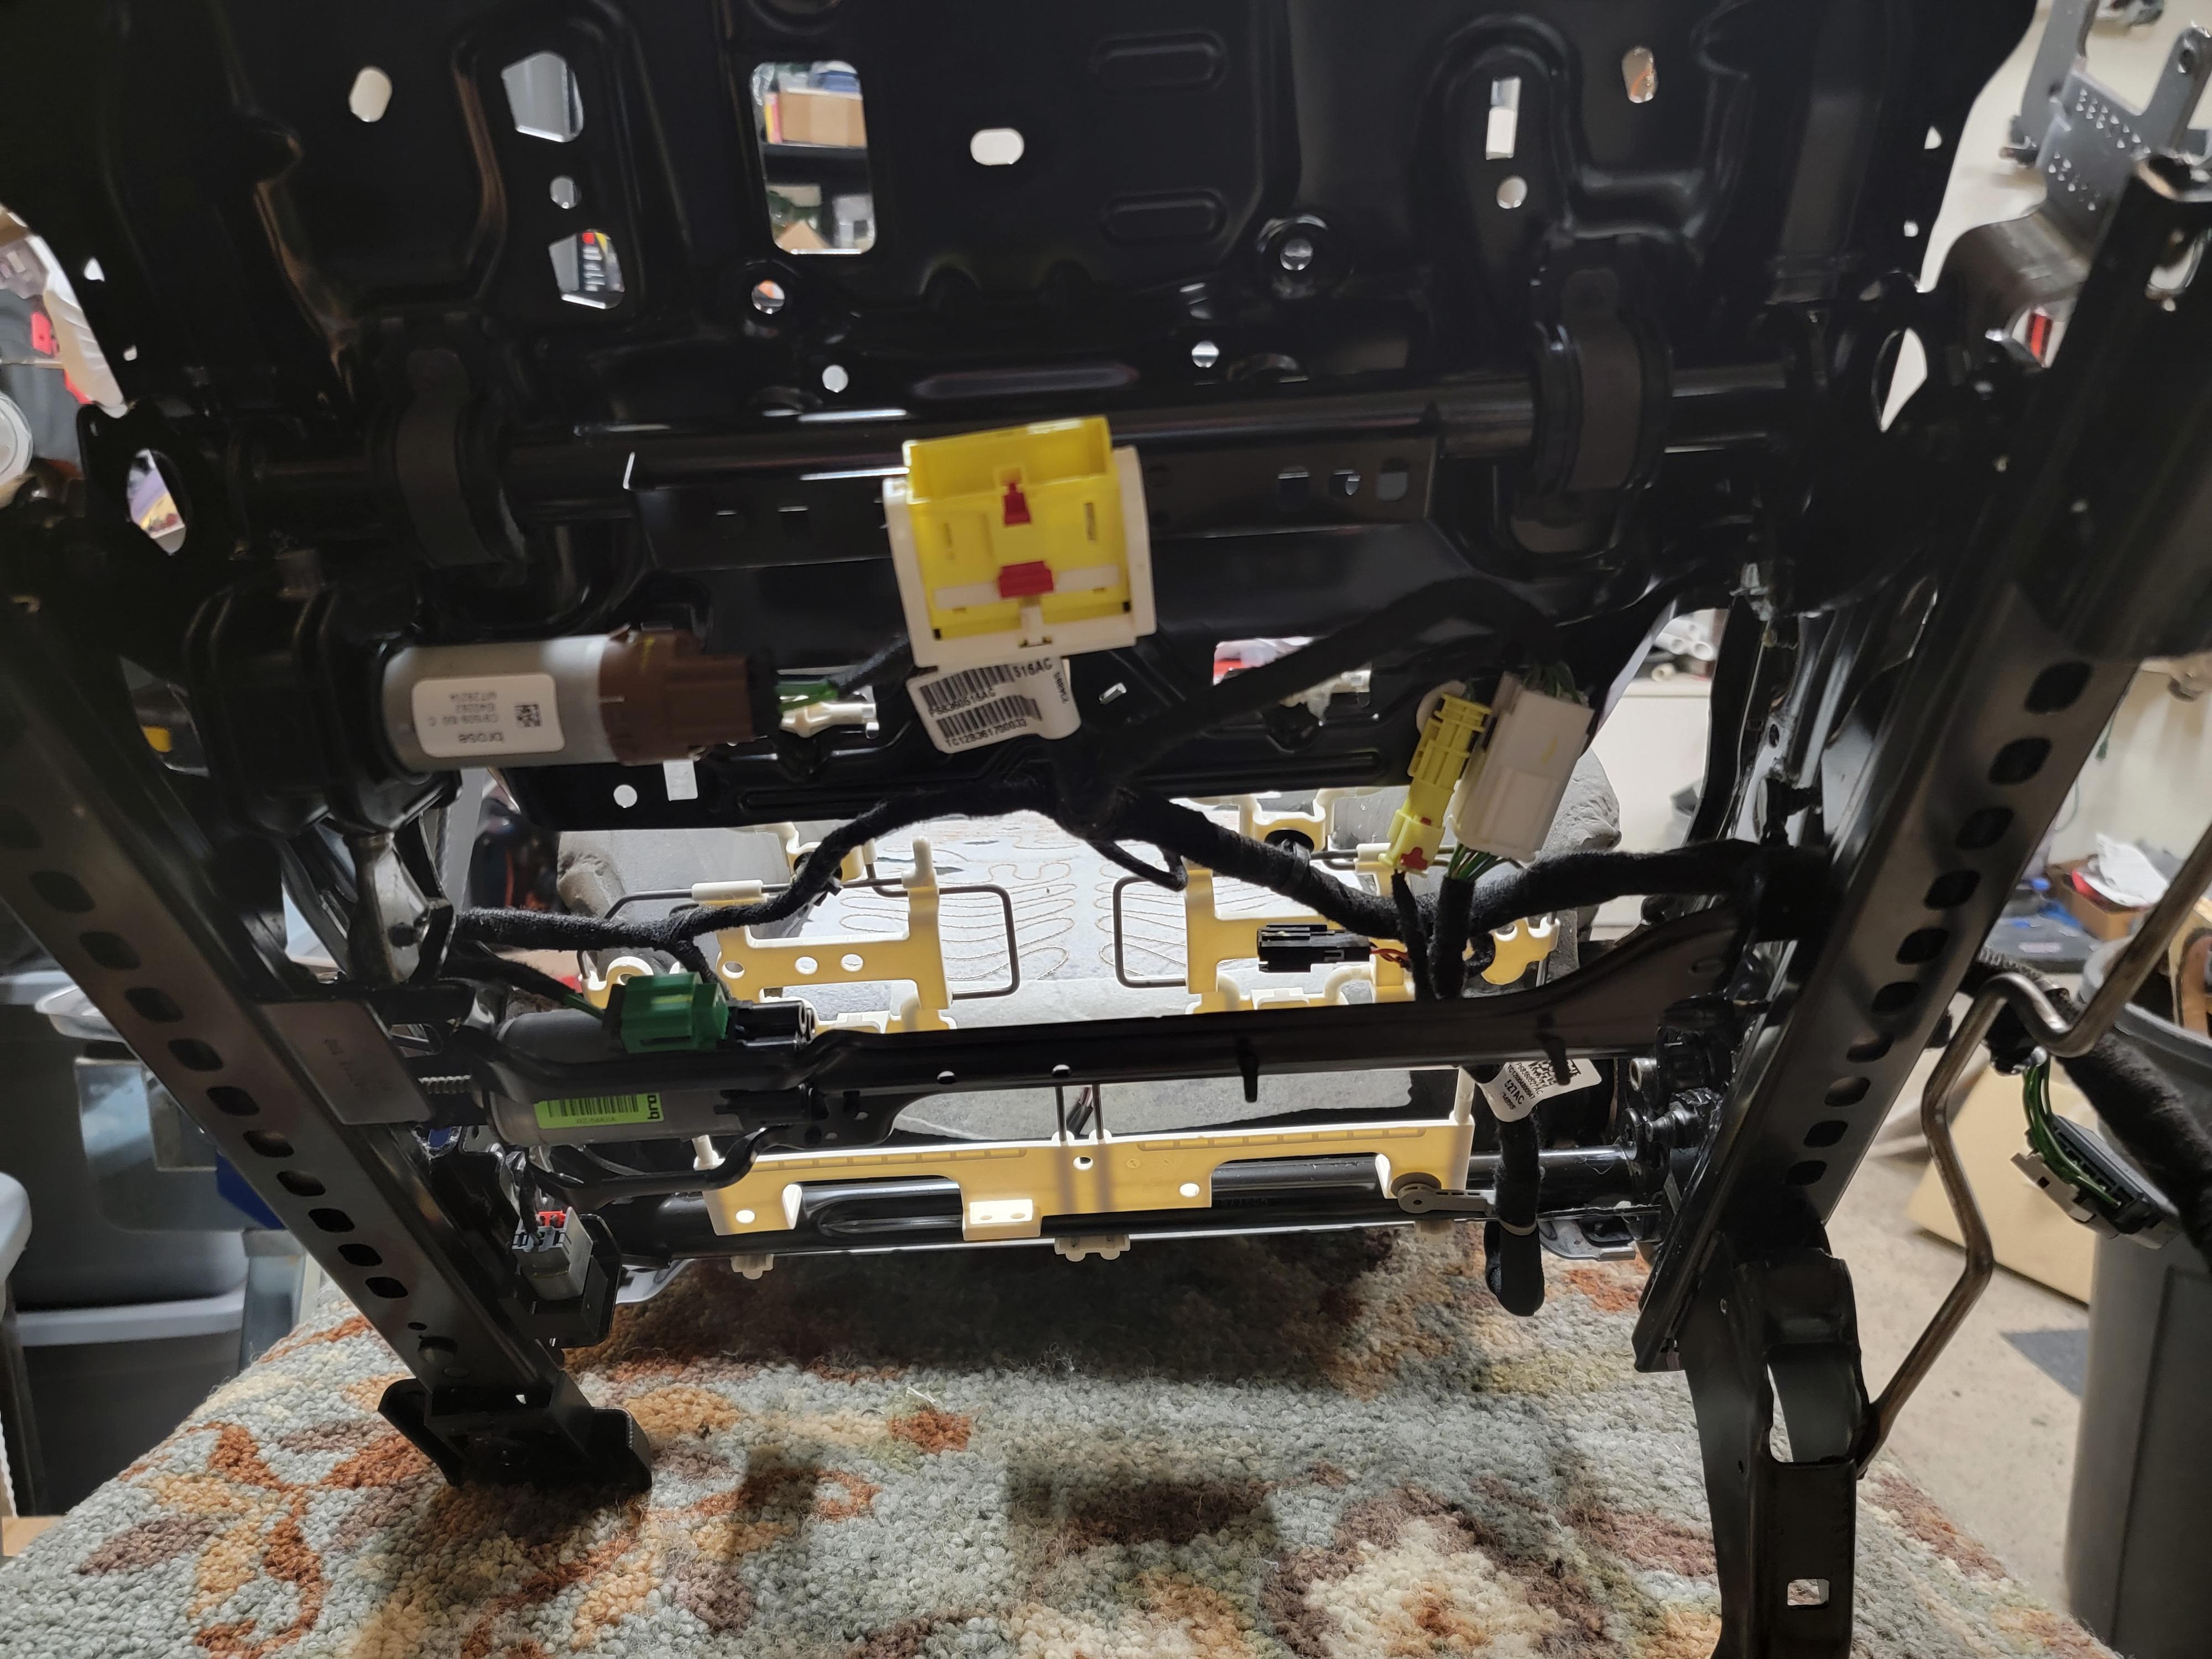
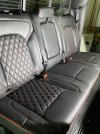
Remove bolts/nuts from behind rear seat and remove arm rest.

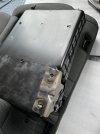
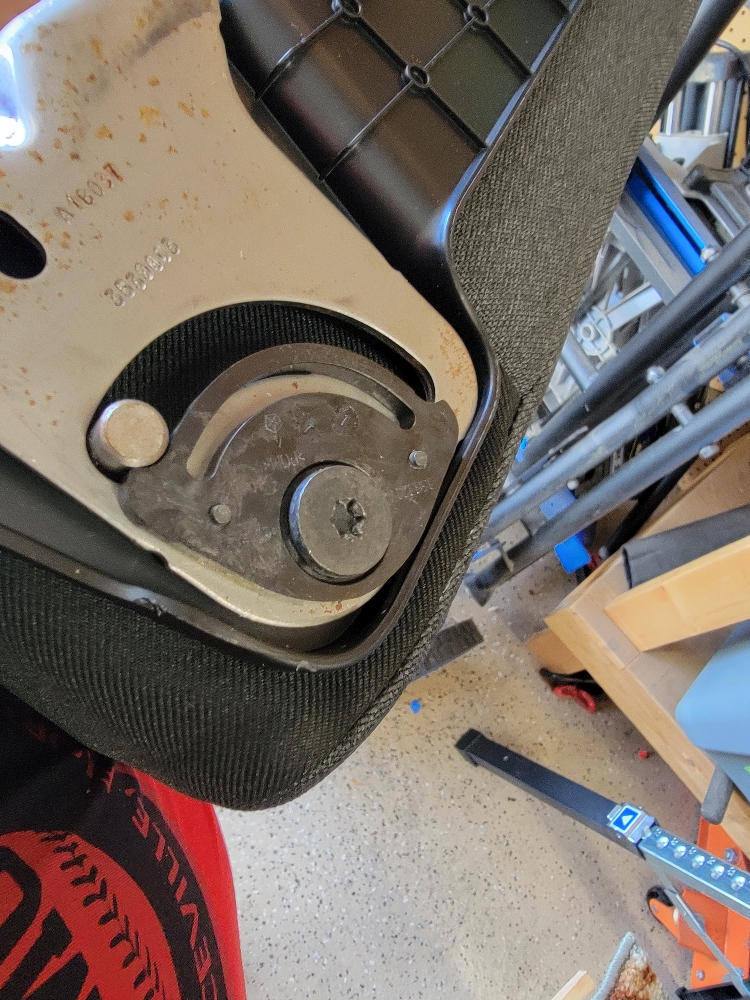
Remove side adjustable brackets from arm rest. I think it was a torx 30

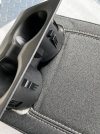
Remove rubber cup holder liner.

Can't remember if there were screws to remove under rubber liner.

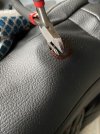
Use brute force to remove cup holder. Tabs are on the front and rear. I stuck a large flathead screwdriver between the padding and cup holder and popped it up.

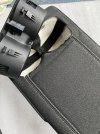
Disconnect snap thing on the rear of the arm rest and pull off cloth cover.

Pull leather cover on. Might help to put it inside out and put it on.. Like a condom

Reverse all above steps.

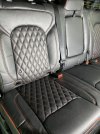
Pic of side bracket. Only one I took of that part so I could remember how to put it back together.

I just finished this last weekend. Hit me up if you have questions.
ac0d5d21aba38b8ba2576e06addf227a.jpg


Sent from my Galaxy S21 Ultra using Tapatalk
 
Last edited:

Georgf

Active Member
Joined
Aug 21, 2020
Messages
194
Reaction score
77
Location
Russia
Ldc2335:
Thank you very much! That's exactly what i need to make this done. Will do it tomorrow, make more pictures.
 

Ldc2335

Well-Known Member
Joined
Aug 16, 2021
Messages
310
Reaction score
502
Ldc2335:
Thank you very much! That's exactly what i need to make this done. Will do it tomorrow, make more pictures.
For the front seats, do the bottoms first and then leave them off until you finish the tops.

When you do the tops, fully take the airbags out. I did the first one without unplugging it and it was very difficult to get the hog rings on. I removed the airbag on second one and it was much easier.

I used a steamer to get the leather all loosened up/smoothed out. A couple weeks in the sun has also really helped. They look oem now.


More random pics.
739749683ca40fa06d0403a2d5a8b3cc.jpg
39b8d51993e937f56504eba05b3e7437.jpg
2d44df3c67c667c185dfe56e44106361.jpg


Sent from my Galaxy S21 Ultra using Tapatalk
 
Last edited:

Ldc2335

Well-Known Member
Joined
Aug 16, 2021
Messages
310
Reaction score
502
There is a place I found down in Pottstown that does it that I plan on having do mine. F.C. mobile installations.
No part of this installation was "hard."

It is very time consuming. I went slow and safely Uninstalled the original covers. If you didn't care, you could cut them off and save quite a bit of time.

Too me about 10 hours, including steaming them after each seat.

My hands have never been more sore. I eventually ditched the pliers and figured out my small bolt cutters would work on removing the factory fog rings.

Sent from my Galaxy S21 Ultra using Tapatalk
 

Georgf

Active Member
Joined
Aug 21, 2020
Messages
194
Reaction score
77
Location
Russia
For the front seats, do the bottoms first and then leave them off until you finish the tops.

When you do the tops, fully take the airbags out. I did the first one without unplugging it and it was very difficult to get the hog rings on. I removed the airbag on second one and it was much easier.

I used a steamer to get the leather all loosened up/smoothed out. A couple weeks in the sun has also really helped. They look oem now.


More random pics.
739749683ca40fa06d0403a2d5a8b3cc.jpg
39b8d51993e937f56504eba05b3e7437.jpg
2d44df3c67c667c185dfe56e44106361.jpg


Sent from my Galaxy S21 Ultra using Tapatalk
Very helpful post, i will do front seats next weekend, with heater instsll, and your photos helps me that. Now i have done only rear seats, here is the picture of my setup. Also more picture of rear armre, helps understand how to disass it.
 

Attachments

  • 4729EDB5-CB72-4B19-B215-ABC86A54EF3A.jpeg
    4729EDB5-CB72-4B19-B215-ABC86A54EF3A.jpeg
    222.4 KB · Views: 54
  • 302B1AF7-7D98-4DCF-A487-290574772543.jpeg
    302B1AF7-7D98-4DCF-A487-290574772543.jpeg
    201.3 KB · Views: 54
  • 3C4DCECB-202E-487C-A173-55C182BD7B70.jpeg
    3C4DCECB-202E-487C-A173-55C182BD7B70.jpeg
    289.6 KB · Views: 50
  • D1BF20D1-4870-495A-9C13-FC70AB463AEE.jpeg
    D1BF20D1-4870-495A-9C13-FC70AB463AEE.jpeg
    283.7 KB · Views: 51
  • BEC03B2B-0AC9-4927-9BA1-440D3905DC78.jpeg
    BEC03B2B-0AC9-4927-9BA1-440D3905DC78.jpeg
    126.4 KB · Views: 51

Ldc2335

Well-Known Member
Joined
Aug 16, 2021
Messages
310
Reaction score
502
Very helpful post, i will do front seats next weekend, with heater instsll, and your photos helps me that. Now i have done only rear seats, here is the picture of my setup. Also more picture of rear armre, helps understand how to disass it.
Looks great!

Sent from my Galaxy S21 Ultra using Tapatalk
 

Georgf

Active Member
Joined
Aug 21, 2020
Messages
194
Reaction score
77
Location
Russia
Also I suggest to make holes for headrest by little side cutters, not by blade, then you can do more precise hole and don’t cut bigger then needed.
 

Attachments

  • EB864034-8ACE-4070-BC81-5DA497A2E977.jpeg
    EB864034-8ACE-4070-BC81-5DA497A2E977.jpeg
    156.5 KB · Views: 25

Ldc2335

Well-Known Member
Joined
Aug 16, 2021
Messages
310
Reaction score
502
I ripped the bottom seams on 3 out of 4 headrests. I even used the plastic bag and vacuum method. Don't know why they make the holes so small.

I was able to sew them and you can't tell, but just a warning for you. Be careful

Sent from my Galaxy S21 Ultra using Tapatalk
 

TVANVA

Active Member
Joined
Nov 30, 2018
Messages
128
Reaction score
116
Location
Lynchburg, VA
I used the plastic bag method on both the headrests and the rear fold down arm rest.

It works surprisingly well, but you need a powerful vacuum, like a shopvac.

102_6250.JPG
102_6252.JPG
 

Georgf

Active Member
Joined
Aug 21, 2020
Messages
194
Reaction score
77
Location
Russia
I used the plastic bag method on both the headrests and the rear fold down arm rest.

It works surprisingly well, but you need a powerful vacuum, like a shopvac.
What exactly vacuum method mean? Have you seen any video before do it? I can’t find any on YouTube.
 

djevox

VP of Creative Thinking
Staff member
Site Supporter
Joined
Aug 27, 2021
Messages
4,209
Reaction score
4,577
Location
MD
No part of this installation was "hard."

It is very time consuming. I went slow and safely Uninstalled the original covers. If you didn't care, you could cut them off and save quite a bit of time.

Too me about 10 hours, including steaming them after each seat.

My hands have never been more sore. I eventually ditched the pliers and figured out my small bolt cutters would work on removing the factory fog rings.

Sent from my Galaxy S21 Ultra using Tapatalk
If you ever decide to do this again in the future, a pair of straight tinsnips are perfect for moving really fast to cut the hog rings. It doesn’t seem like they would work well, but the narrow nose of the snips work perfectly and the effort to cut the hog rings is almost zero.

0E16C0F5-A404-47B3-BE48-41BE8E52C08C.jpeg
 

Ldc2335

Well-Known Member
Joined
Aug 16, 2021
Messages
310
Reaction score
502
If you ever decide to do this again in the future, a pair of straight tinsnips are perfect for moving really fast to cut the hog rings. It doesn’t seem like they would work well, but the narrow nose of the snips work perfectly and the effort to cut the hog rings is almost zero.

View attachment 109153
Well crap, I have a pair just like that and didn't even try them

Sent from my Galaxy S21 Ultra using Tapatalk
 

TVANVA

Active Member
Joined
Nov 30, 2018
Messages
128
Reaction score
116
Location
Lynchburg, VA
Well, you might find a video, but it likely won't be for a RAM.

The concept is very simple. You are using a plastic bag to squeeze the foam uniformly smaller so that the new leather upholstery slips easily over the foam.

Steps:
  1. Locate a plastic bag large enough to fully hold your headrest/armrest foam object with plenty left over. Surprisingly, the bag doesn't have to be of heavy material, in fact, thinner works better. A typical plastic grocery bag will work great for headrests.
  2. Get hold of a strong vacuum cleaner. ShopVac equivalent works well. I used a Festool CT22.
  3. Remove the old cloth cover from your headrest or armrest.
  4. Put the plastic bag over the inner foam, so that the opening of the bag is in the same direction as the opening of the new leather cover.
  5. Turn on the vacuum and get the hose near the opening of the plastic bag. Close the bag around the hose, orienting the hose so that neither the foam nor the bag plugs the hose. If you look at the picture in Post #50, you will see I am using the cup holder depression to keep the plastic bag away from the hose opening.
  6. Let the vacuum run for a minute or so, to let the foam fully compress.
  7. Slip the new leather over the bag. It should slide on easily.
  8. Once the leather is fully over the foam, orient the leather where you want it as it will be much harder to do once the vacuum is gone.
  9. Turn off the Vacuum, and carefully trim the excess bag away so it doesn't show once the leather cover is closed.
  10. Reach around and pat yourself on the back for getting this done without ripping the cover seams or adding any grey hairs to your head.
 
Last edited:

TVANVA

Active Member
Joined
Nov 30, 2018
Messages
128
Reaction score
116
Location
Lynchburg, VA
If you look in the upper left corner of Post #50, you will see the long handled flush cutters I used to cut the old hog rings. Those long handles allow cutting the rings with almost no effort.

You can find them at the Harbor for a reasonable price.

I find they are quite handy for other jobs, like pulling trim nails thru the backside of removed trim boards, or cutting nails flush when I can't get to the nail heads to pull them out.
 

Georgf

Active Member
Joined
Aug 21, 2020
Messages
194
Reaction score
77
Location
Russia
If you look in the upper left corner of Post #50, you will see the long handled flush cutters I used to cut the old hog rings. Those long handles allow cutting the rings with almost no effort.

You can find them at the Harbor for a reasonable price.

I find they are quite handy for other jobs, like pulling trim nails thru the backside of removed trim boards, or cutting nails flush when I can't get to the nail heads to pull them out.
Thanks a lot! I will do my headrests soon, try this method first, because i have done rear armrest just by hand, and it was very hard :(
 

djevox

VP of Creative Thinking
Staff member
Site Supporter
Joined
Aug 27, 2021
Messages
4,209
Reaction score
4,577
Location
MD
Well, you might find a video, but it likely won't be for a RAM.

The concept is very simple. You are using a plastic bag to squeeze the foam uniformly smaller so that the new leather upholstery slips easily over the foam.

Steps:
  1. Locate a plastic bag large enough to fully hold your headrest/armrest foam object with plenty left over. Surprisingly, the bag doesn't have to be of heavy material, in fact, thinner works better. A typical plastic grocery bag will work great for headrests.
  2. Get hold of a strong vacuum cleaner. ShopVac equivalent works well. I used a Festool CT22.
  3. Remove the old cloth cover from your headrest or armrest.
  4. Put the plastic bag over the inner foam, so that the opening of the bag is in the same direction as the opening of the new leather cover.
  5. Turn on the vacuum and get the hose near the opening of the plastic bag. Close the bag around the hose, orienting the hose so that neither the foam nor the bag plugs the hose. If you look at the picture in Post #50, you will see I am using the cup holder depression to keep the plastic bag away from the hose opening.
  6. Let the vacuum run for a minute or so, to let the foam fully compress.
  7. Slip the new leather over the bag. It should slide on easily.
  8. Once the leather is fully over the foam, orient the leather where you want it as it will be much harder to do once the vacuum is gone.
  9. Turn off the Vacuum, and carefully trim the excess bag away so it doesn't show once the leather cover is closed.
  10. Reach around and pat yourself on the back for getting this done without ripping the cover seams or adding any grey hairs to your head.
This is a really good method to use. That’s how I was taught a long time ago but haven’t needed to use that method every time. I was also taught a baby powder trick, but I don’t like using that and I don’t think it works well.
 

Users who are viewing this thread

Top