Okay, I had my rant! I just can't part ways yet with the Rebel and the battery has not died again since my last episode a couple weeks ago, so I am back to wanting to keep it. But if it does leave me stranded again, I will definitely be giving it the boot.
So, I decided to tackle the install of the Vice Design hidden winch system that has been sitting on my work bench for past few months. I knew it would take some effort and I just didn't have the time and energy to tackle it yet. Sure enough, it turned out to be a bit harder than the Vice Design video would suggest (to be fair, they do say it's a 2-person job) but I finally managed to get 'er done...mostly.
I broke my project up into two parts with Part 1 focused on bumper tear down, removal and rewiring of my Rigid bumper-mounted lighting, winch bracket assembly and installation of my Smittybilt X20 12K winch, and bumper installation. Part 2 is unfinished for the winch power connection, reconnecting my Rigid lights with a new Cali Raised power controller, attaching a thicker Warn fairlead, spooling in the synthetic winch line, and attaching the Factor 55 Ultrahook. Part 2 also includes cutting off the Smittybilt supplied, hardened steel winch hook so that I can install and use the Ultrahook. If I screw that up, I will have to invest in new synthetic rope to spool onto the winch.
Tools needed are 18MM, 19MM, and 22MM sockets for the bumper/frame and winch bracket assembly but also get yourself an 18MM ratchet wrench because the (2) inner bumper studs (one on each side) are replaced with longer studs that are hard as heck to torque back up once the bumper goes back on (update; I am still struggling in getting the remaining "inner" bolts tightened up on either side as it is extremely difficult trying to get any sockets or tools onto the nuts since there is just no room with the winch assembly installed - I recently purchased a "shorty" 19MM wrench and flex-head ratchet wrench set and will let you know what works best). The other time saver is investing in a right angle magnetic bit holder for your drill as it really speeds up the removal/installation of the fender flares (if you have any), inner wheel liners, and lower bumper insert. The rest are standard metric and SAE sockets, wrenches, and torque wrench. Everything is torqued to 85 ft. lbs. with exception of the tow hooks (I believe they were at 136 ft. lbs.).
I am not going into all of the gory details as the Vice Design and other videos hit most of them. Also, since I did most of the work myself way into the wee hours of the morning, I didn't stop to take too many pictures of the work progress so I apologize for the lack of useful photos.
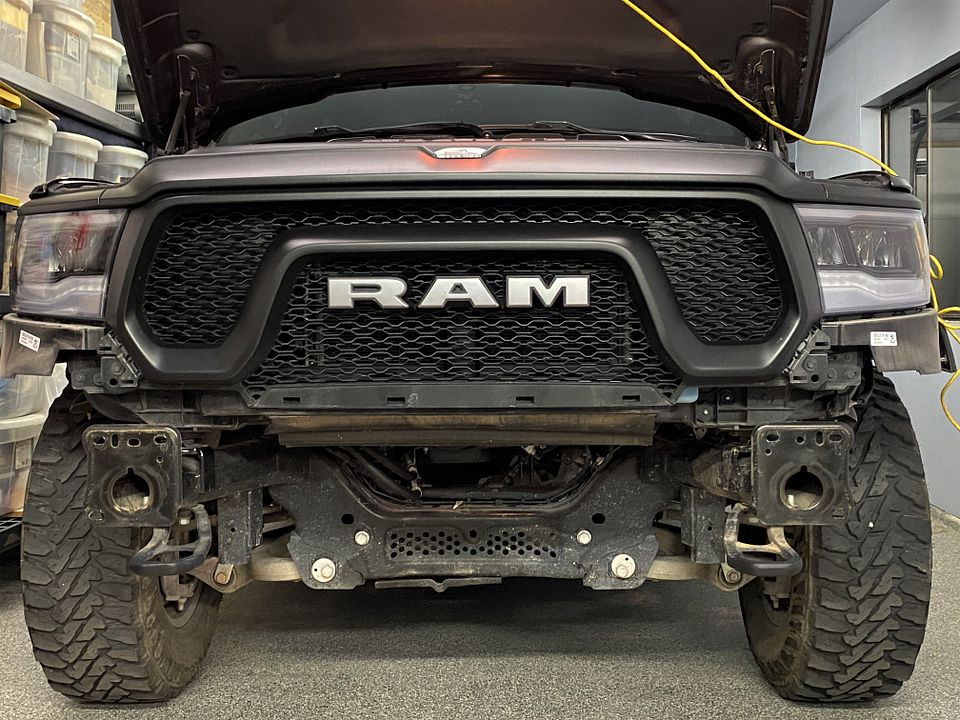
It seemed like I just did this but first step was to remove the front bumper in its entirety which required substantial removal of the fender flares (both sides) and headlight under bezel panels (which was a pain as there is a hard to see and unscrew 10MM bolt nestled up under the fender where the bezel connects to the body), removal of the front bottom portion of the wheel well liners, removal of the tow hooks, and un-torqueing the bumper's frame bolts. My bumper mounted lights also made for additional work as I had to disconnect and pull out all of the wiring that I had connected up but I took this as a positive step since I wanted to redo that wiring anyway.
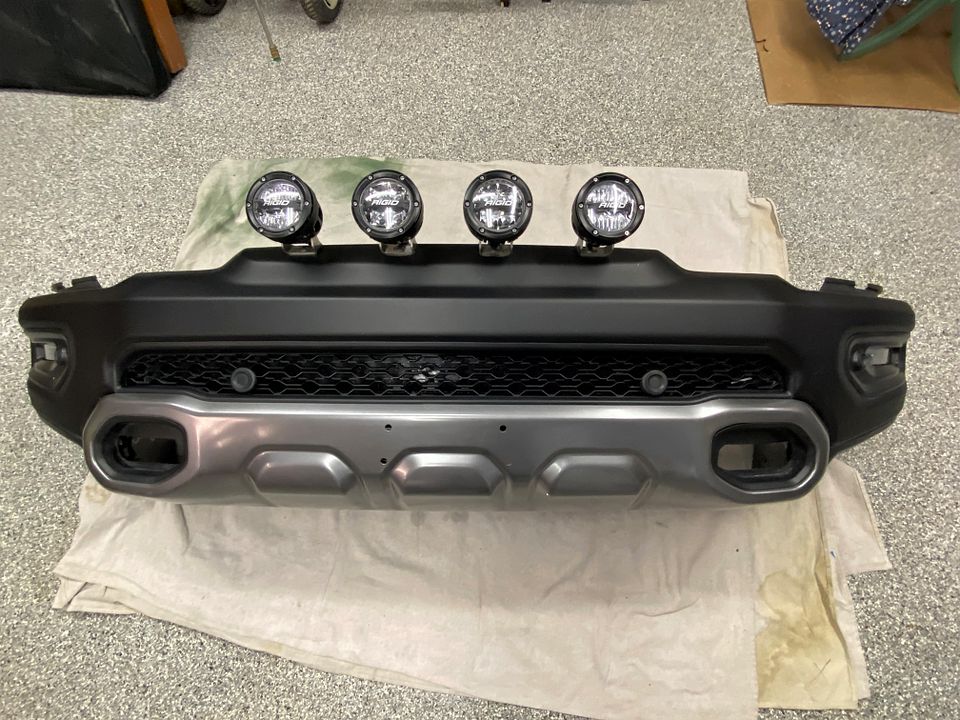
Once the bumper was removed, I secured the whole assembly onto to work bench so that I could remove the lower grille section and cover. This required the removal of a number of push pins and pinch screws of which some were a bear to do, but best advise is be patient and just keep working them. The scariest part is removing the center support behind the grille; I used a Sawzall with a fine tooth blade that made fast work of the metal cuts; I then filed down the cuts and used Rust-Oleum spray paint to coat the cuts.
Once done, I took the opportunity to clean up my previous wiring work and zip tied everything out of the way so nothing would get caught up while reinstalling the bumper.
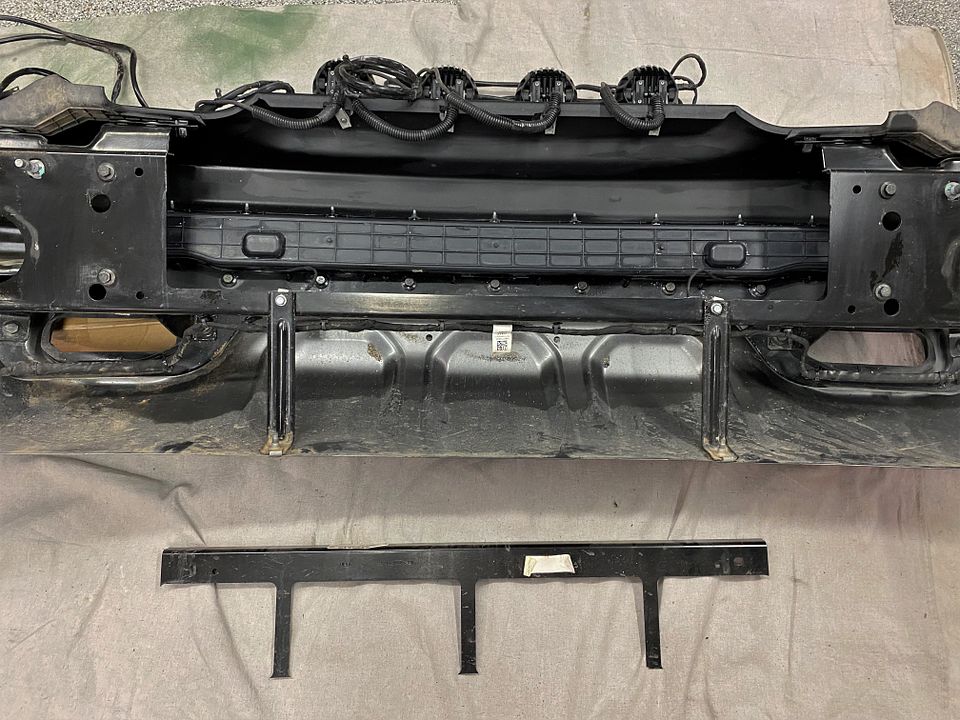
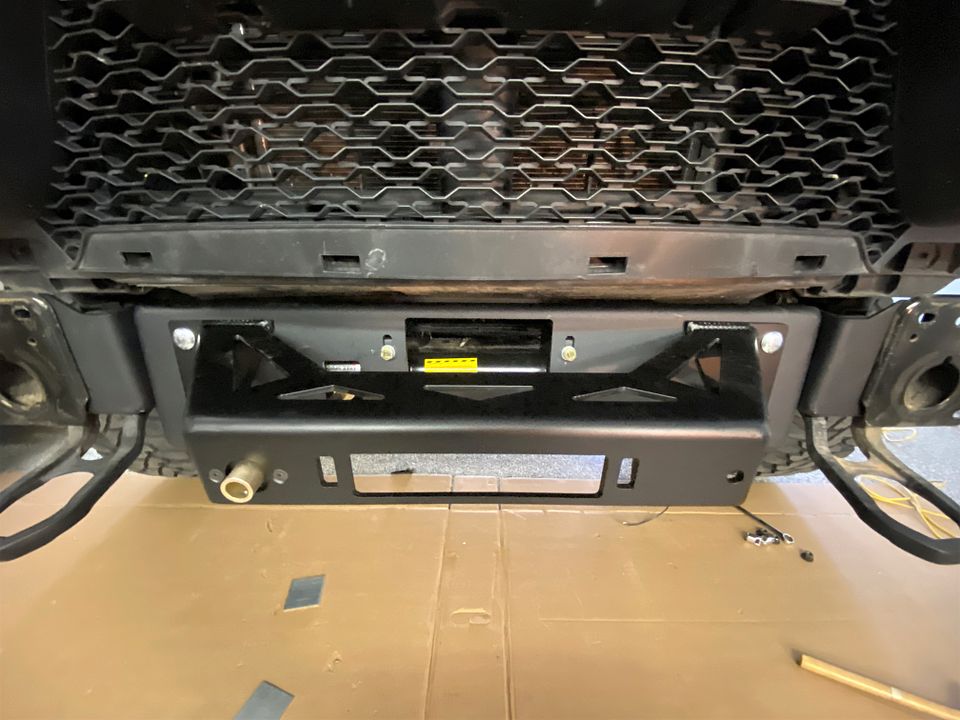
After cutting out the center portion of the support, and removing the lower grille and back cover, you install the Vice Design front cover (with openings for the fairlead, clutch handle, and parking sensors). That was a royal pain too as it took a while to figure out that you literally have to stretch (it's metal, so that takes some doing) the cover to line up with the clip tabs and reuse some of the pinch screws in such a way to prevent the cover from bowing out once tightened and under tension. Having someone to help with that part is highly recommended (and use thick gloves). Also, my kit was missing the parking sensor mounts so I removed the factory ones from old plastic grille and inserted them. I may still ask Vice Design to send the matching metal ones to make sure I don't have any issues in the future.
There is some assembly required while mounting the winch to the hidden winch bracket but most was straightforward as long as you follow the directions. I had opted for the remote winch control box that gets mounted up in the engine bay; I really wanted this feature to both protect the control box and provide easy access for the remote controller. Installing that with the supplied metal mounting bracket was kind of frustrating as it just never lined up neatly with any of existing bolts in the engine bay until you finally realize it's okay to bend the mounting bracket until it does.
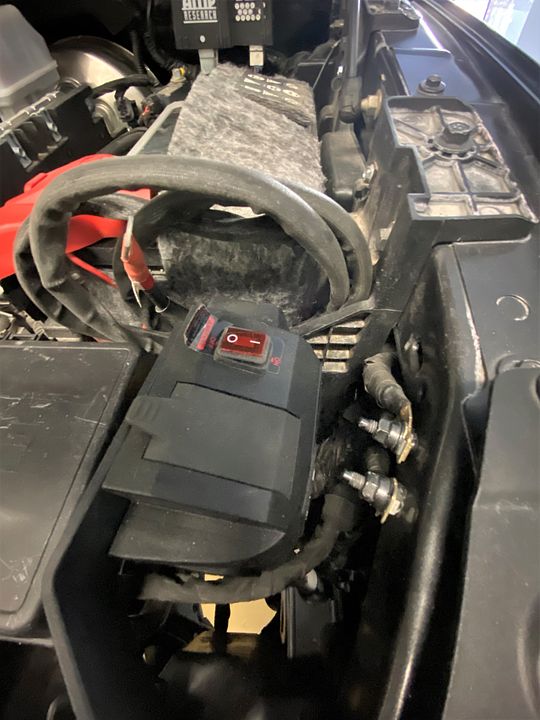
Once installed, you swap out the standard power wiring with the extended length wiring that gets fished from the control box down to the bumper. I was smart enough to figure out that wiring the winch after the assembly was installed would be a pain in the derriere, so I had planned to wire up the extended cables to the winch before fully installing the assembly onto the truck.
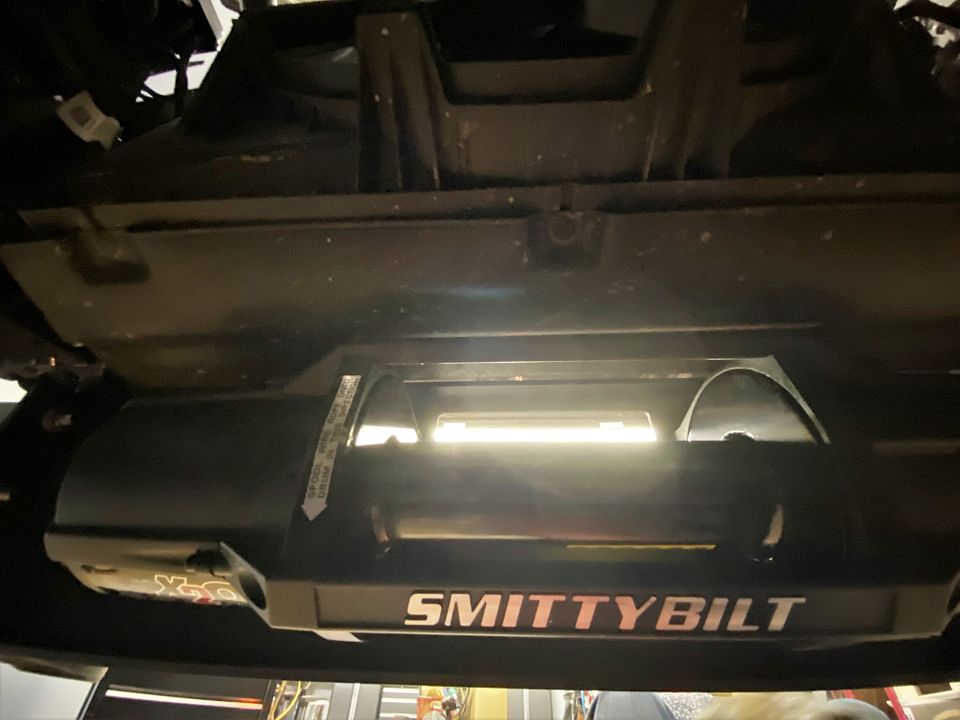
But of course, that didn't happen. In my haste (it was getting really late), I totally forgot to do that despite my preplanning and went right to installing the winch assembly onto the frame which took some doing. If it wasn't such a pain balancing and fitting the assembly (pretty heavy to lift, balance, and bolt up the winch and bracket if doing by yourself), I would have taken the whole thing apart and finish the wiring with the winch removed. So, it was a lot of fun trying to make those connections as I barely had room for my fingers to fit into the space where the electrical studs were located (I lost almost all of the kit provided hardware as I kept dropping nuts and washers into the winch bracket assembly and could not be recovered). Luckily, I had plenty of extras of the right size in my stash and eventually I got everything secured. Regarding the initial fitting of the winch assembly, I was able to use two jack stands and 2x6 boards and shims to get the winch assembly up high enough on a (semi) stable platform and carefully slide the passenger side behind the bumper mount on the frame and line up the driver side perfectly for bolting onto the frame. Again, follow the directions before fitting the whole assembly; you should have pre-installed the driver side mounting bracket onto the assembly first and then install the passenger side mounting bracket after the driver side is bolted to the frame (but keep everything supported until the passenger side is secure).
Backside of installed winch assembly with electrical studs on top of left side of winch....no room for mistakes here:
I could not get the bumper reinstalled by myself. The replacement bumper frame bolts would not stay secure enough with the press washers while trying to line up both sides by myself. I tried tying strings around the loose bolts that allowed me to keep the bolt somewhat straight while guiding them to their locations but it just wasn't working. I probably wasted an hour or so trying to get the bumper back on. Finally, a friend of mine was able to drop by and within 20 mins or so, we were able to center the bumper perfectly and connect the frame bolts.
After that, it was reinstalling the bezels, flares, liners, etc.
I didn't take any final pictures but Part 2 should be finished shortly and will share once done!
