Idahoktm
Spends too much time on here
Holy  , did you straighten out a Rough Country fender flare and mount it to the leading edge of your hood?
Yes, their wireless charger comes with a small cig lighter usb charger. Not sure the wattage. That would be my method if a ac plug is not available. All the RAM usb ports are under powered for modern large battery devices with fast charge.I like that...had to go do some searching..
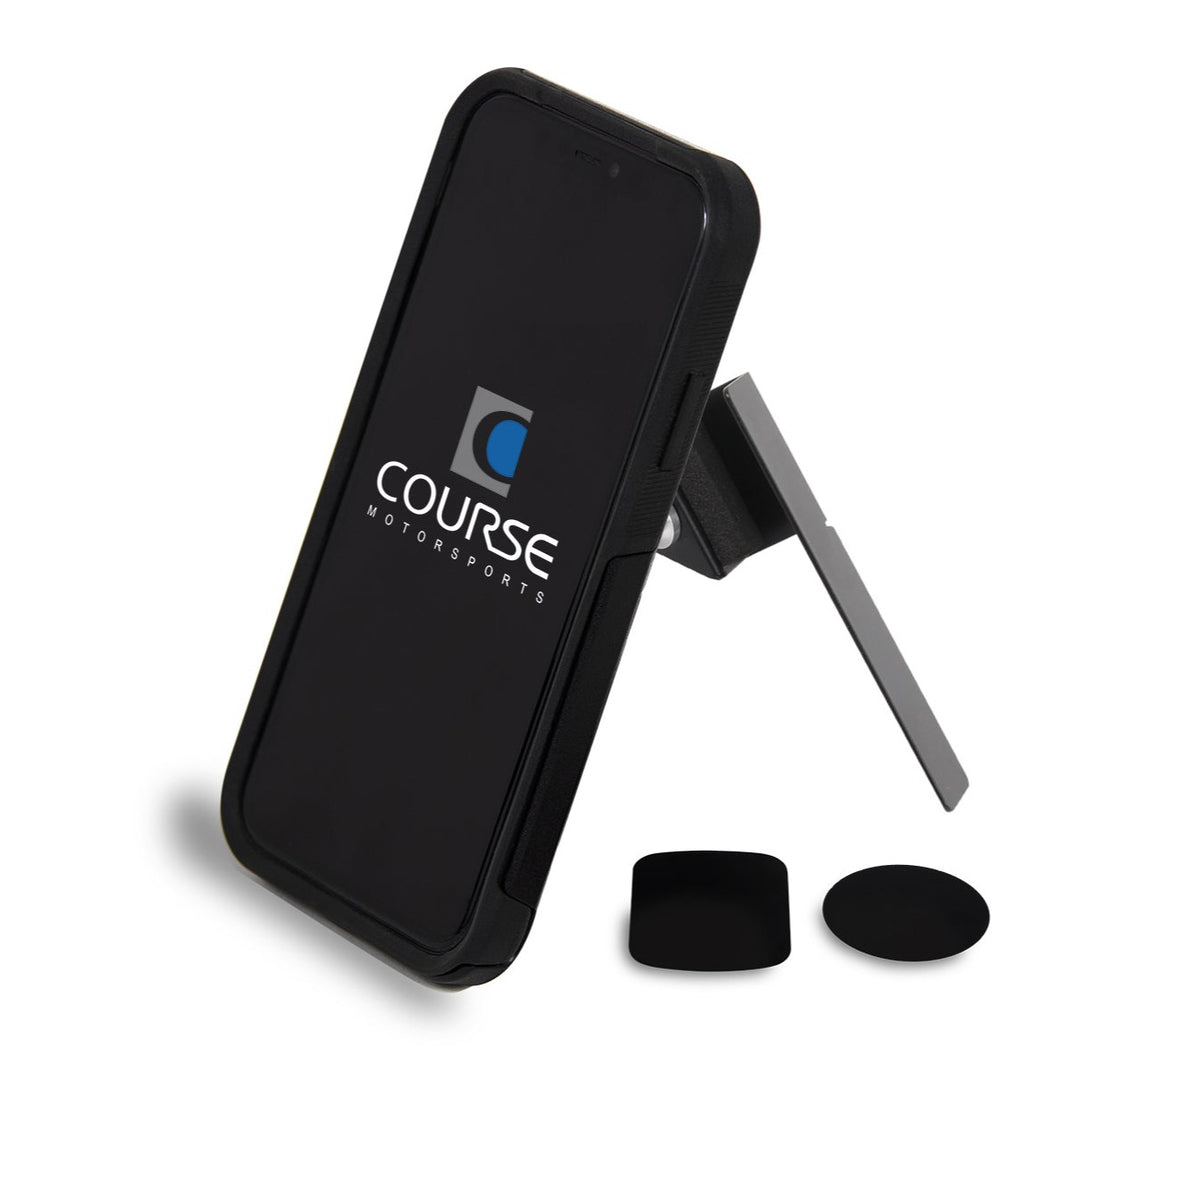
Direct Fit Phone Mount - Dodge Ram 1500/2500/3500/4500/5500 (2019+) *S
Fits: Dodge Ram 1500/2500/3500/4500/5500 (2019+) (***Note: This product will NOT fit TRX, or Limited trim models. It will also not fit 2021+ Power Wagons or 2020+ Laramie Longhorn models.***) For these, please see this product: Direct Fit Phone Mount: Ram TRX, Ram Limited (2019-Present) CourseMS...coursemotorsports.com
Now to find a 12 volt source. My BH does not have many plug in ports but I can probably piggy-back off of the lighter plug in in the TOP dash ?
Yes tuck behind on the left behind the mount and pops out bottom right above the AC plug.Did you run the usb behind the head unit for power?
Look at you passing on the knowledge you’ve gained here!Yes tuck behind on the left behind the mount and pops out bottom right above the AC plug.
Looks amazing as alway!Installed the new Vice Design Mod V2 BumperQuinton at Vice was super cool to work with. I told him my plans to modify the side profile of the bumper slightly to make it more of a prerunner/dovetail style, and he actually sent the bumper to me with that revision already done on it! Then I said I wanted to mount Baja Designs S2s and within a couple days he designed and fabbed up a bracket to hold the lights! Obviously I had the bumper paint matched and chose to paint match the parking sensor bezels and the trail pin connector cover too, and it all turned out great. Didn’t have to sand the bumper or do any body work. Just hit it with degreaser and started painting. I’m looking forward to getting more Vice Design products in the future because the quality and customer service can’t be beat.View attachment 169588
lookin' good!Installed the new Vice Design Mod V2 BumperQuinton at Vice was super cool to work with. I told him my plans to modify the side profile of the bumper slightly to make it more of a prerunner/dovetail style, and he actually sent the bumper to me with that revision already done on it! Then I said I wanted to mount Baja Designs S2s and within a couple days he designed and fabbed up a bracket to hold the lights! Obviously I had the bumper paint matched and chose to paint match the parking sensor bezels and the trail pin connector cover too, and it all turned out great. Didn’t have to sand the bumper or do any body work. Just hit it with degreaser and started painting. I’m looking forward to getting more Vice Design products in the future because the quality and customer service can’t be beat.View attachment 169588
Haha yep finally got rid of the stock one! It’s crazy to me how light and flimsy the stock bumper is lol you can lift it with a couple fingerslookin' good!
no wonder your bumper looked different than i remembered lol
Thanks brotha!Looks amazing as alway!
oh yeah i know lol mine's crooked/ "leaning" from tapping the ground when coming down a steep hill when I didn't even have 5k miles on it lolHaha yep finally got rid of the stock one! It’s crazy to me how light and flimsy the stock bumper is lol you can lift it with a couple fingers
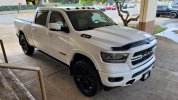
Probably should have done the flare before the graphene coating. Might prevent the paint protection and flares from adhering properlyGot a few things done on the truck this week...
-purchased a used Factory amplifier with ANC off of ebay for 130. Brand new runs from 480 up, if in stock.
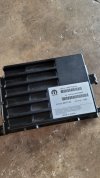
My diagnosis was correct. Plugged it in and the rest of the speaker system returned. Pictured is the fried amplifier just before i shucked it.
View attachment 169633
-Felt good about that, so gave it a bath.
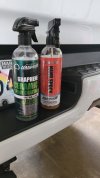
Been using Nanoskin products for years, recently saw this new Graphene spray at my retailer and had to try it. Using their Autoscrub chemicals and pads, it's a pretty effortless detailing line. Easy on easy off stuff. Apply the NanoShock using their "clay" pad to clean and level, then spray on the Graphene and wipe off. Am liking the results so far. Big fan of the product line, nuff said.
View attachment 169635
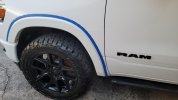
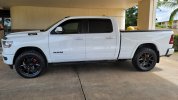
-After finishing the detail, decided to finally install a set of Laramie fender flares I purchased off of ebay almost 2 years ago. I did install them back then, but I was running my stock 18's and they looked RIDCULOUS with the tiny wheels.
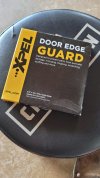
Install was a bit time consuming, and was spread across a couple of days. First, I needed to install them. Then I taped off the outter edge on the fender around the flare and removed them. Using 1/8 inch wide door edge guard clear protective tape, i followed the inside edge of the tape to protect the panel from the flare's edge.
View attachment 169639View attachment 169640
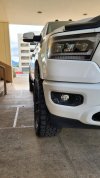
After reinstalling, alot of time was spent getting them aligned nicely. I also had a set of Amazon knock off mud flaps made for flares that fit very nicely. The front needed trimming to prevent rubbing, but am really glad I got them.
They look much better with the 22's and wider tires. Am super happy how it came out.
View attachment 169643
View attachment 169641
View attachment 169642
It could be a wire, but more likely, the LED itself. I've had home LED bulbs do that before quitting. It's not common, but they do fail, even with low hours. Used to work for a city, and we converted probably 2,000 bulbs, or more. Had a couple dozen defects.This weekend’s project is to figure out how to remove the tailgate handle LED from the MFT and check the wiring/light, cuz mine is doing this currently:
Funny you say that because that "ah-ha" moment did come across...in my defense I started the work like 6pm, but was cleaning truck from like 9am that morning.Probably should have done the flare before the graphene coating. Might prevent the paint protection and flares from adhering properly
Got a few things done on the truck this week...
-purchased a used Factory amplifier with ANC off of ebay for 130. Brand new runs from 480 up, if in stock.
My diagnosis was correct. Plugged it in and the rest of the speaker system returned. Pictured is the fried amplifier just before i shucked it.
View attachment 169633
-Felt good about that, so gave it a bath.
Been using Nanoskin products for years, recently saw this new Graphene spray at my retailer and had to try it. Using their Autoscrub chemicals and pads, it's a pretty effortless detailing line. Easy on easy off stuff. Apply the NanoShock using their "clay" pad to clean and level, then spray on the Graphene and wipe off. Am liking the results so far. Big fan of the product line, nuff said.
View attachment 169635
-After finishing the detail, decided to finally install a set of Laramie fender flares I purchased off of ebay almost 2 years ago. I did install them back then, but I was running my stock 18's and they looked RIDCULOUS with the tiny wheels.
Install was a bit time consuming, and was spread across a couple of days. First, I needed to install them. Then I taped off the outter edge on the fender around the flare and removed them. Using 1/8 inch wide door edge guard clear protective tape, i followed the inside edge of the tape to protect the panel from the flare's edge.
View attachment 169639View attachment 169640
After reinstalling, alot of time was spent getting them aligned nicely. I also had a set of Amazon knock off mud flaps made for flares that fit very nicely. The front needed trimming to prevent rubbing, but am really glad I got them.
They look much better with the 22's and wider tires. Am super happy how it came out.
View attachment 169643
View attachment 169641
View attachment 169642
Thanks, I do agree it does look better with them. Wish I took a picture of it with my 18's. That looked majorly, ridiculoulsy fugly...That looks so much better with the flares. It's a shame that Ram deleted them from the Laramie.
