5thGenRams Forums

Register a free account today to become a member! Once signed in, you'll be able to participate on this site by adding your own topics and posts, as well as connect with other members through your own private inbox!

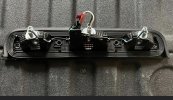
Recon LED 3rd Brake Light 2019+

I did the same, I tightened mine initially, then went back after a few hours and retightened everything and I felt like the second time of messing with it I got it basically completely flush with the truck. Mine might be just slightly off, but it is extremely close. I’d say comparable to Dev’s. I never heard creaking or a cracking sound but tightening the screws down like I did, I’m sure it wasn’t far off. That’s probably my biggest gripe with the light, but once getting beyond the install, I haven’t had any complaints. Even though it is a basic install, I agree that installation instructions or torque specs would have been nice. That was a detail I failed to consider but it would have been helpful for sure. Looks really good though on yours! Nice and bright!
 
I am worried about leaks now. I watched a cool video on YouTube where a guy used Zip flashing tape to "seal" the cubby where the 3rd brake light connects. The Recon will be so much easier, because it has a flat base. I am thinking of trying this guy's Zip tape method, just to be on the safe side. Maybe that way I don't have to overtighten the screws.

 
Last edited by a moderator:
Keep in mind, I didn't install mine...dealer was doing a warranty seal on the light so had their weather guy install it...I have no idea, but it's *possible* he removed their gasket and did it himself...if he did it like they did on the OEM light, my light will be sealed/attached in with a melted rubberized seal
 
I am worried about leaks now. I watched a cool video on YouTube where a guy used Zip flashing tape to "seal" the cubby where the 3rd brake light connects. The Recon will be so much easier, because it has a flat base. I am thinking of trying this guy's Zip tape method, just to be on the safe side. Maybe that way I don't have to overtighten the screws.

That’s a pretty cool approach. After blasting mine in near point blank range with a pressure washer like I did, I’m really not concerned with it leaking but I still haven’t let my guard down. We’ve had a couple nights of rain and I check on it after every time it does lol. I don’t think it’s a bad idea to take extra measures though. Definitely wouldn’t hurt.
 
Keep in mind, I didn't install mine...dealer was doing a warranty seal on the light so had their weather guy install it...I have no idea, but it's *possible* he removed their gasket and did it himself...if he did it like they did on the OEM light, my light will be sealed/attached in with a melted rubberized seal
That makes sense, now. Yours looks perfect.(y)
 
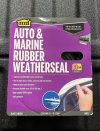
What do you guys think about taking that seal off and putting an aquamarine type seal on it? That’s what I did with my oem one, much better seal that the foam one that comes on it.
 
What do you guys think about taking that seal off and putting an aquamarine type seal on it? That’s what I did with my oem one, much better seal that the foam one that comes on it.
That seems like an decent option. How hard is it to take off, just in case you had to?

I am going to drive around for a week or two, first. I want to make sure there is no key fob interference. So far, there is none.
 
It’s not bad, I took a little heat to it and 3m wheel to it and put on the new seal.
 
You took off the foam gasket entirely? Do you have any pics of the process?
 
You took off the foam gasket entirely? Do you have any pics of the process?
Not my pics but what I used and how it looks with this seal on. No more foam and it hasn’t leaked. Much better than oem seal.
 

Attachments

  • A59C6F0D-4B8E-4AA9-9FE9-391EE6B989C9.jpeg
    A59C6F0D-4B8E-4AA9-9FE9-391EE6B989C9.jpeg
    223.3 KB · Views: 120
  • 8AA5F94F-4284-4360-BC91-7717AB128ABE.jpeg
    8AA5F94F-4284-4360-BC91-7717AB128ABE.jpeg
    174.1 KB · Views: 118
This 3rd brake light leak issue goes back to, as far as I can tell, the 3rd gen Rams. I found that M-D product on Amazon for $9.38. I decided to read the first 10 or so reviews. Just in the first ten, 5 (HALF!!!) were like "fixed my Ram 3rd brake light leak". How come FCA has not fixed this ongoing issue? Do they even care? This kind of stuff irritates me.
 
Last edited by a moderator:
This 3rd brake light leak issue goes back to, as far as I can tell, the 3rd gen Rams. I found that M-D product on Amazon for $9.38. I decided to read the first 10 or so reviews. Just in the first ten, 5 (HALF!!!) were like "fixed my Ram 3rd brake light leak". How come FCA has not fixed this ongoing issue? Do they even care? This kind of stuff irritates me.
Unfortunately, it comes down to the bean counters. Is the cost of a permanent fix worth it over the span of millions of trucks? Same reason the rear windows still crack, and GM isn't stop-selling trucks despite massive lifter issues, and Ford have ignored some demons in the Ecoboost for years, etc. I can't judge too much - I'm an accountant myself. But it is a really crappy way to do your customer at the end of the day.
 
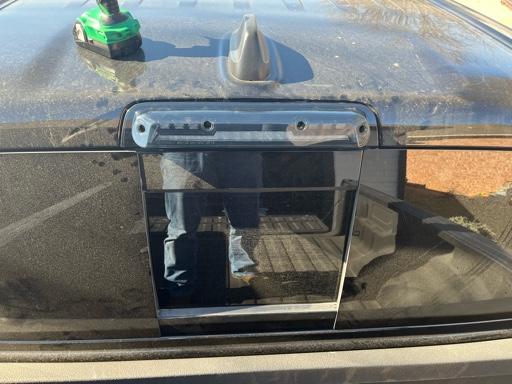
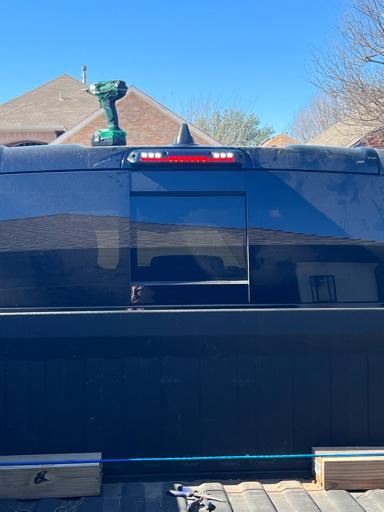
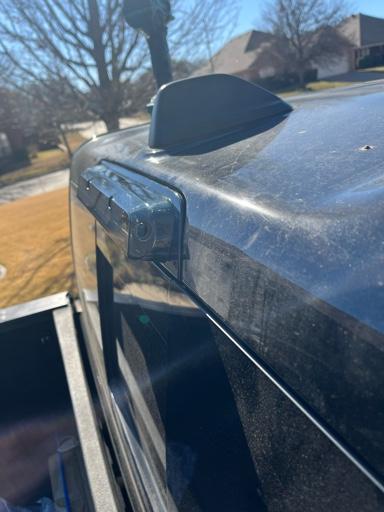
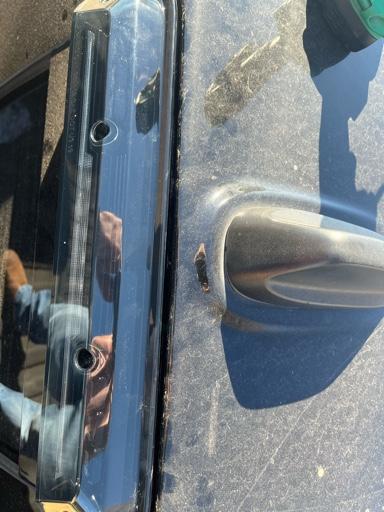
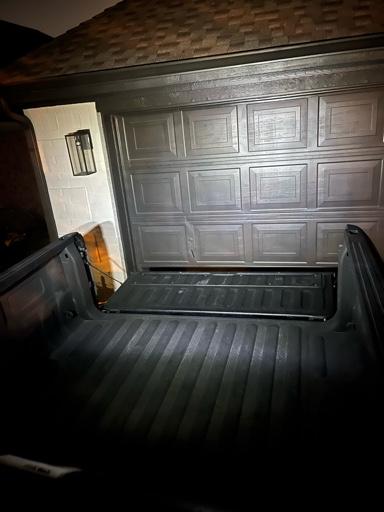
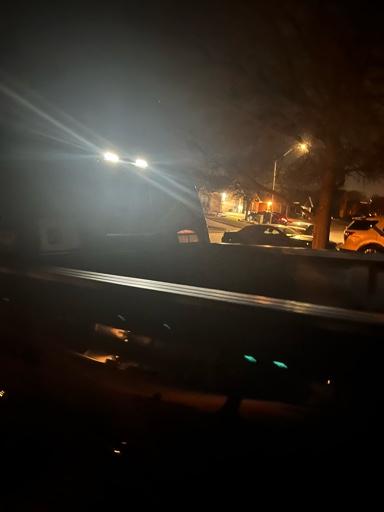
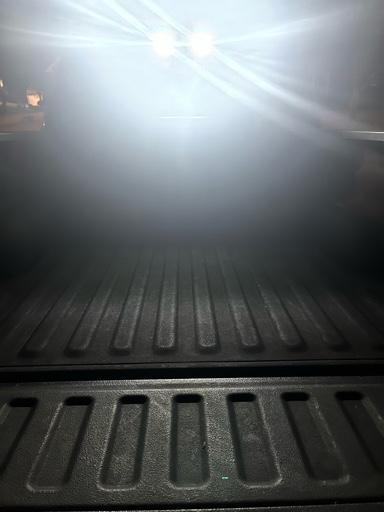
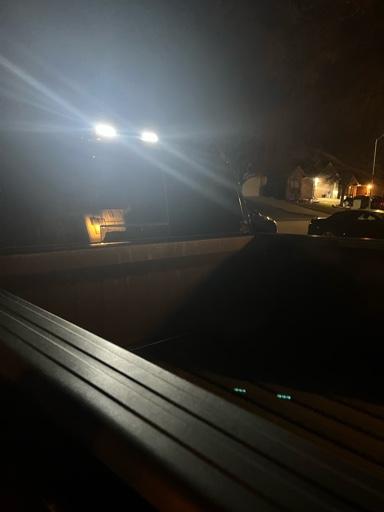
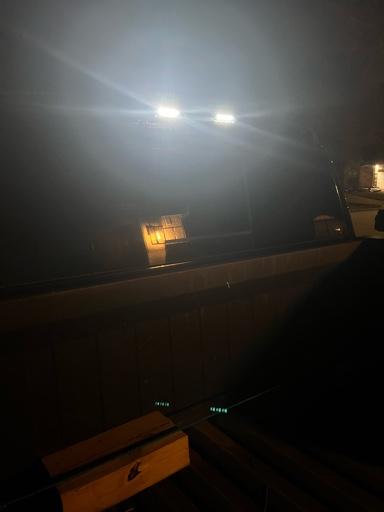
Alright just got the light and got it installed. Looks pretty good. The brake light is definitely bright even in the middle of the day. The cargo lights, I’m not quite sure as it’s daylight but they appear to not be as bright as my old LED bulbs. They do however look like they have a bit of a downward angle to them so they may light up the bed just fine. I’ll update later tonight with some more pics.

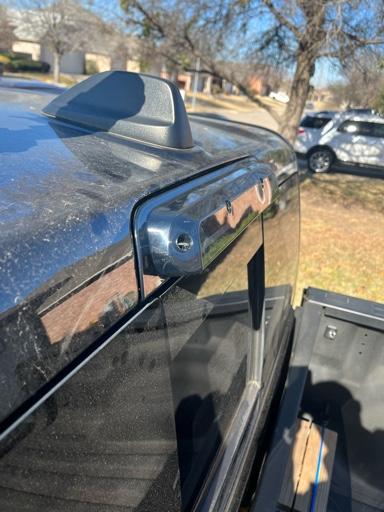
The gasket on this thing is massive. I was able to get the sides flush within about a millimeter. I just put the full weight of my shoulder in the light while I screwed it in. I’m happy with it. The top has a noticeable gap but you could never see it unless you were standing directly over the light. And honestly it’s not even that bad.

I haven’t tested it for leaks yet but I didn’t have an issue before and as tight as I have that giant gasket screwed down I don’t see how any water could get through it. It that changes I’ll let y’all know.


be9d7aa737657ad13eb70370ed41aa58.jpg

ab2e755a9b90fad41c39a2d544203a5a.jpg

8c83d42e6336b339d8f6a26d111c10f0.jpg

dfd95e9c65b6c1c77aa237d59beffa71.jpg

4a5bc936c7f4f4a4adfeb48ba9fab938.jpg

866e1a7a43d01a7a2c137dd150ca0b0c.jpg
 
You got it closer than I did. (y)

It's quite a bit warmer today. I might got out and try again. I will put my weight into it like you did.
 
Alright just got the light and got it installed. Looks pretty good. The brake light is definitely bright even in the middle of the day. The cargo lights, I’m not quite sure as it’s daylight but they appear to not be as bright as my old LED bulbs. They do however look like they have a bit of a downward angle to them so they may light up the bed just fine. I’ll update later tonight with some more pics.

The gasket on this thing is massive. I was able to get the sides flush within about a millimeter. I just put the full weight of my shoulder in the light while I screwed it in. I’m happy with it. The top has a noticeable gap but you could never see it unless you were standing directly over the light. And honestly it’s not even that bad.

I haven’t tested it for leaks yet but I didn’t have an issue before and as tight as I have that giant gasket screwed down I don’t see how any water could get through it. It that changes I’ll let y’all know.


be9d7aa737657ad13eb70370ed41aa58.jpg

ab2e755a9b90fad41c39a2d544203a5a.jpg

8c83d42e6336b339d8f6a26d111c10f0.jpg

dfd95e9c65b6c1c77aa237d59beffa71.jpg

4a5bc936c7f4f4a4adfeb48ba9fab938.jpg

866e1a7a43d01a7a2c137dd150ca0b0c.jpg

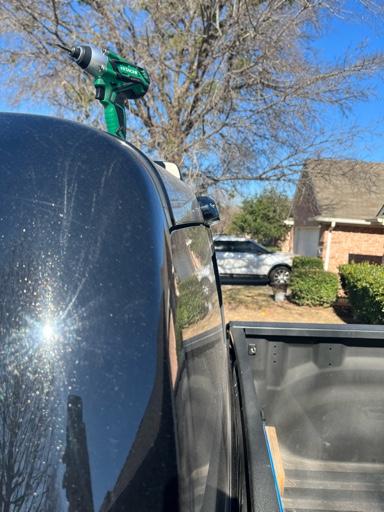
You used a power tool for the screws??..


Sent from my iPhone using Tapatalk
 
You used a power tool for the screws??..


Sent from my iPhone using Tapatalk

Ha. No I just used it to get them about 3/4 way in. There’s a lot of threads on those screws and I’m lazy. I hand tightened them down. I was super careful and worried about cracking it. But the unit is pretty stout. I got them tight as I was comfortable with. But they were pretty damn tight.
 

Users who are viewing this thread

Back
Top