Desert Dawg
Well-Known Member
Aftermarket Exhaust System Selection
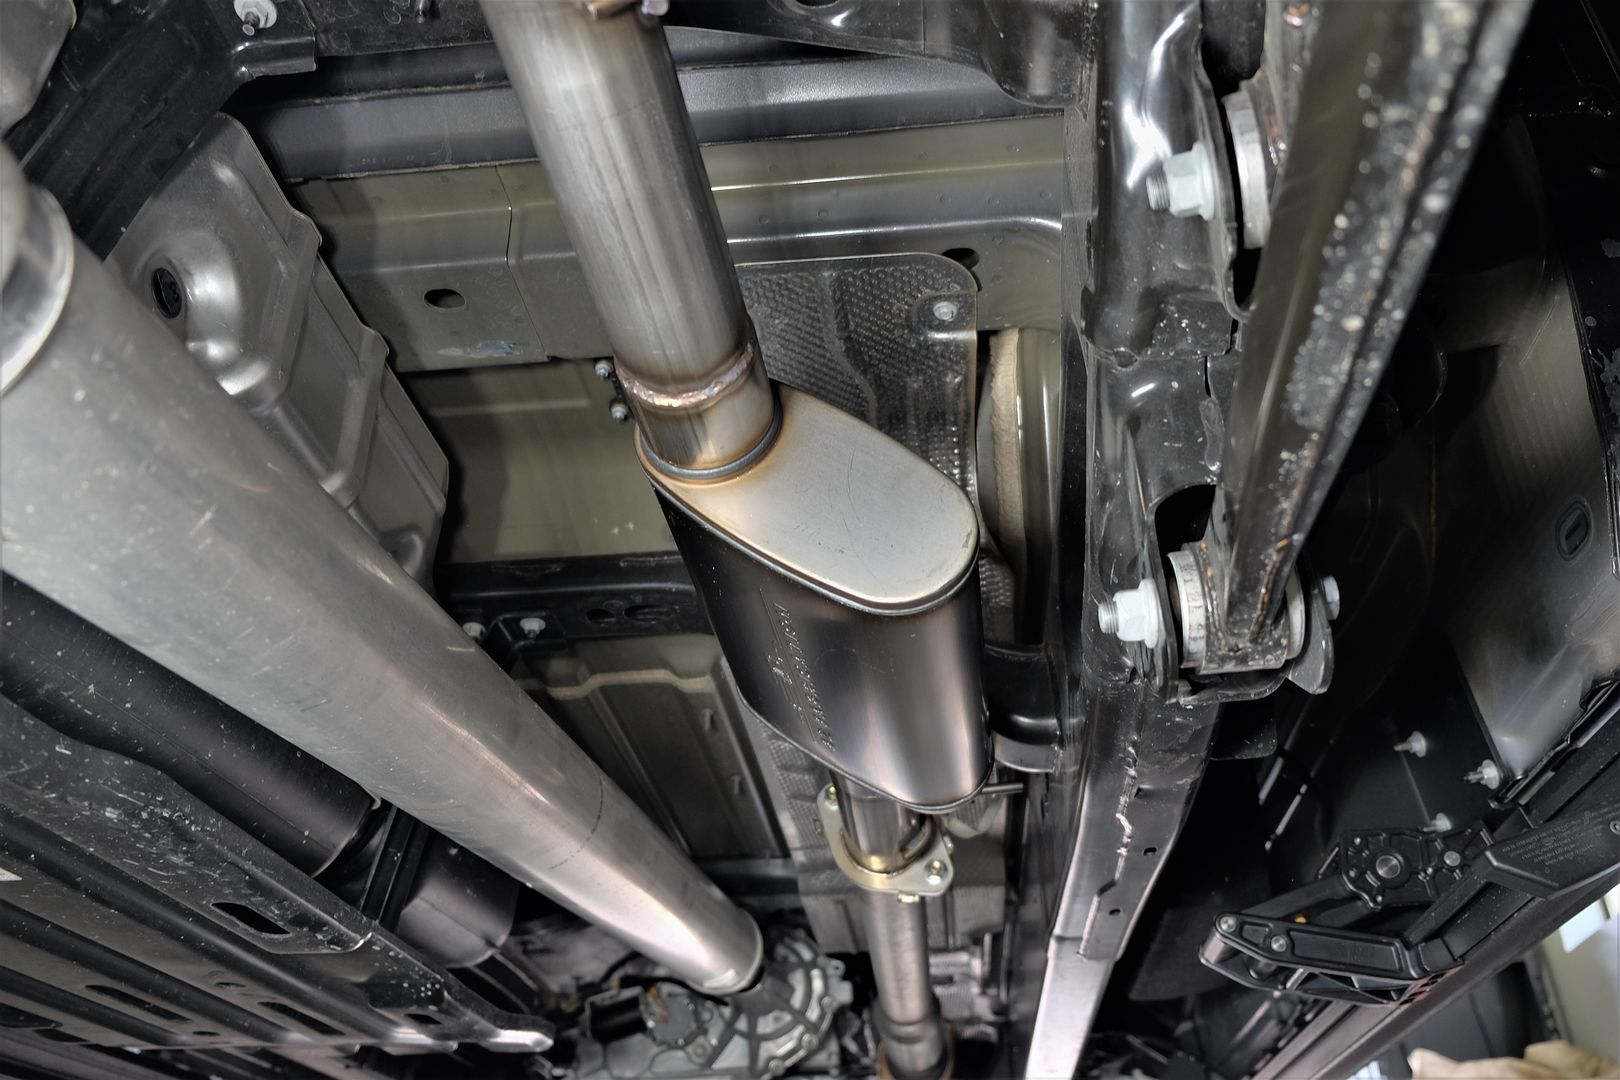
The next modification will be the exhaust. While the Ram already has a nice sound to it, it is lacking compared to my Toyota TRD exhaust system which sounded great right from the factory (as an optional upgrade)! In the past, I have tried Flowmaster, Gibson, and Magnaflow systems. In general, I found the Flowmasters can have a great low end growl but can also done heavily out on the highway; Gibsons are nice quality systems but are more sedated at WOT, and; Magnaflows typically provide a nice balance in moderate to WOT throttle response but easy on the ears at lower RPM and don't done at speed. So the latter has been my "go to" for several builds now.
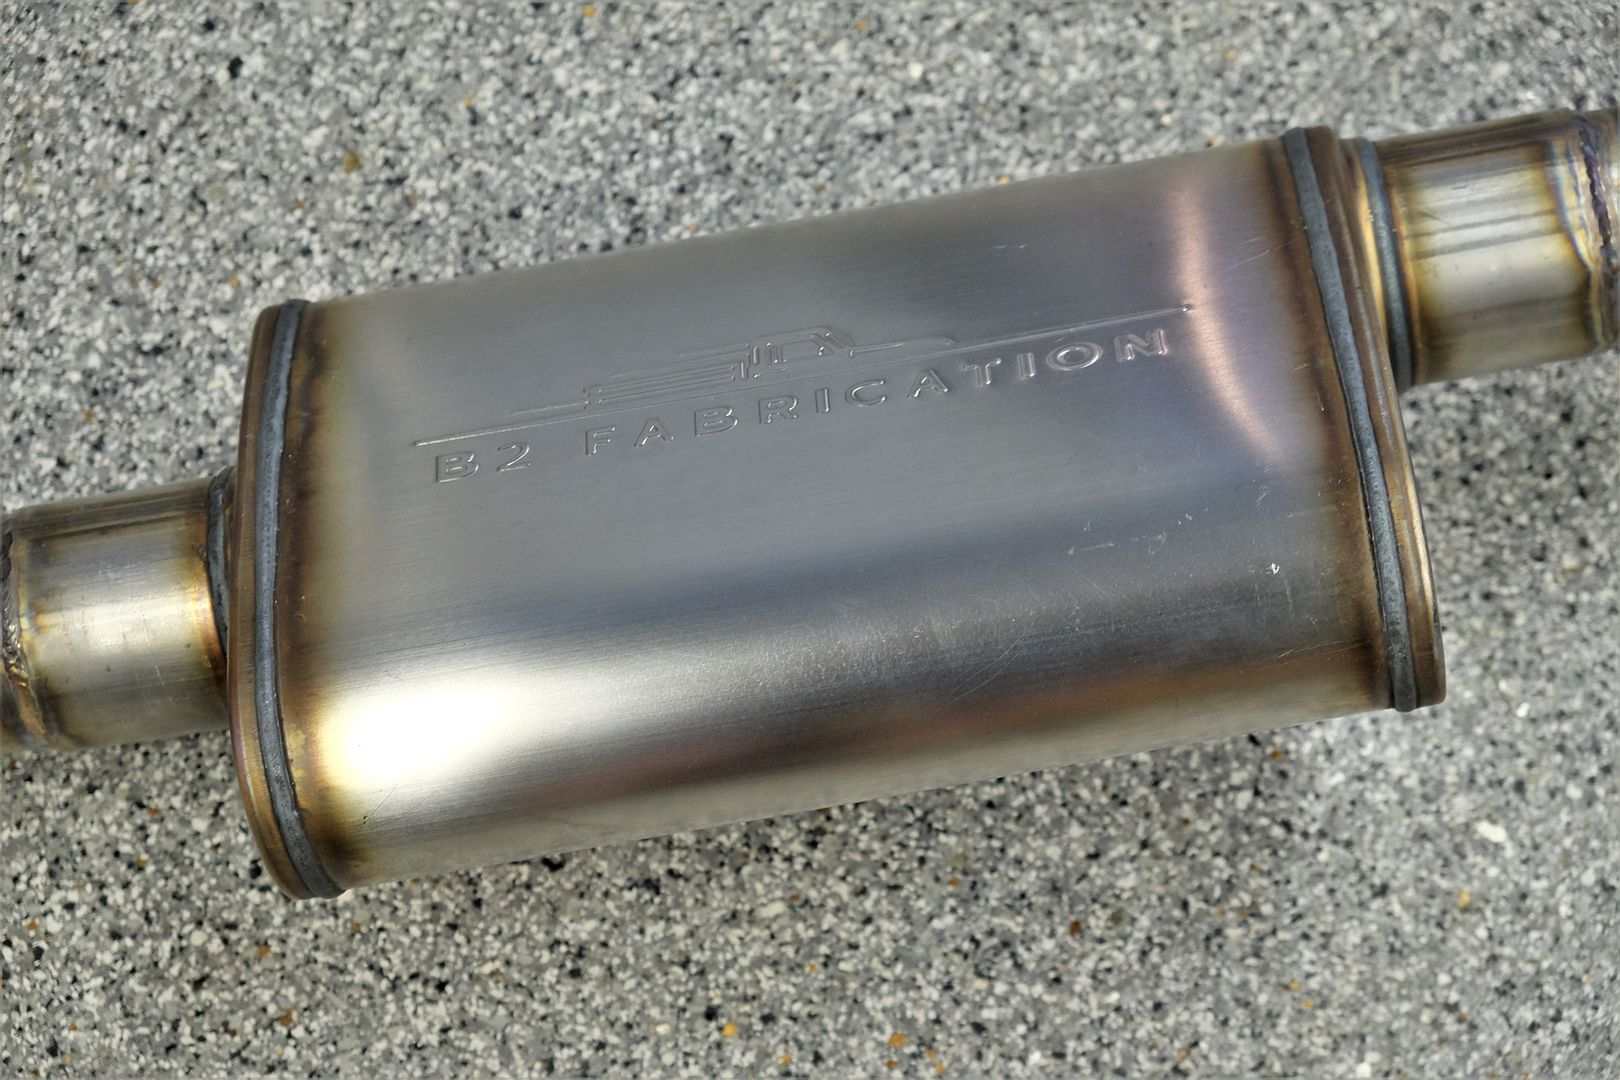
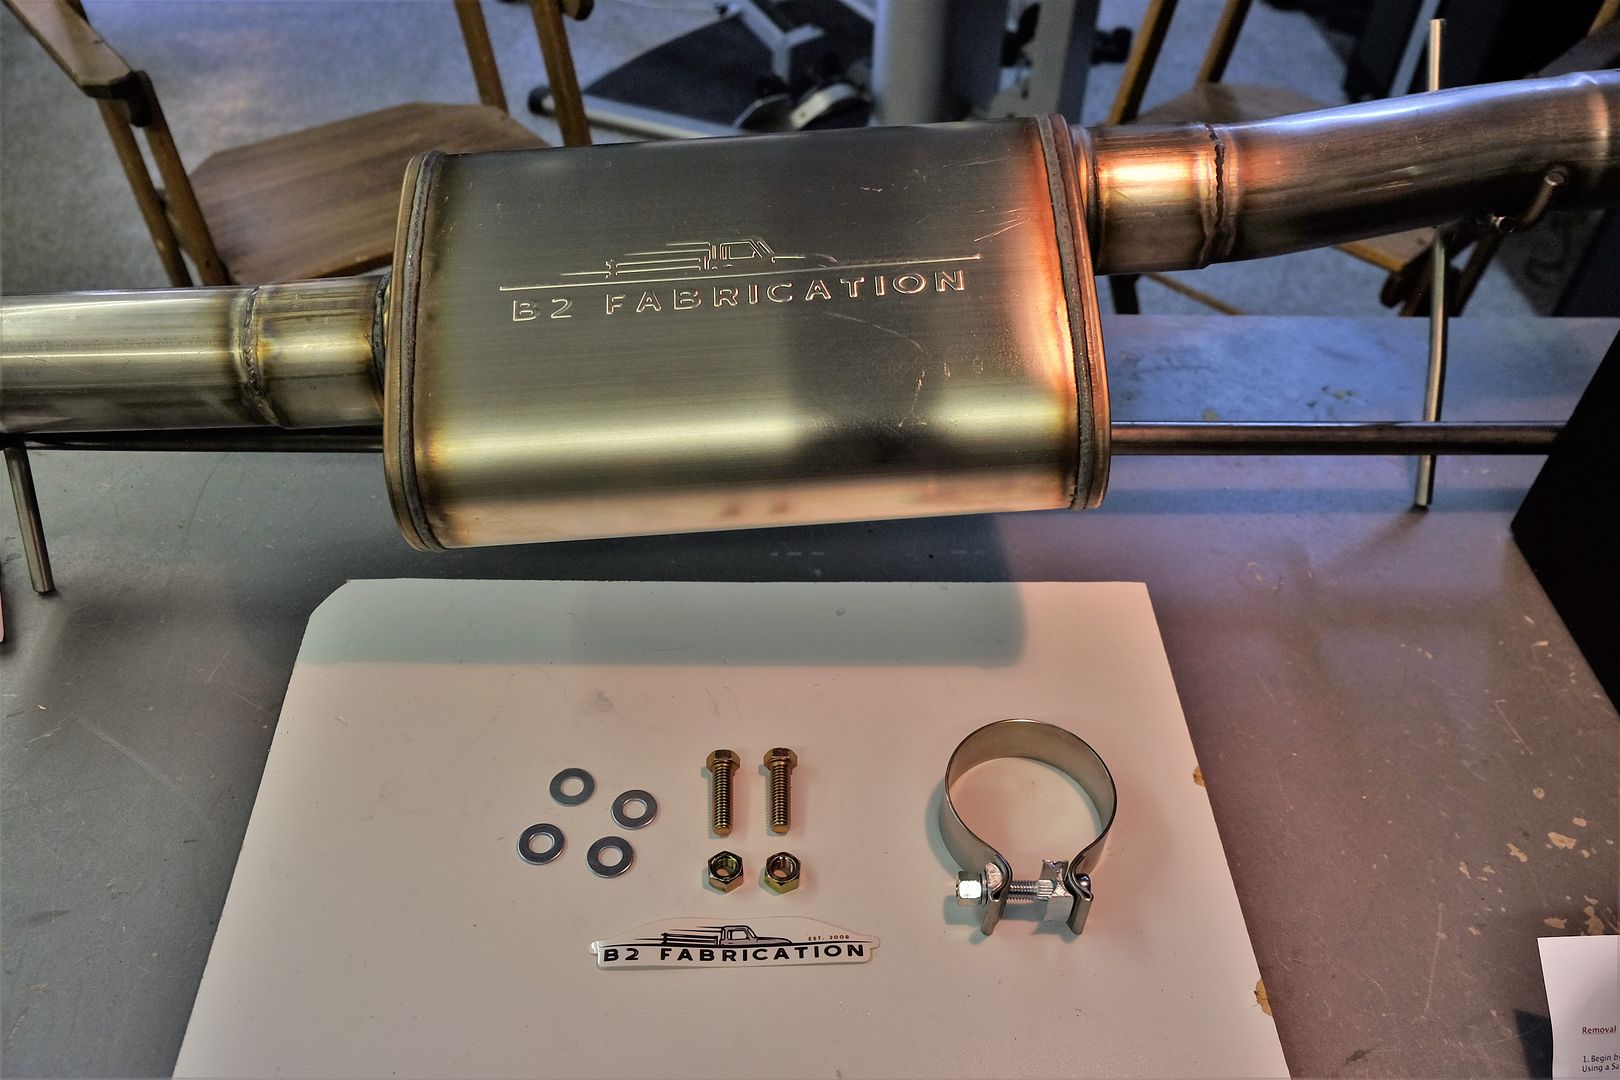
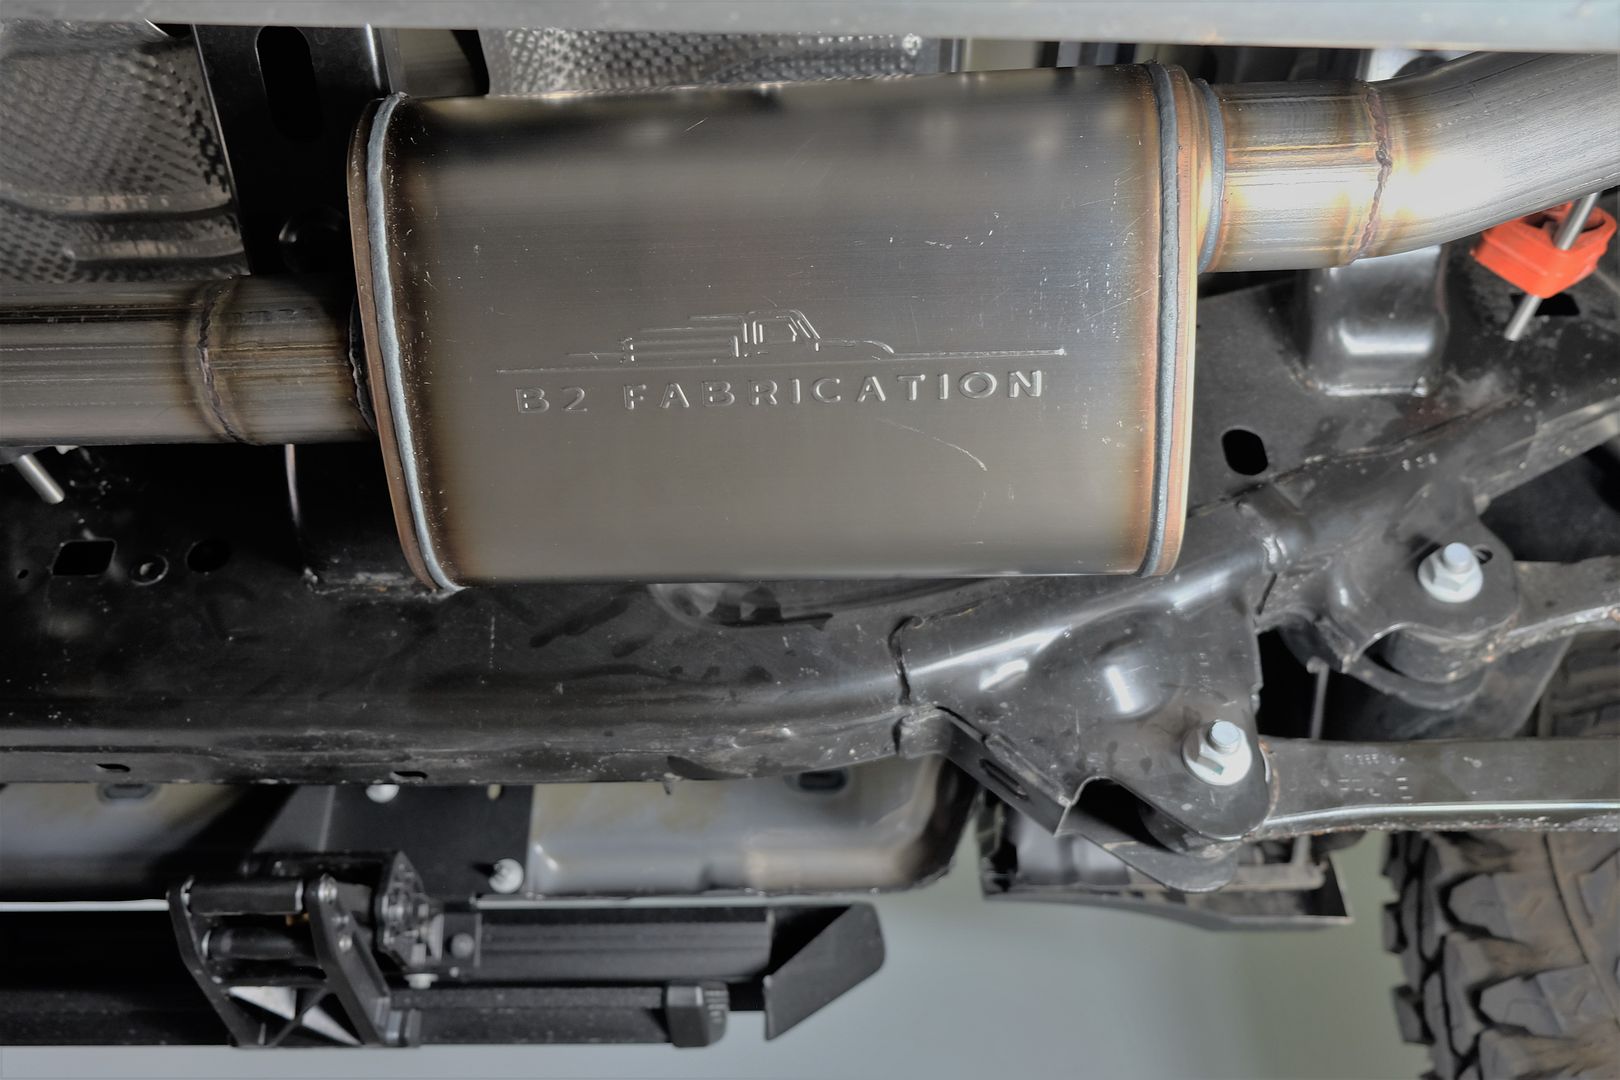
But I am not sure I want to invest in another grand or more on a replacement system as I have plans down the road for a supercharger. So I really think I just want to add a touch more sound without breaking the bank until I am ready to really open up the entire exhaust system to handle the air mass from the supercharged engine. I also don't want anything to wake the neighbors as I already have a couple of obnoxious gear heads in the neighborhood that believe everyone appreciates their thunderous exhausts that drown out your conversations outside as they drive by (over and over again, lol). Since I already like Magnaflow, I think a good option right now is to try the new Hemi SS Magnaflow Retro Fit Exhaust System from B2 Fabrication.

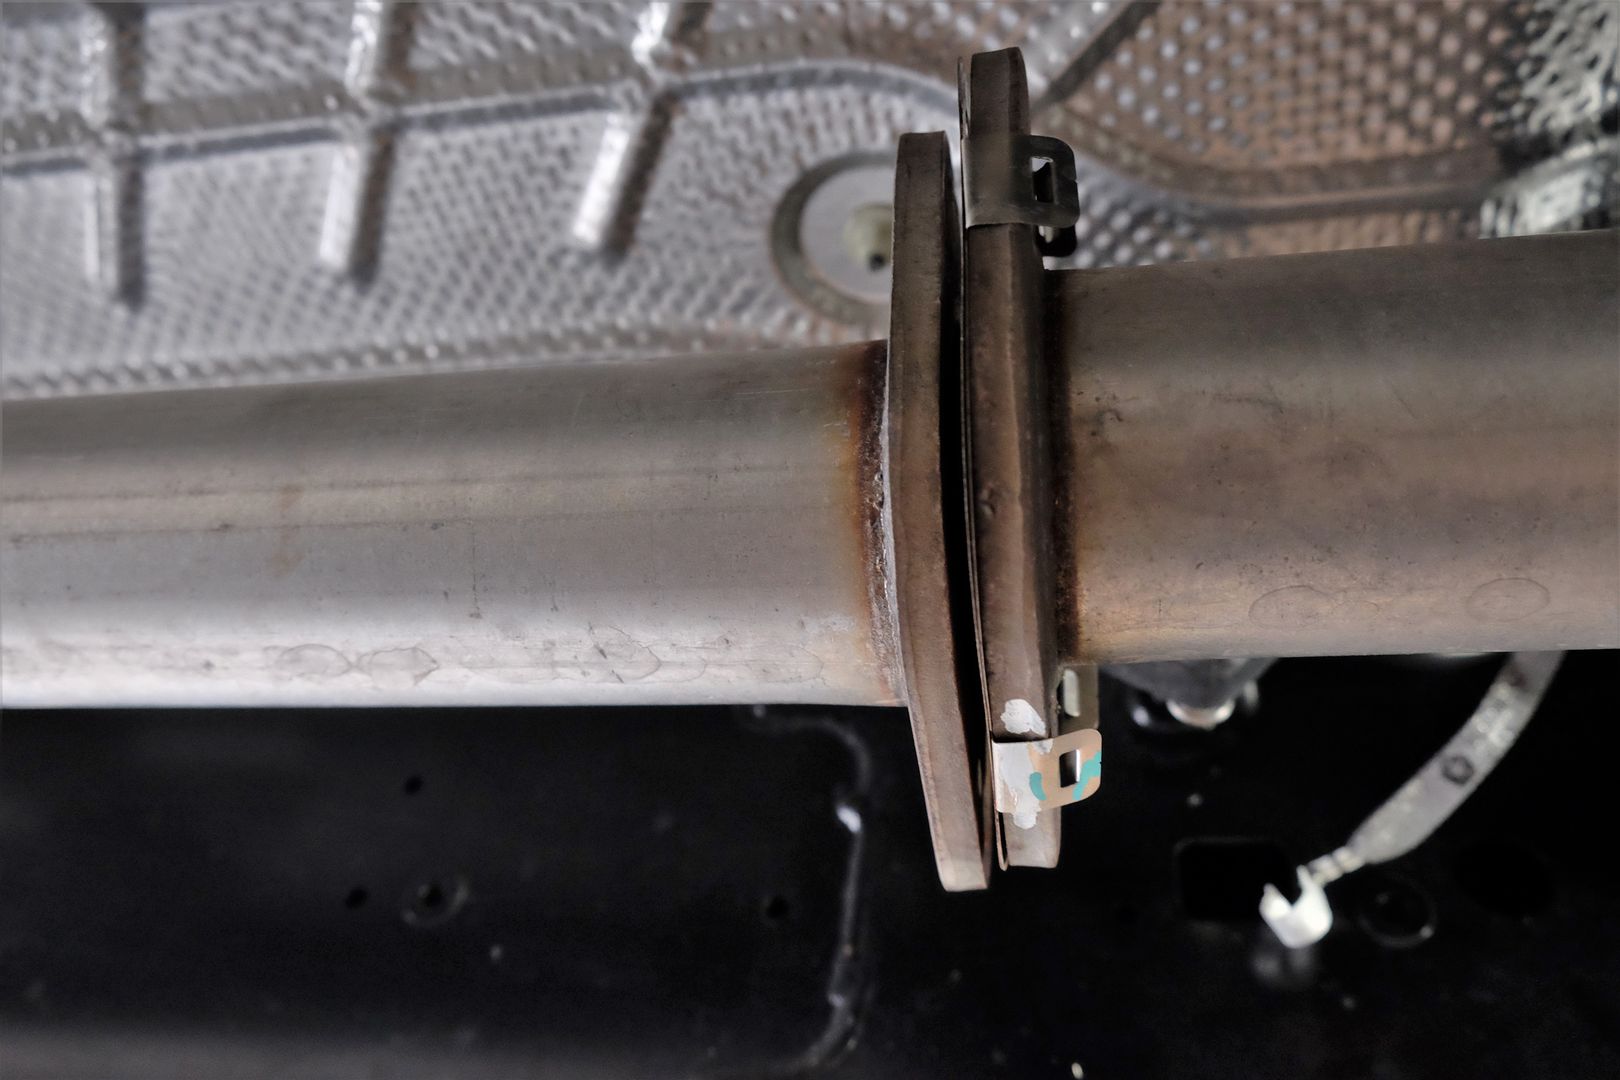
I believe some folks on the forum have installed this system on their Rams and are pretty happy with it. The system is relatively inexpensive and looks like a simple, quick bolt-on installation involving some measuring and cutting to fit the replacement muffler using the factory exhaust piping. Be curious if anyone has any additional feedback since their installations!

Edit: Well shoot, I should have checked out their parts availability as it looks like all you can get right now is their "muffler delete" system which will not do at all. I will call and update what they say in case anyone else was considering their systems as well.
The next modification will be the exhaust. While the Ram already has a nice sound to it, it is lacking compared to my Toyota TRD exhaust system which sounded great right from the factory (as an optional upgrade)! In the past, I have tried Flowmaster, Gibson, and Magnaflow systems. In general, I found the Flowmasters can have a great low end growl but can also done heavily out on the highway; Gibsons are nice quality systems but are more sedated at WOT, and; Magnaflows typically provide a nice balance in moderate to WOT throttle response but easy on the ears at lower RPM and don't done at speed. So the latter has been my "go to" for several builds now.
But I am not sure I want to invest in another grand or more on a replacement system as I have plans down the road for a supercharger. So I really think I just want to add a touch more sound without breaking the bank until I am ready to really open up the entire exhaust system to handle the air mass from the supercharged engine. I also don't want anything to wake the neighbors as I already have a couple of obnoxious gear heads in the neighborhood that believe everyone appreciates their thunderous exhausts that drown out your conversations outside as they drive by (over and over again, lol). Since I already like Magnaflow, I think a good option right now is to try the new Hemi SS Magnaflow Retro Fit Exhaust System from B2 Fabrication.
I believe some folks on the forum have installed this system on their Rams and are pretty happy with it. The system is relatively inexpensive and looks like a simple, quick bolt-on installation involving some measuring and cutting to fit the replacement muffler using the factory exhaust piping. Be curious if anyone has any additional feedback since their installations!
Last edited:


.jpeg")


")