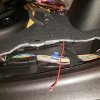
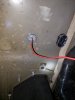
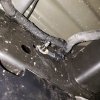
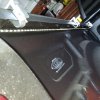
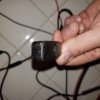
Here's some pics I took yesterday during install. The grey plug is an arm's length from rear passenger side, just behind storage box. Drill a small hole slightly less than diameter of wire, feed a bunch up, so you have it to grab and pull from under carpet. Splice it and pull excess back out underneath truck.
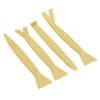
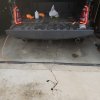
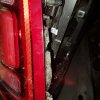
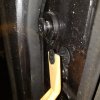
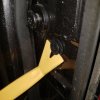
Remove both tail lights (two T-25's on each side with two plastic trim push pin panel fasteners). When removing the plastic fasteners, pry the top push pin nearly all way out first (I used "forked" trim piece removal tool from Harbor Freight-see pic) and then place tool underneath plug and it should easily pull out.
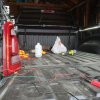
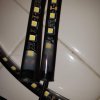
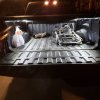
Run LED leads down stakes through square hole in rear of bed (can't see it, but it's near rear side top rear corners). Passenger side will be too short to run back to switch /+/- pigtail, just run the drivers side down and connect both leads where they meet (about 3/4 of the way to drivers side). I also heat shrunk the two connectors after twisting them shut. The fuse and +/-butt splices will end up in drivers side tail light housing, zip tie all excess wire and run switch out from same hole and wire tie it secure.
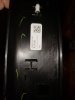
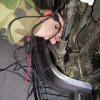
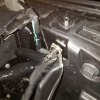
Unfortunately, my cargo lights started blinking, and didn't function correctly, so I pulled everything out (thought I was going to have dealer fix the cargo light issue) and am now running from battery and ground under hood and will end up using the switch on the mictuning lights when needed. Be careful pulling the two trim pieces, I ended up breaking two clips, epoxied them back, and threw on double sided tape to ensure position and prevent noise.-see brokeramtrim pic.
Good luck with "factory" install-if you have any tips why the lights went haywire on me, let me know.

 ).
).