Cesar592
Well-Known Member
- Joined
- Apr 20, 2021
- Messages
- 267
- Reaction score
- 52
- Points
- 28
- Age
- 35
I have extra cameras that I bought, if you are interested send me a pmappreciate that!
I have extra cameras that I bought, if you are interested send me a pmappreciate that!
I've done this and it worked great, and am in the process of trying to add some other wiring in other connectors - would love know how you found the correct pin on Mouser? I need some male/female pins and only have the wire gauge as per the pin out diagram above? Is there somewhere that tells you what pins are used in a connector?Figured I’d chime in here, since this has been done for years on the 4th gens, and will be the same on the 5th gens. All you need to do is take a female RCA pigtail-
Crimp these terminals onto the red and black wires- https://www.mouser.com/ProductDetail/TE-Connectivity/638551-2?qs=/ha2pyFadui2KO4i8tuEMRmwe3qqDO4dcOxrTo7CGec4q0rAKYyNkA==&tetid=MuZSUWoENz
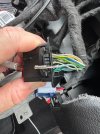
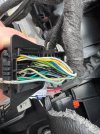
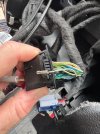
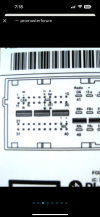
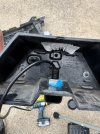
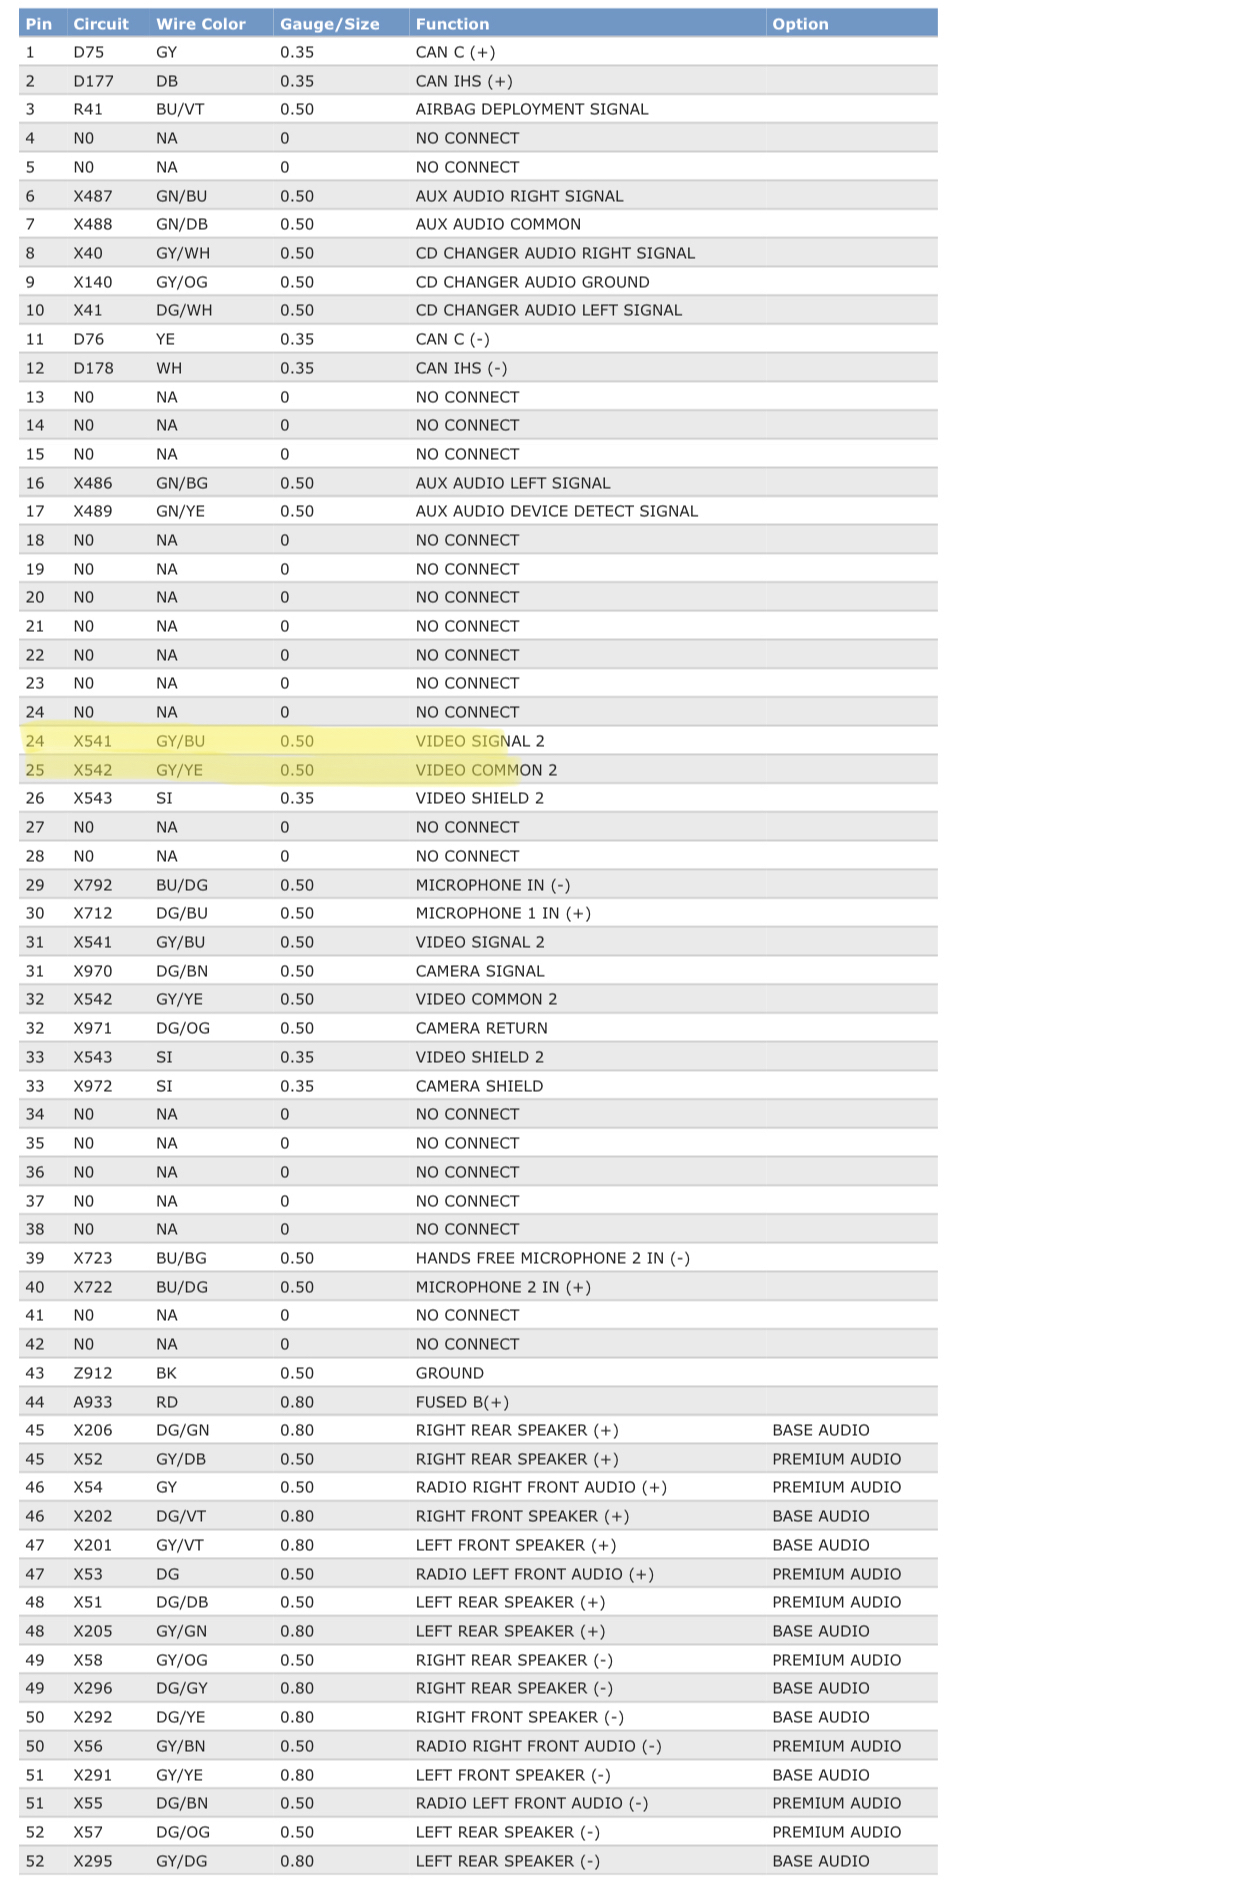
Insert the red wire into pin 24 on the big radio connector, and insert the black wire into pin 25.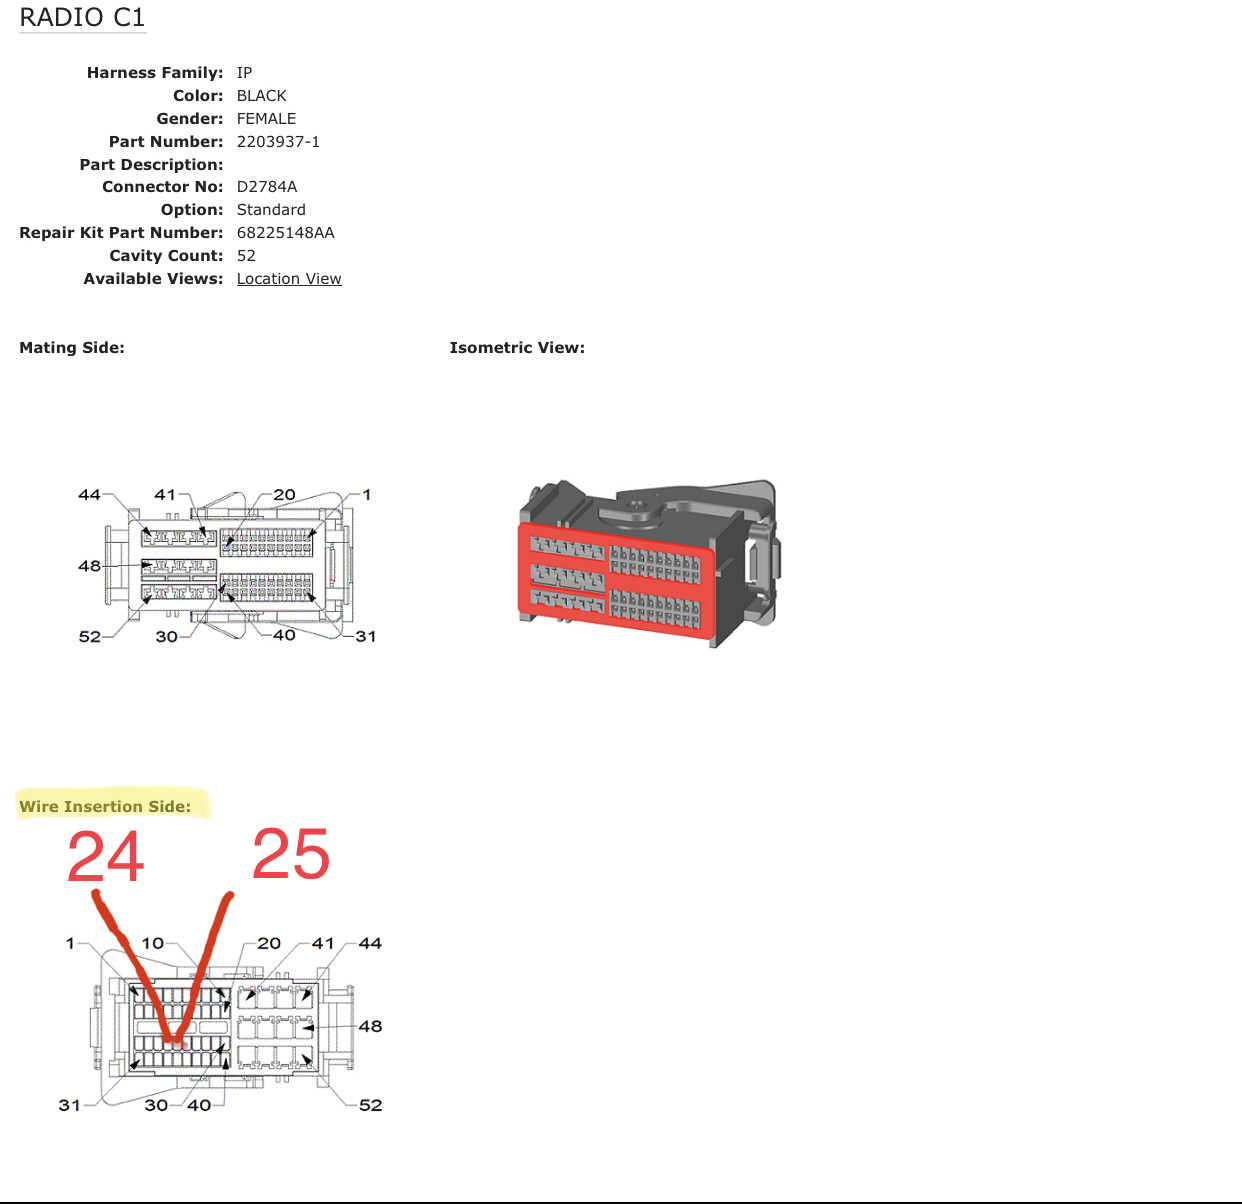
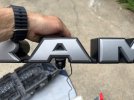
Then use AlfaOBD and set VehConfig 1 CHMSL camera to YES. You’ll now have the cargo cam soft key active on the radio controls screen, and you can plug any aftermarket camera into the pigtail on the radio. For mounting, either come up with a clever solution, or buy the “RAM” grille nameplate that houses the front camera for the surround view equipped trucks. Just choose a camera that can be fabricated into the front camera mount. Supply the camera with fused ignition power, and ground, and you’re done.


Figured I’d chime in here, since this has been done for years on the 4th gens, and will be the same on the 5th gens. All you need to do is take a female RCA pigtail-
Crimp these terminals onto the red and black wires- https://www.mouser.com/ProductDetail/TE-Connectivity/638551-2?qs=/ha2pyFadui2KO4i8tuEMRmwe3qqDO4dcOxrTo7CGec4q0rAKYyNkA==&tetid=MuZSUWoENz
Insert the red wire into pin 24 on the big radio connector, and insert the black wire into pin 25.
Then use AlfaOBD and set VehConfig 1 CHMSL camera to YES. You’ll now have the cargo cam soft key active on the radio controls screen, and you can plug any aftermarket camera into the pigtail on the radio. For mounting, either come up with a clever solution, or buy the “RAM” grille nameplate that houses the front camera for the surround view equipped trucks. Just choose a camera that can be fabricated into the front camera mount. Supply the camera with fused ignition power, and ground, and you’re done.
In his post, he linked the connectors here - they are female: https://www.mouser.com/ProductDetail/TE-Connectivity/638551-2?qs=/ha2pyFadui2KO4i8tuEMRmwe3qqDO4dcOxrTo7CGec4q0rAKYyNkA==&tetid=MuZSUWoENzJimmy,
Old thread so not sure you'll see this so anyone with insight is welcome to reply. I have a 2021 RAM 2500 Power Wagon and trying to add a front camera. Thank you for this information!!! I'm wondering though, if the connector you linked above, is a female adapter? Do we use a female adapter to connect to the big radio connector (pin 24 & 25) or should it be the male connector that we want?
Thanks for your (anyone's) insight.
Do you have a 12 inch screen? I installed everything and enabled the the camera with Alfaobd, but I never got the soft button on the screen. I have the 8 inch screen in my 21 1500 Bighorn. From what I’ve read on her, it cannot work with the 8inch screensSorry forgot to mention that I have 2021 Power Wagon.
This is the camera I went with:
UC5 connector terminals TE 2272196-2 are discontinued. Does anyone know an alternative that work?
This page will help me so much. But not for adding a front cam unfortunately.
I may have missed this while reading through this and other threads...Was the termination point for these found? I am currently compiling all the parts needed to tackle a few mods and this is on the list. I have the pins coming in from Mouser this week and plan to pin a couple of barrel connectors but it would be nice to know what I am de-pinning and "losing"That’s the settings I used in my 22 and the soft keys showed up, now I just want to know how far the wiring that’s already there actually goes
")