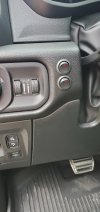
Hey guys,
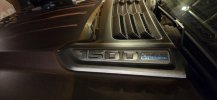
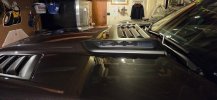
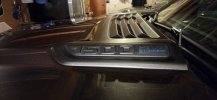
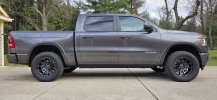
Here’s a step-by-step guide to installing our LED Hood Side Marker Light. This mod adds a set of lights to the side of your hood, giving your truck a more aggressive and custom look.
 Before You Start:
 Join our community to stay updated with the latest product releases, exclusive promotion discounts and abundant opportunities for free product trials.
Here’s a step-by-step guide to installing our LED Hood Side Marker Light. This mod adds a set of lights to the side of your hood, giving your truck a more aggressive and custom look.
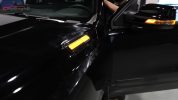
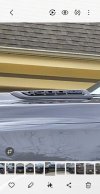
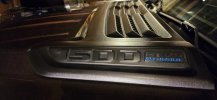
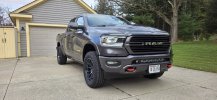
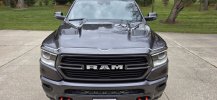
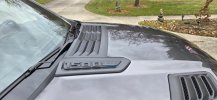
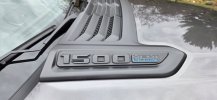
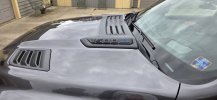
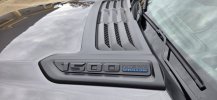
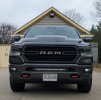
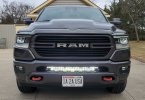
 Check out the final result:
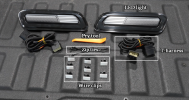
 All components are shown below:
 The Installation Process:
- Check Compatibility: Our kit ships with a 16-pin connector. Please verify your headlight's plug type before proceeding.
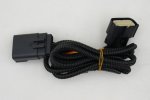
- Test First: You can skip Step 1 and jump to Step 2 to test the electrical connection before the full installation.
Step 1: Install Light
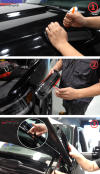
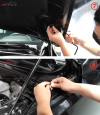
- Use a pry tool to remove the corresponding original panel (Fig. 1) and open the front hood.
- Peel off the adhesive backing from the side marker light. (Fig. 2)
- Thread the light's wire through vehicle's existing hole, and press the light firmly into place. (Fig. 3)
Step 2: Connect Wires
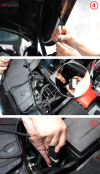
- Connect the wire from the side marker light to the T-harness. (Fig. 4)
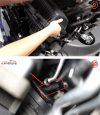
- Locate and unplug the main connector from the back of the headlight (Fig. 5), then plug it into the female end of the T-harness (Fig. 6).
- Finally, plug the remaining male end of the T-harness into the headlight, completing the circuit.
Step 3: Secure Wiring
- Remove the adhesive backing from the wire clip and secure it to a surface in the engine bay. (Fig. 7)
- Route the loose wiring neatly and secure it with a zip tie. (Fig. 8)
Step 4: Install Opposite Side
- Remove the air filter box for access (Fig. 9), and the connector location on this side is shown below (Fig. 10).
- Then repeat the installation process (Steps 1-3).
Step 5: Function Test
Reconnect the battery and verify:
- DRL mode (steady on)
- Turn signal (flashing)
- Sync with factory turn signals
Last edited:

