Configuring the BCM for passive entry with AlfaOBD.
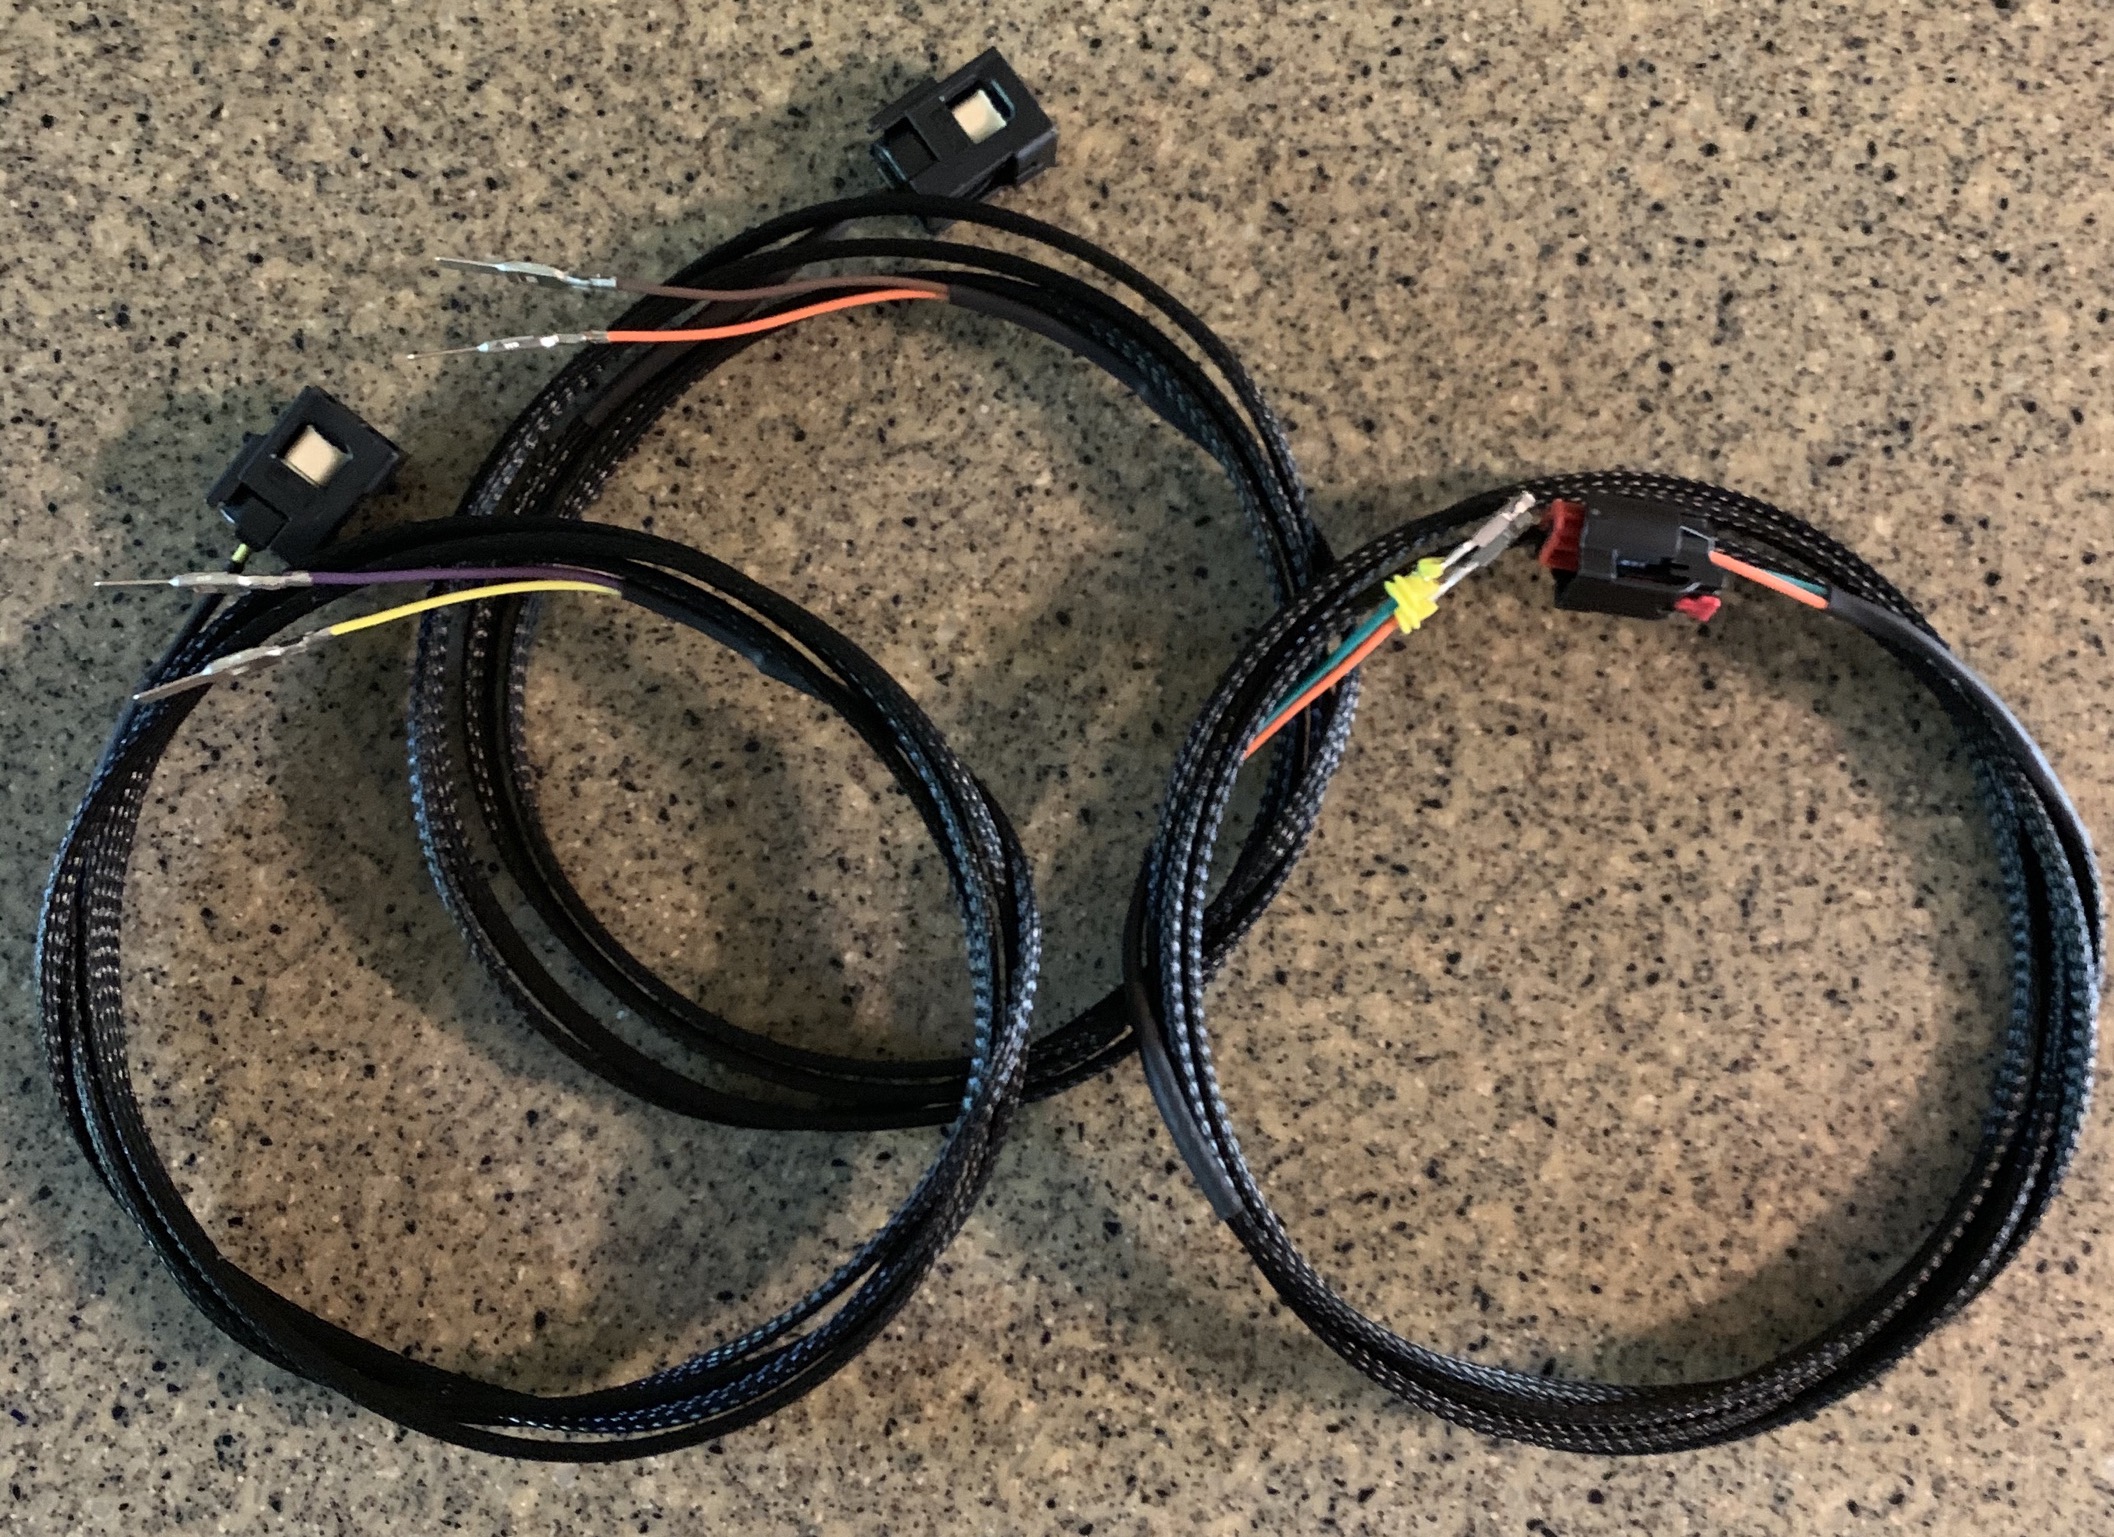
Grab your SGW bypass and locate the Security Gateway. If you are unfamiliar with its location, it is located up inside the driver’s side footwell, behind where the headlight/parking brake switches are. The below pic shows the module, looking directly up from the floor. It's the black box with 2 connections on it, located right by the green and white star connectors.
*From what I have read, the bypass on the HD's is located behind the instrument panel and is a little more involved to access. Once I can confirm this and possibly get a photo of its location I will update this.
View attachment 62800
Release the connectors from the gateway and plug them into your bypass. That’s all there is to it.
Next, plug your OBD interface into the OBD port, which is located on the bottom edge of panel under the steering column. You should have no issues locating it, as it’s the only exposed connector in that area and will match up with your interface. If you haven’t done so already, set up your OBD interface with your tablet or computer via a Bluetooth or wireless connection.
With your foot off the brake pedal, press the Start/Stop button on the truck 2 times to place the ignition in to “Run”. Do not start the truck, just cycle the ignition to the “Run” position.
Once that is done, we are ready to make the changes in AlfaOBD. I opted not to include photos here since if you follow the steps one at a time you should have no issues. I do have screenshots, so if you need a visual to go along, I can get them added in.
Open up the app on your device and you should see the home screen.
To begin, click on the Bluetooth or Wi-Fi icon and connect to your OBD interface.
Once connected, select the Dodge/Ram icon.
On the first drop down menu choose your vehicle model.
On the 2nd drop down select “Body Computer”.
On the 3rd drop down you will need to select the appropriate BCM for your vehicle. For my 2020 I chose the very last one in the list.
The app should advance to a new screen where you can connect to the body computer. Once connected, it’s time to get in to making the changes needed.
Select the little icon in the bottom right that looks like a car with the hood open.
Select the drop down menu and go all the way to the bottom and select “Car configuration change”.
You should now have 2 additional drop downs below the top one. The top one will still say Car configuration change, and we aren’t going to mess with that one anymore. The next one down, the middle one, is where you are going to begin selecting the items to change.
Take your time and be sure you select the correct one each time as you proceed. To keep things simple, just start at the top and go down the list below, enabling and/or verifying each item as you go.
After selecting a setting to change in the middle drop-down, you will then select the command using the bottom menu. Reference the list below and make your selection based off the setting in bold.
After selecting the command in the bottom menu, hit “start”. The app will first verify the vehicle setting and give you a message indicating its current set state. If its current state is not set to what it shows in bold in the list below, press “start” again and this will make the change. You should get some text at the bottom saying the procedure was completed, however it did not always come up for me. If it doesn’t say it was completed, just hit start again and it will check the current status and tell you what it is. If it’s correct, move on to the next one.
The following list is all the settings you need to change or verify to enable Passive Entry. Each setting name is given, followed by the state it needs to be set to in bold. I made all the changes sequentially without cycling the ignition at all in between and everything worked just fine. Take your time as the full list in the app is long and you can easily scroll past a setting, especially the wireless ones as there are only a few. (The newer version of AlfaOBD allows you to search for a specific setting, so you can begin typing in the search bar and it will start narrowing down the list if you don't want to scroll through everything. Just make sure you keep track of the ones you change as you move down the list)
PASSIVE ENTRY BCM SETTINGS
VehConfig 3 fobik safe enable-
YES
VehConfig 3 passive entry present-
YES
LIN and Misc fobik safe alert no reply-
YES
LIN and Misc fobik safe alert on system fault-
YES
LIN and Misc fobik safe alert on search timeout-
YES
LIN and Misc fobik safe alert per ignition cycle counter-
2
Wireless AP1 Left front-
SMART SWITCH
Wireless AP2 Right front-
SMART SWITCH
CustSetMenu 1 passive entry CSM present-
YES
Cust.Prog.Features- Passive Entry Unlock All Doors or Approach Door-
ENABLED
IMPORTANT NOTE: With the configuration set as above, if you do not have all the hardware installed (such as the 5th antenna) fobiksafe will not operate as designed and there will be fault codes stored in the rfhub. If you utilize the inside lock button to lock the doors as you exit, whether or not the fob is inside, you will get an alert from fobiksafe and the locks will auto-unlock after closing. There is the small chance you could lock your fob in the truck if you ignore the warning since it doesn't actually know whether the fob is inside or not, and on the 3rd attempt the doors will remain locked. Once everything required for PE is installed, the whole system will function as intended from the factory…alerting you only if it senses a fob left inside the truck so you do not lock yourself out.
Once all the settings have been made you can cycle the ignition back to off. You can also remove the SGW bypass and OBD interface now.
Go ahead and disconnect the battery and let it sit for a bit. Anywhere from 15-30 min should be sufficient. The intent is to ensure the RF Hub re-reads and picks up on the new BCM configuration the next ignition cycle. (Although this may not be totally necessary, it isn't going to hurt anything)
This was initially completed on my '20 Bighorn which had the 8.4 non-nav unit. If you have nav, it may take a bit longer to show up in Uconnect, so don’t freak out if it isn't there right away. Give it a few ignition cycles and everything should show up. The actual passive entry will likely function even before the setting shows up in the menu. You will be able to find the passive entry option in settings, under “doors and locks" on your screen.
If you plan on adding the antenna and wiring to the rear of the truck, refer to the post that pertains to your specific model year.

 www.facebook.com