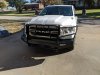
Here you go. A few things I noticed:
Ranch Hands instructions for disassembly BLOW. Use the instructions on Addictive Desert Designs.
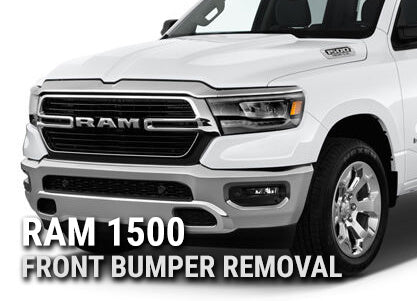
Looking to safely remove your stock OEM front bumper on your brand new 2019 RAM 1500? Read our guide to get started.

www.addictivedesertdesigns.com
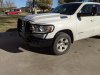
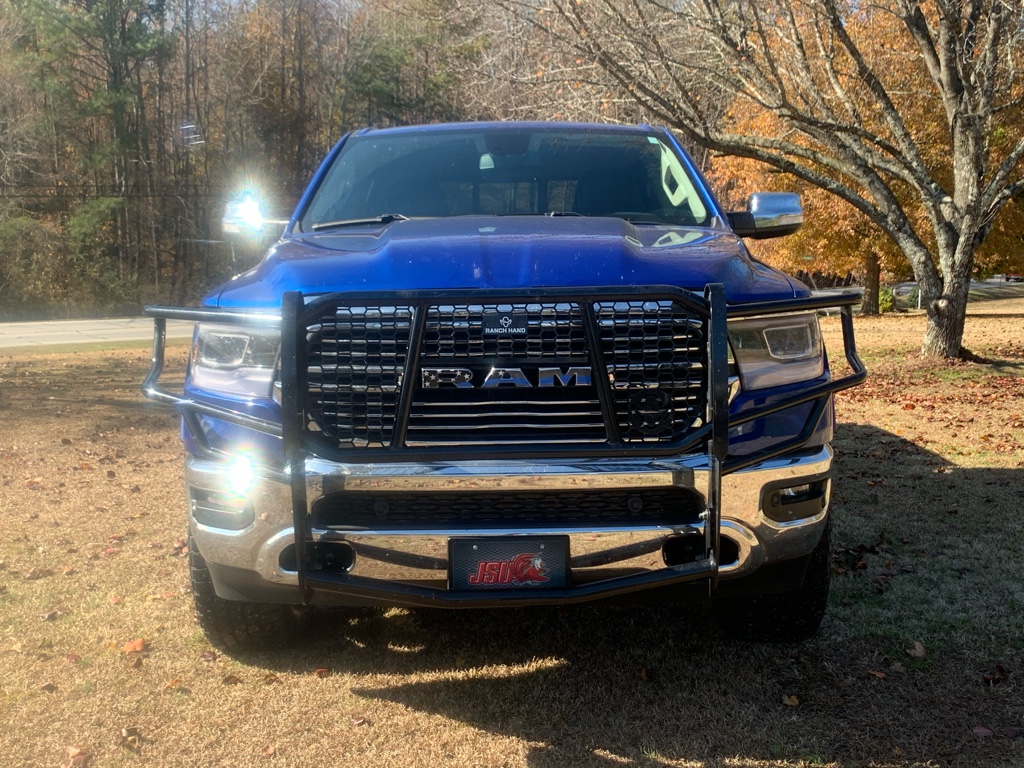
You can get the two outer 18mm bumper bolts with a 1/2" drive ratchet and 12" extension. If you don't have an 18mm swivel ratcheting wrench or u joint, you can get the third bolt with an al18mm wrench and cheater bar by sticking your head arm in between the air dam and the inside of the frame rail.
The forward tow hook bolt is not 18mm. I think it may be a 20mm. I didn't have one, so I used Milwaukee max grip vise grips. No marring on the head due to the bolt you can twist with a screwdriver once locked down.
The nuts holding my air dam on were actually 13mm
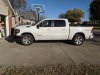
The holes where the parking sensors go aren't exact. A few of them are slightly too large, making the supplied grommet not hold the sensor securely. I currently have them held in with duct tape, and that may be permanent.
Have a buddy help you. I didn't, and it was harder than it should have been. I'm pretty stout, and was able to lift the bumper up on some blocks to get it close and then manhandled it for the bolts. But a buddy to help lift and hand you various wrenches and sockets would make it go much faster.
The left-most parking sensor wire is just a tad short. I ended up taking the main bumper harness connector out of its mounting hole and zip tied it a little further forward.
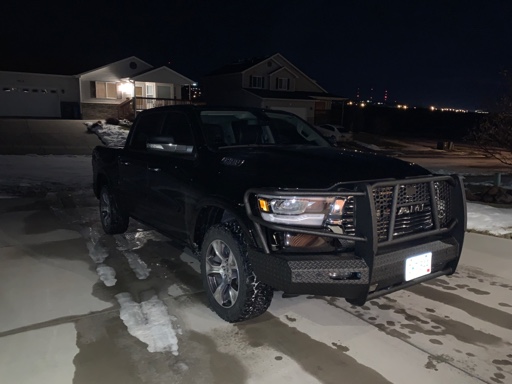
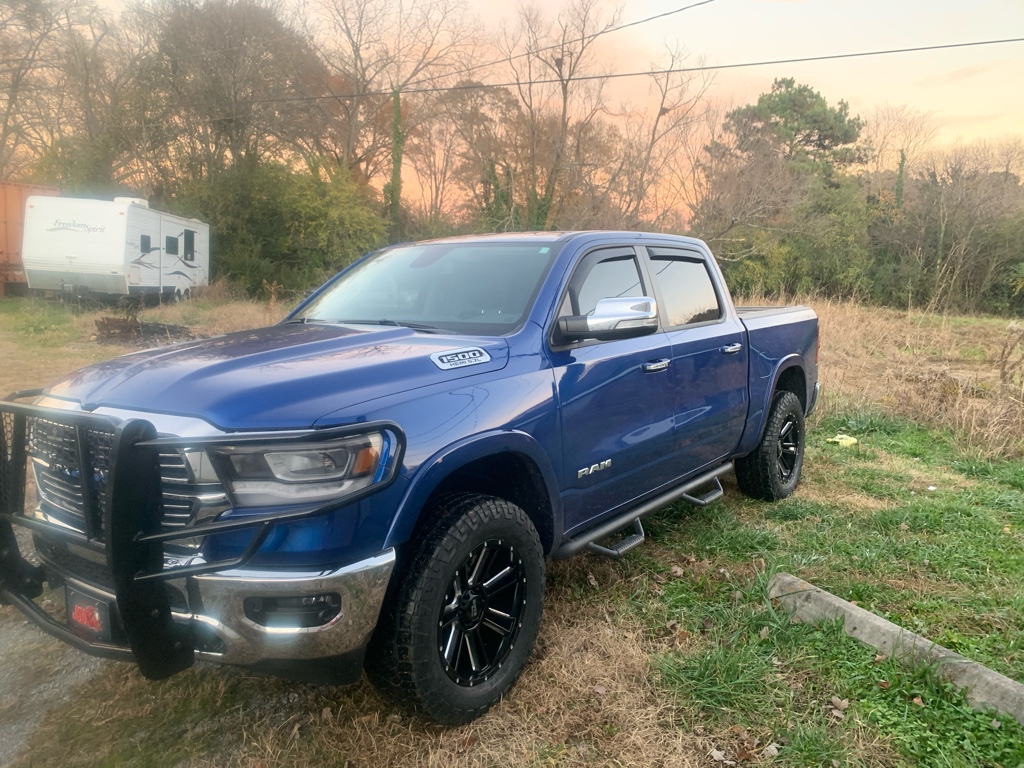
All in all, it was pretty simple. But it is definitely time consuming.