Wakesnowb
Well-Known Member
- Joined
- Dec 24, 2018
- Messages
- 470
- Reaction score
- 238
- Points
- 43
- Age
- 43
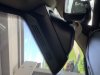
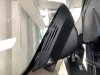
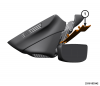
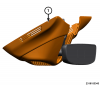
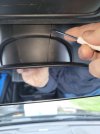
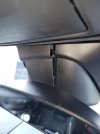
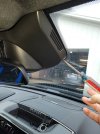
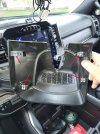
I noticed today that the plastic housing behind the rear view mirror is not sitting flush against the windshield on the passenger side but it is flush on the drivers side. I took a couple pictures showing both driver side that’s flush and passenger side that is not flush to the windshield (photos are a little sideways, should be rotated 90 degrees to the right to make right side up). Anyone ever take this piece off before and put it back? Is it easy? I’m scared to mess with it as I don’t want to break any clips or mess anything up. Do you think it is an easy fix?