Waterfowler41
Ram Guru
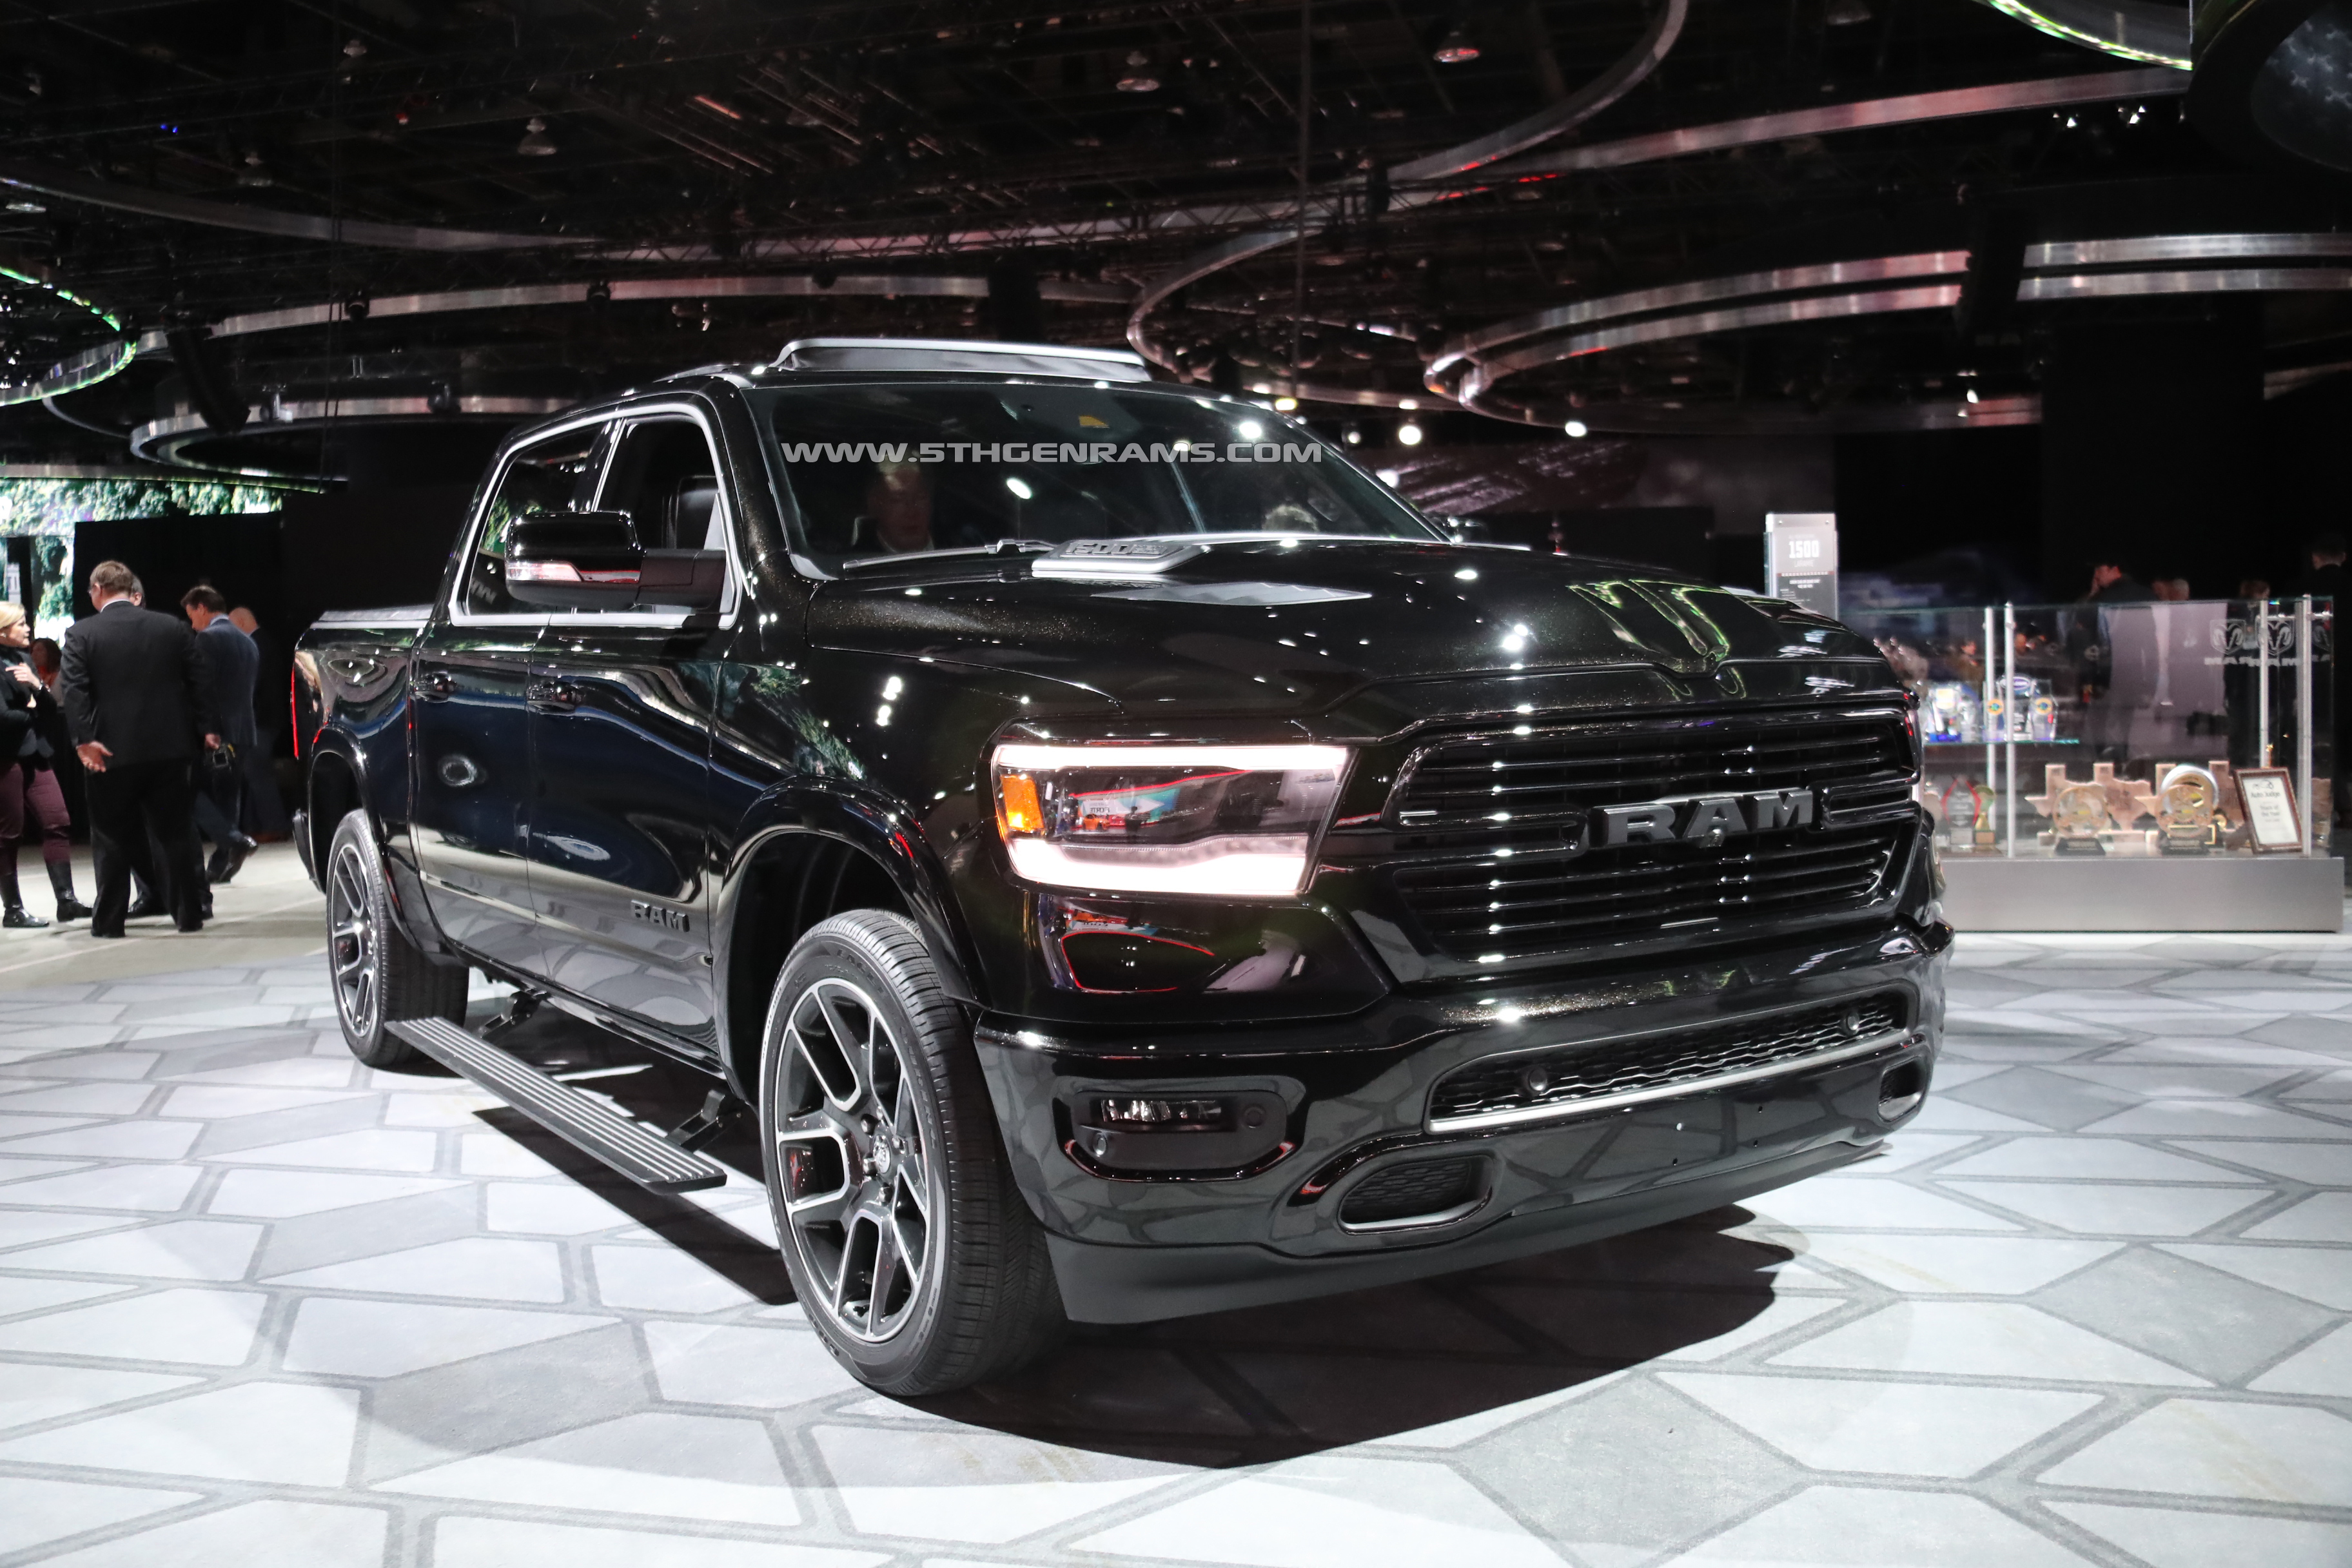
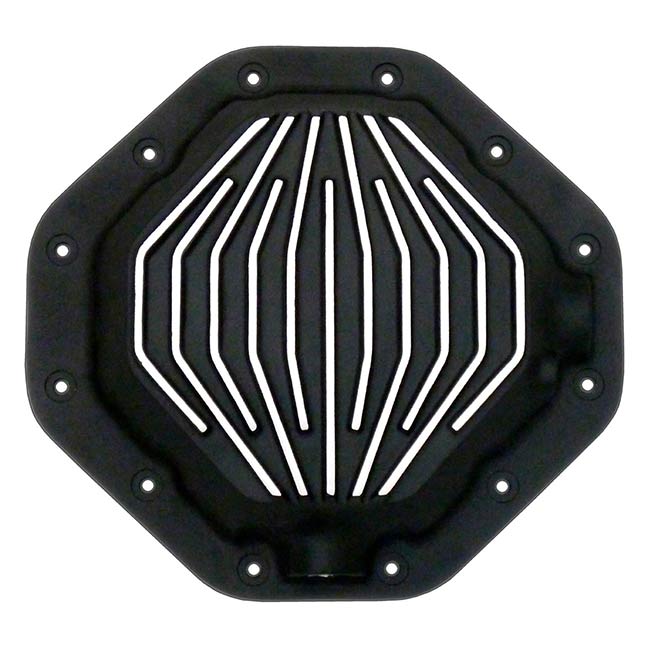
Here is a quick run through of how to install the PML differential cover for 2019+ Ram 1500’s This is part number 9518 and fits the 9.25” rear diff.
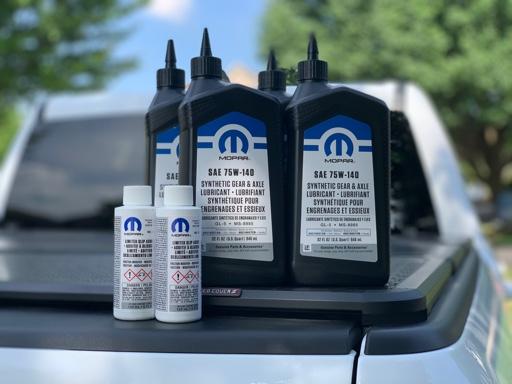
1. Before starting this project make sure you look in your manual and very the correct oil based on your rear gear ratio.
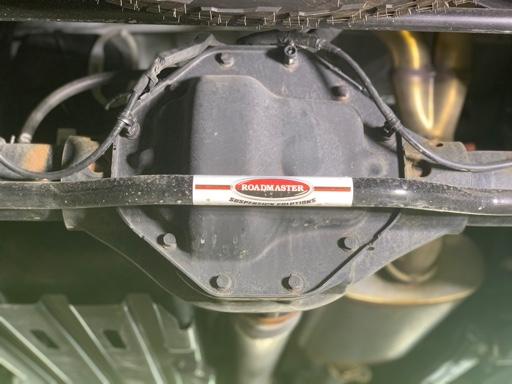
2. Remove the 3 plastic clips that are routing wires around the top of the direction. I used a flat head to remove them. Tuck the wires on the otherwise of the diff.
3. Remove the 4 bolts holding the sway bar to the axle and slowly lower it down. This will allow you clearance when removing the stock cover and installing the PML cover.
4. Slide an oil pan under the differential and begin removing bolts. Leave on loosely threaded in on the top and the bottom of the differential casing. This will allow you to open the cover without it dropping down.
5. Carefully using a flat head screw driver, slide it between the OEM cover and the housing and “break” the RTV seal. Oil should start to flow out. You will need to do this at a few points around the diff housing in order to unseal the RTV.
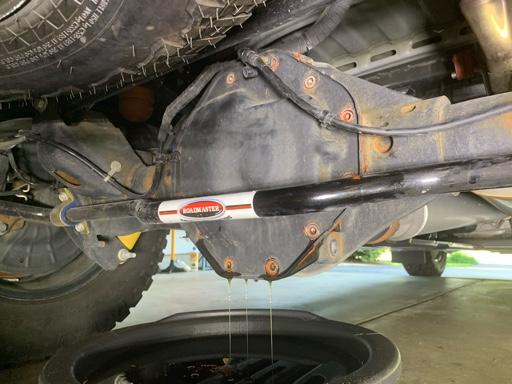
6. Remove the factory cover, clean, and set aside.
7. Now the fun part starts, using a razor blade start scraping off all the orange RTV on the diff housing. Take your time doing this. You want to make sure the surface is perfectly smooth so the new gasket seats cleanly against it.
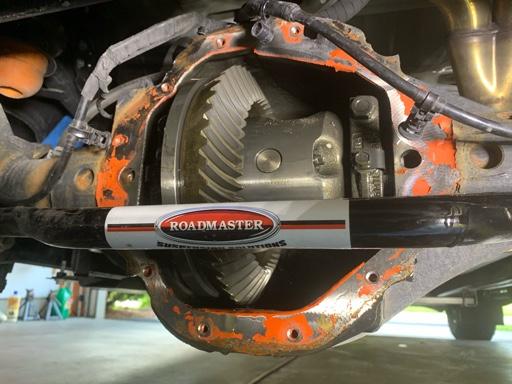
8. Find the three double threaded bolts. You will need to reuse these so you have a spot to reattached those wires. If you do not remember which holes those screws go in here’s where they go.
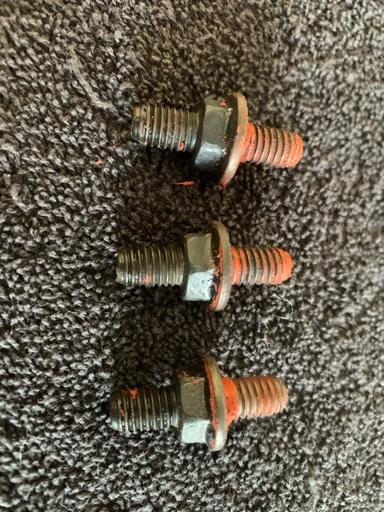
9. Using the supplied gasket from PML begin to carefully install the cover. Start with the top middle bolts and work your way around the cover. Once everything is loosely installed you can start tightening all the bolts down. Tighten them down in a star pattern to ensure a proper seal.
10. After the cover is tightened, double check the drain plug is tight.
11. Reinstall the sway bar. Check for clearances.
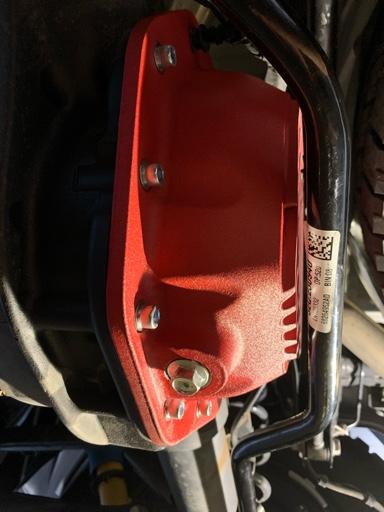
12. Remove both the fill plug and the dip stick plug. Using the following fill sequence to help with initial mixing of oil and additive.
a. Pour in 1 qt of oil.
b. Pour in ¾ bottle of additive.
c. Pour in second qt. of oil.
d. Pour in remaining additive to equate to ~ 6 oz.
e. Top of with rest of oil until oil starts to come out of the dipstick plug.
13. Clean up everything and drive the truck around slowly. Listen for any odd noises or chattering from rearend (will happen if not enough additive is added).
14. After driving a few miles, park the truck and check for leaks.
15. Periodically check for leaks in the first couple hundred miles.
16. Enjoy your new cover!
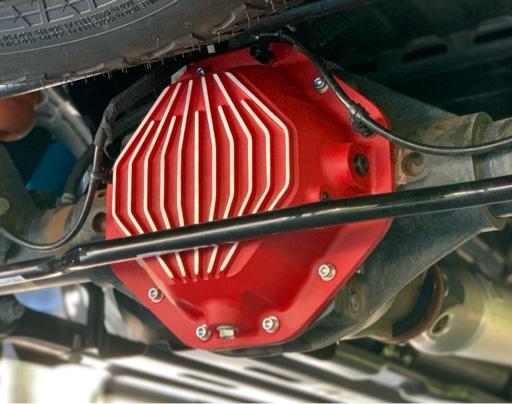
Here is my Youtube install video of this cover for those who need it.

Chrysler 9.25 12 Bolt
Check out the deal on Chrysler 9.25 12 Bolt at PML YourCovers.com
yourcovers.com
1. Before starting this project make sure you look in your manual and very the correct oil based on your rear gear ratio.
- 3.21 and 3.55: This gear ratio requires 75W-90 (MS-A0160). 3 quarts for the PML capacity.
- 3.92 (Rebels): This gear ratio requires 75W-140 (MS-8985). 3 quarts for the PML capacity.
- All the rear-ends require 5+ oz. of Mopar Limited Split Additive (MS-10111). You will need to buy two bottles of this since with the PML cover you will need ~6 oz.

2. Remove the 3 plastic clips that are routing wires around the top of the direction. I used a flat head to remove them. Tuck the wires on the otherwise of the diff.

3. Remove the 4 bolts holding the sway bar to the axle and slowly lower it down. This will allow you clearance when removing the stock cover and installing the PML cover.
4. Slide an oil pan under the differential and begin removing bolts. Leave on loosely threaded in on the top and the bottom of the differential casing. This will allow you to open the cover without it dropping down.
5. Carefully using a flat head screw driver, slide it between the OEM cover and the housing and “break” the RTV seal. Oil should start to flow out. You will need to do this at a few points around the diff housing in order to unseal the RTV.

6. Remove the factory cover, clean, and set aside.
7. Now the fun part starts, using a razor blade start scraping off all the orange RTV on the diff housing. Take your time doing this. You want to make sure the surface is perfectly smooth so the new gasket seats cleanly against it.

8. Find the three double threaded bolts. You will need to reuse these so you have a spot to reattached those wires. If you do not remember which holes those screws go in here’s where they go.

9. Using the supplied gasket from PML begin to carefully install the cover. Start with the top middle bolts and work your way around the cover. Once everything is loosely installed you can start tightening all the bolts down. Tighten them down in a star pattern to ensure a proper seal.
10. After the cover is tightened, double check the drain plug is tight.
11. Reinstall the sway bar. Check for clearances.

12. Remove both the fill plug and the dip stick plug. Using the following fill sequence to help with initial mixing of oil and additive.
a. Pour in 1 qt of oil.
b. Pour in ¾ bottle of additive.
c. Pour in second qt. of oil.
d. Pour in remaining additive to equate to ~ 6 oz.
e. Top of with rest of oil until oil starts to come out of the dipstick plug.
13. Clean up everything and drive the truck around slowly. Listen for any odd noises or chattering from rearend (will happen if not enough additive is added).
14. After driving a few miles, park the truck and check for leaks.
15. Periodically check for leaks in the first couple hundred miles.
16. Enjoy your new cover!

Here is my Youtube install video of this cover for those who need it.
Last edited:

