Samson75
Active Member
- Joined
- Mar 17, 2019
- Messages
- 85
- Reaction score
- 62
Here’s what I’ve compiled to do the whole thing without getting taken to the cleaners or you can even do it yourself . I did! Torque wrench and good notes on wrench size and torque spec.
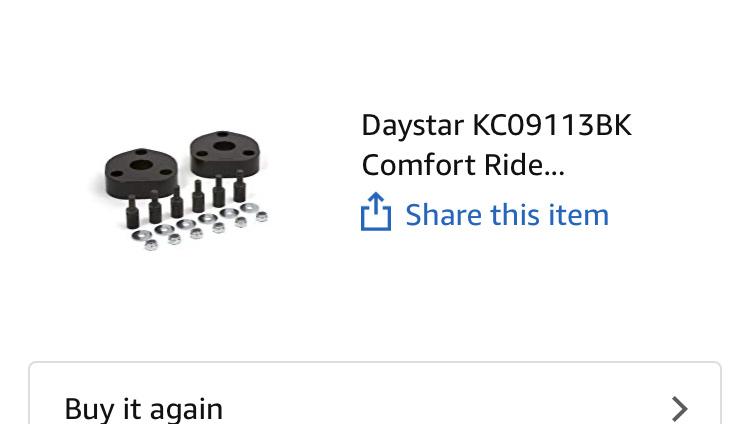
Daystar part # KC09113BK
This is the kit. It requires the links as a combo so I assume that’s why they state it’s not for air.... I’ve seen so many with this exact kit how can they be wrong!?! Lol.
This is my favourite part less then $50 Canadian dollars and 1/2” build time. I think they are cleaner looking and fit perfectly (not bulky) and the revel links are so overpriced.
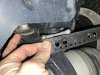
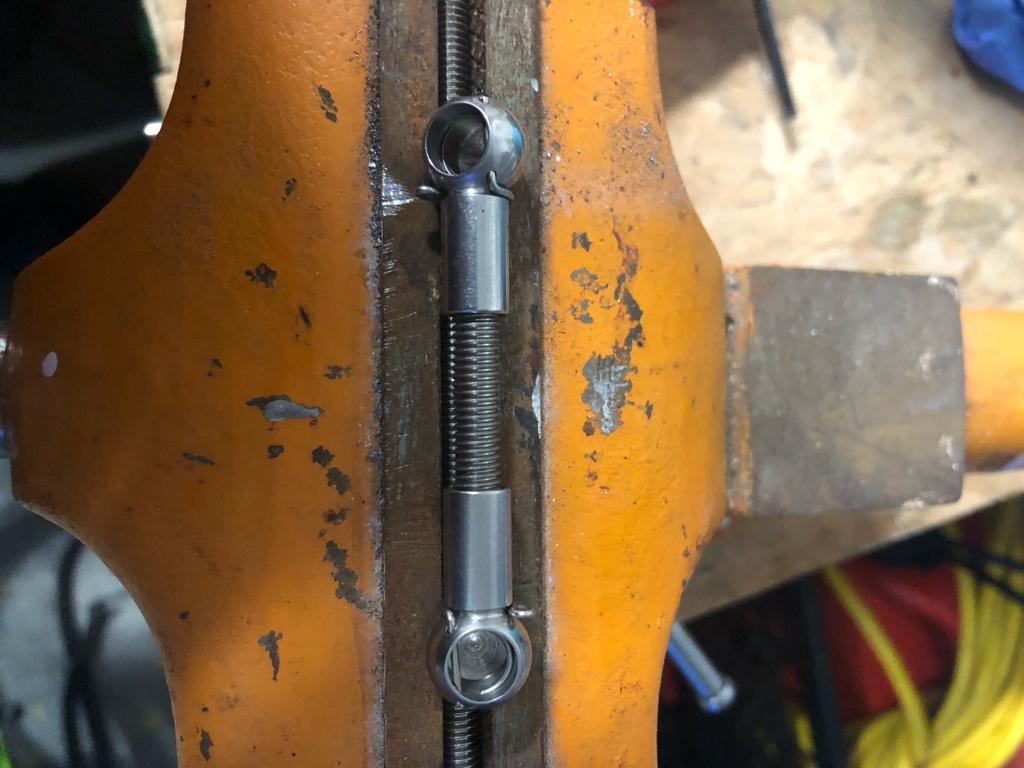
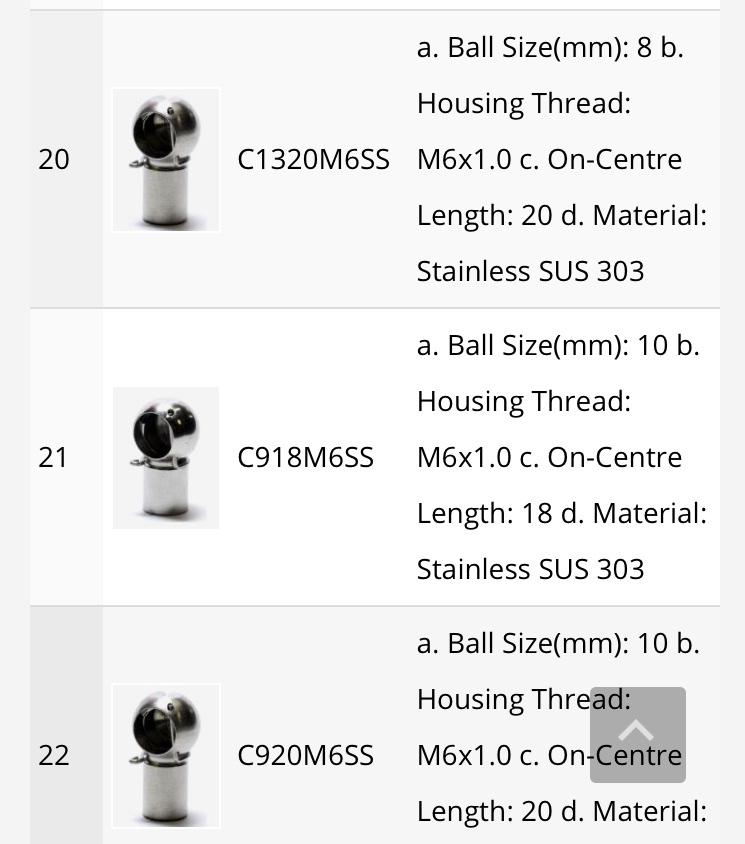
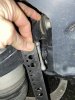
Ball socket to build your own sensor links
8mm stainless
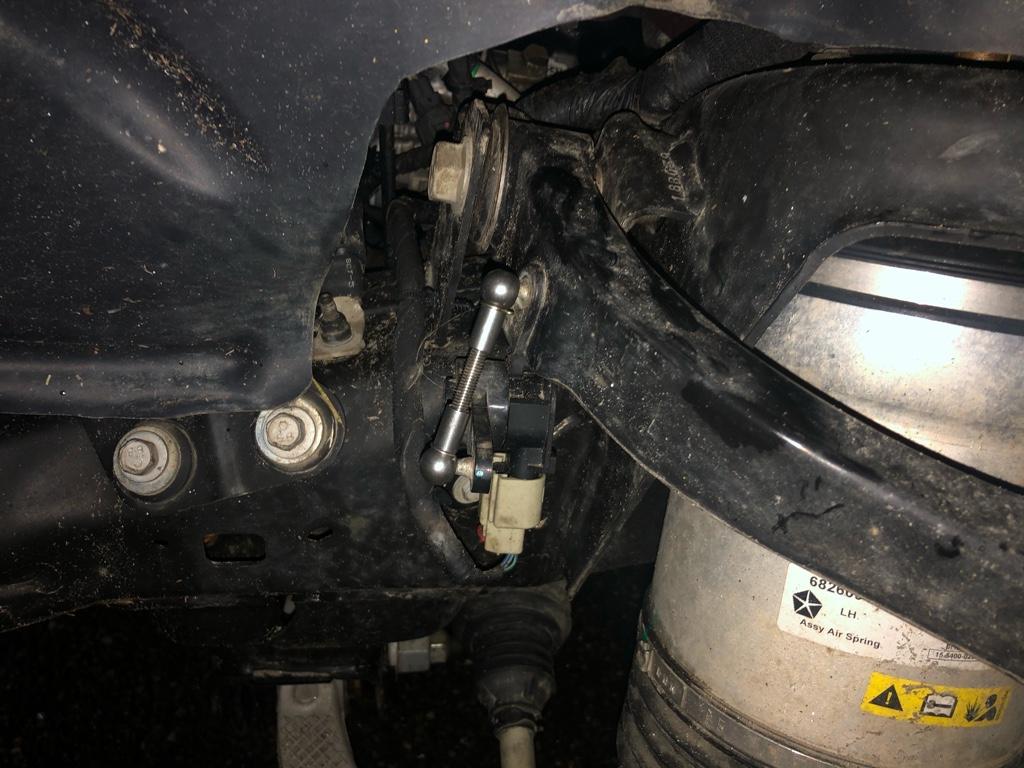
Use stainless threaded rod 60 mm stud to stud is dead level and each 5 mm is 15mm lower suspension. ... ish
Video for the how to:
Followed this video to the letter on my 2019. Worked like a charm.
DO NOT DRIVE FAR WITHOUT WHEEL BALANCE
Sent from my iPhone using Tapatalk
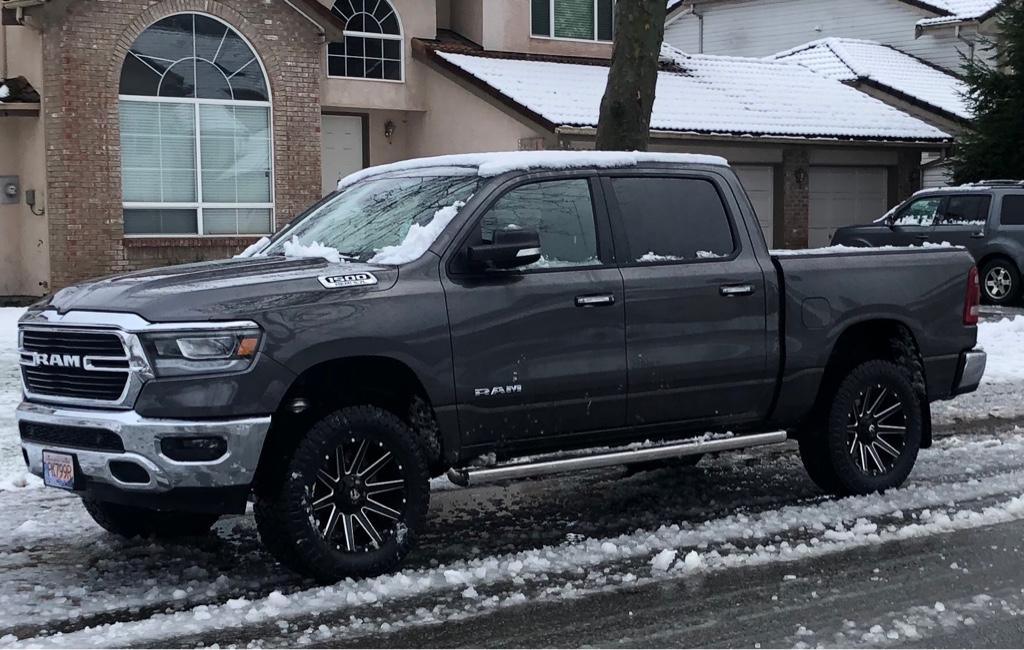
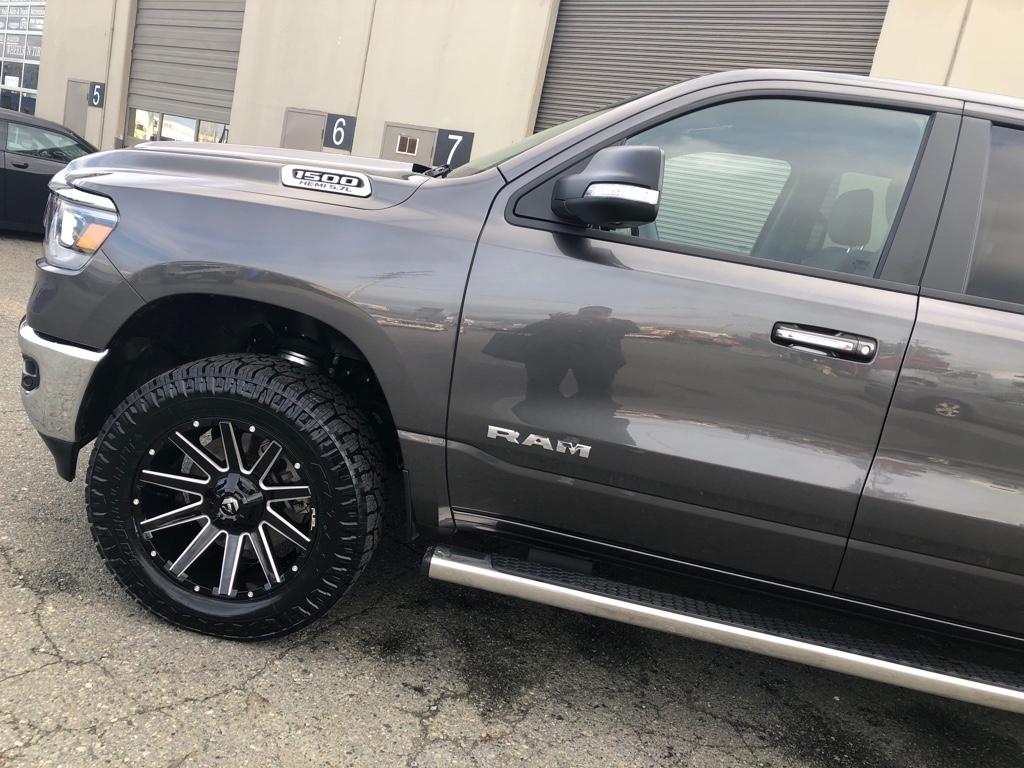
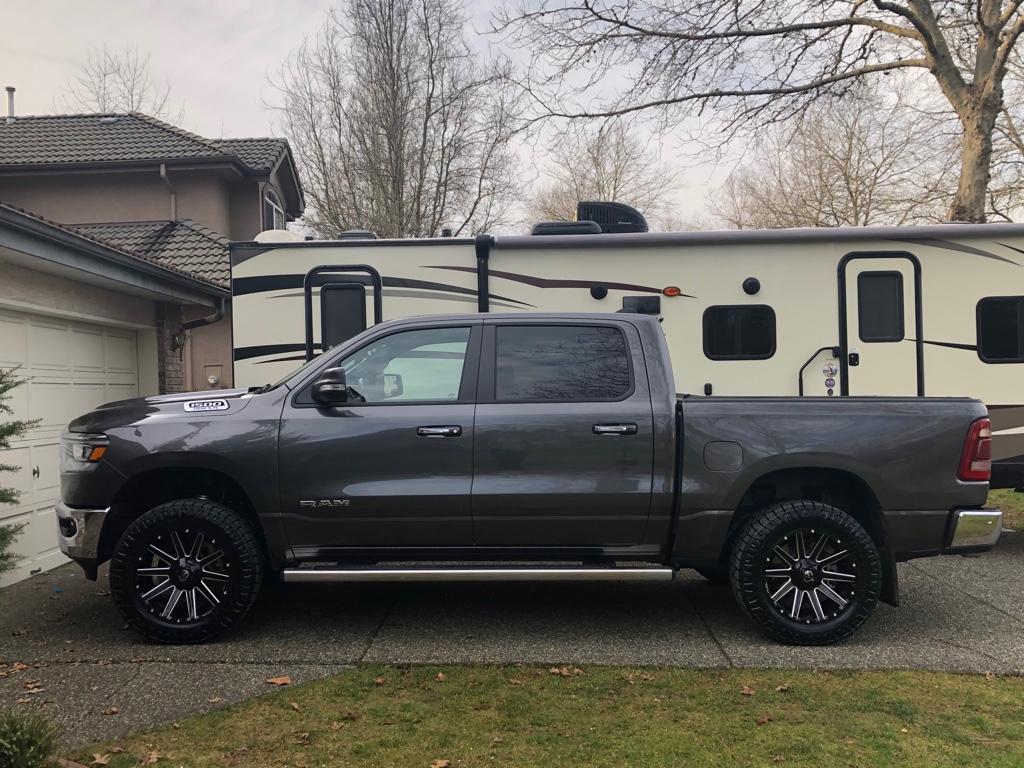
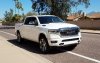
285/60 R20 Nitto EXO grappler on Fuel Contra rims 20” with +1 offset.
I’m so happy with the result. The truck has an aggressive look but the offset doesn’t fling rocks all over the side .
The truck rides exactly like stock the tires are really quiet.
Sent from my iPhone using Tapatalk
Daystar part # KC09113BK
This is the kit. It requires the links as a combo so I assume that’s why they state it’s not for air.... I’ve seen so many with this exact kit how can they be wrong!?! Lol.
This is my favourite part less then $50 Canadian dollars and 1/2” build time. I think they are cleaner looking and fit perfectly (not bulky) and the revel links are so overpriced.
Ball socket to build your own sensor links
8mm stainless
Use stainless threaded rod 60 mm stud to stud is dead level and each 5 mm is 15mm lower suspension. ... ish
Video for the how to:
Followed this video to the letter on my 2019. Worked like a charm.
DO NOT DRIVE FAR WITHOUT WHEEL BALANCE
Sent from my iPhone using Tapatalk
285/60 R20 Nitto EXO grappler on Fuel Contra rims 20” with +1 offset.
I’m so happy with the result. The truck has an aggressive look but the offset doesn’t fling rocks all over the side .
The truck rides exactly like stock the tires are really quiet.
Sent from my iPhone using Tapatalk
Attachments
Last edited: