
Need it for my tires. Rubs any lower than I am nowAdd the RC 2” level strut and only put the top hat on it, not the spring loader. Your ride will be much smoother. I just installed the 2” level strut from RC and it’s a night and day difference from the stock struts, it glides ride over bumps
Sent from my iPhone using Tapatalk
5thGenRams Forums
You are using an out of date browser. It may not display this or other websites correctly.
You should upgrade or use an alternative browser.
You should upgrade or use an alternative browser.
What did you do to your Ram today???
- Thread starter 19BlkRam
- Start date
renzo2213
Active Member
- Joined
- Sep 15, 2019
- Messages
- 191
- Reaction score
- 104
Need it for my tires. Rubs any lower than I am now
No I know that lol I’m saying replace your stock struts with the 2” level struts from RC. and the only thing you’ll add on to that is the top hat. So that way you’ll still get your 3.5”, probably more, out of the setup. Spring loaders make the ride very stiff
Sent from my iPhone using Tapatalk
renzo2213
Active Member
- Joined
- Sep 15, 2019
- Messages
- 191
- Reaction score
- 104
Need it for my tires. Rubs any lower than I am now
Because right now you’re running the stock struts, 2” spring loader, and a 1.5” top hat. So replace the struts and spring loader for a strut that’s already going to add 2” and just put on the top hat
Sent from my iPhone using Tapatalk
Yea I’ve thought about that. Maybe when the wife’s forgets about everything else I’ve bought this monthBecause right now you’re running the stock struts, 2” spring loader, and a 1.5” top hat. So replace the struts and spring loader for a strut that’s already going to add 2” and just put on the top hat
Sent from my iPhone using Tapatalk
renzo2213
Active Member
- Joined
- Sep 15, 2019
- Messages
- 191
- Reaction score
- 104
Yea I’ve thought about that. Maybe when the wife’s forgets about everything else I’ve bought this month
Yea my wife isn’t that happy right now
 but you’ll notice a huge different. I just did a little test run over some very rough pavement, I was driving at around 40mph, you could hardly tell there was any bumps
Sent from my iPhone using Tapatalk
You get the vortex ones?Yea my wife isn’t that happy right nowbut you’ll notice a huge different. I just did a little test run over some very rough pavement, I was driving at around 40mph, you could hardly tell there was any bumps
Sent from my iPhone using Tapatalk
renzo2213
Active Member
- Joined
- Sep 15, 2019
- Messages
- 191
- Reaction score
- 104
You get the vortex ones?
No, I got the 2” leveling struts from rough country
Sent from my iPhone using Tapatalk
renzo2213
Active Member
- Joined
- Sep 15, 2019
- Messages
- 191
- Reaction score
- 104
You get the vortex ones?
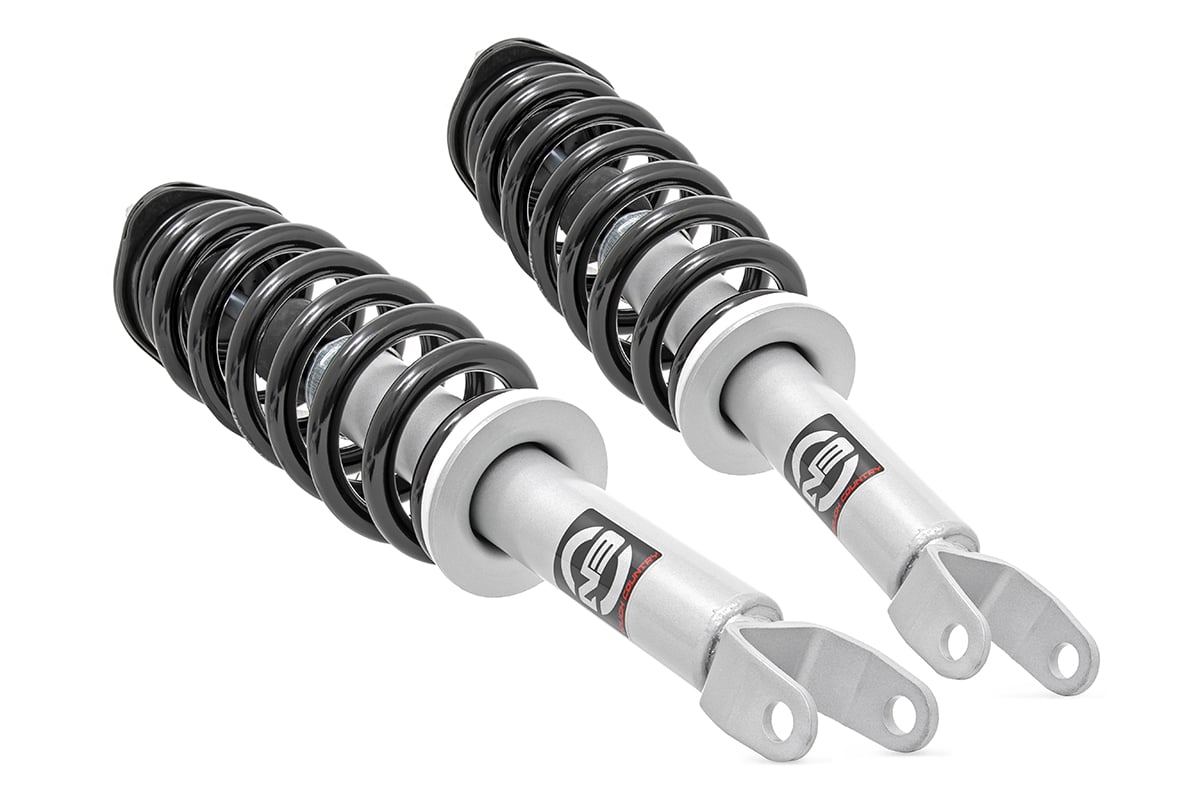
N3 Leveling Struts | 2 Inch | Loaded Strut | Ram 1500 (19-24)
2in Ram Front Leveling Strut Kit (19-21 Ram 1500)
Sent from my iPhone using Tapatalk
dts828
Ram Guru
Lol..... I pickup my mods from ups or FedEx and install when she's not around. I'm lucky she doesn't read the forumsYea I’ve thought about that. Maybe when the wife’s forgets about everything else I’ve bought this month

Sent from my GM1917 using Tapatalk
Oh the boat was way worse than the truck lol. Dropped 6k on that this month. Can’t really hide thatLol..... I pickup my mods from ups or FedEx and install when she's not around. I'm lucky she doesn't read the forums
Sent from my GM1917 using Tapatalk

Kooks 1-3/4" SS HEADERS & GREEN Y-PIPE. 2019-2020 RAM 1500 5.7L. CONNECTS TO OEM sku:3520H230
My buddy and I put the new Kooks headers and green cat y-pipes on my 2019 RAM Rebel. The install was fun and wasn't too hard either. Started at 10:30 am and finished by 2:30 pm, so about 4 hours total. The most time consuming part was putting the bolts and tightening them on the headers. Took about 30 min to remove the stock exhaust manifold and y-pipes. The only hard part was tightening the bottom middle header bolt on the driver side. Super tight area to get hands in and patiently tightening it little at a time. Also I decided to use the stock header gaskets because of the extra heatshield material and cause the truck is brand new, but probably should of used the gasket that came from kooks cause the stock gasket made tightening the bolts harder cause of the lack of space to work. After the headers were installed the rest of the pieces were easy to install and was a breeze. After the install it definitely made the truck sound even more alive accompanied with my Mopar cat back exhaust and Mopar RAM Air cold air intake. What's even better, no tune or modifications needed, everything was bolt on. No check engine lights and the truck drives even better then before.
My buddy and I put the new Kooks headers and green cat y-pipes on my 2019 RAM Rebel. The install was fun and wasn't too hard either. Started at 10:30 am and finished by 2:30 pm, so about 4 hours total. The most time consuming part was putting the bolts and tightening them on the headers. Took about 30 min to remove the stock exhaust manifold and y-pipes. The only hard part was tightening the bottom middle header bolt on the driver side. Super tight area to get hands in and patiently tightening it little at a time. Also I decided to use the stock header gaskets because of the extra heatshield material and cause the truck is brand new, but probably should of used the gasket that came from kooks cause the stock gasket made tightening the bolts harder cause of the lack of space to work. After the headers were installed the rest of the pieces were easy to install and was a breeze. After the install it definitely made the truck sound even more alive accompanied with my Mopar cat back exhaust and Mopar RAM Air cold air intake. What's even better, no tune or modifications needed, everything was bolt on. No check engine lights and the truck drives even better then before.
Attachments
Seaeco
Active Member
- Joined
- Dec 30, 2019
- Messages
- 34
- Reaction score
- 30
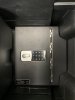
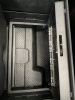
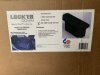
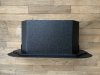
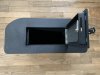
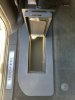
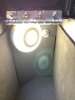
Recently installed the Lock’er Down rear in floor and console safe. For the console safe I added the electronic lock option. For the in floor safe I added the outside spray to protect against corrosion, Abloy lock, motion activated led light, and custom dense foam interior. I’ll be posting a video and more info later, but here are some pictures for now. Love their products and the customer service is second to none!
Attachments
-
 C3E68EE3-220F-4A10-9D5E-55FB54567BE7.jpeg130.1 KB · Views: 230
 -
 57E0E84D-D6AE-49B4-A9D9-B280055C4BA9.jpeg148.5 KB · Views: 226
 -
 D06EB586-4EF4-4DA3-AC6B-8FD7BA396858.jpeg116.1 KB · Views: 224
 -
 4322297E-C226-4C56-B0E3-E54DE496C96E.jpeg235.3 KB · Views: 221
 -
 13F6FB36-AAC1-489F-B1BA-320749064096.jpeg163.7 KB · Views: 220
 -
 2F9EAFAE-5EDF-458C-AF9F-59446B0B07CD.jpeg145.2 KB · Views: 226
 -
 5E94F10B-7B20-418B-B63C-708DA1CCBB1D.jpeg166 KB · Views: 231
 -
 C692A89A-63E4-482D-BC78-5916C9F7F1CF.jpeg96.2 KB · Views: 214
Great mods.Recently installed the Lock’er Down rear in floor and console safe. For the console safe I added the electronic lock option. For the in floor safe I added the outside spray to protect against corrosion, Abloy lock, motion activated led light, and custom dense foam interior. I’ll be posting a video and more info later, but here are some pictures for now. Love their products and the customer service is second to none!
5thGenRebel_AMK
Ram Guru
rsmeanie
Well-Known Member
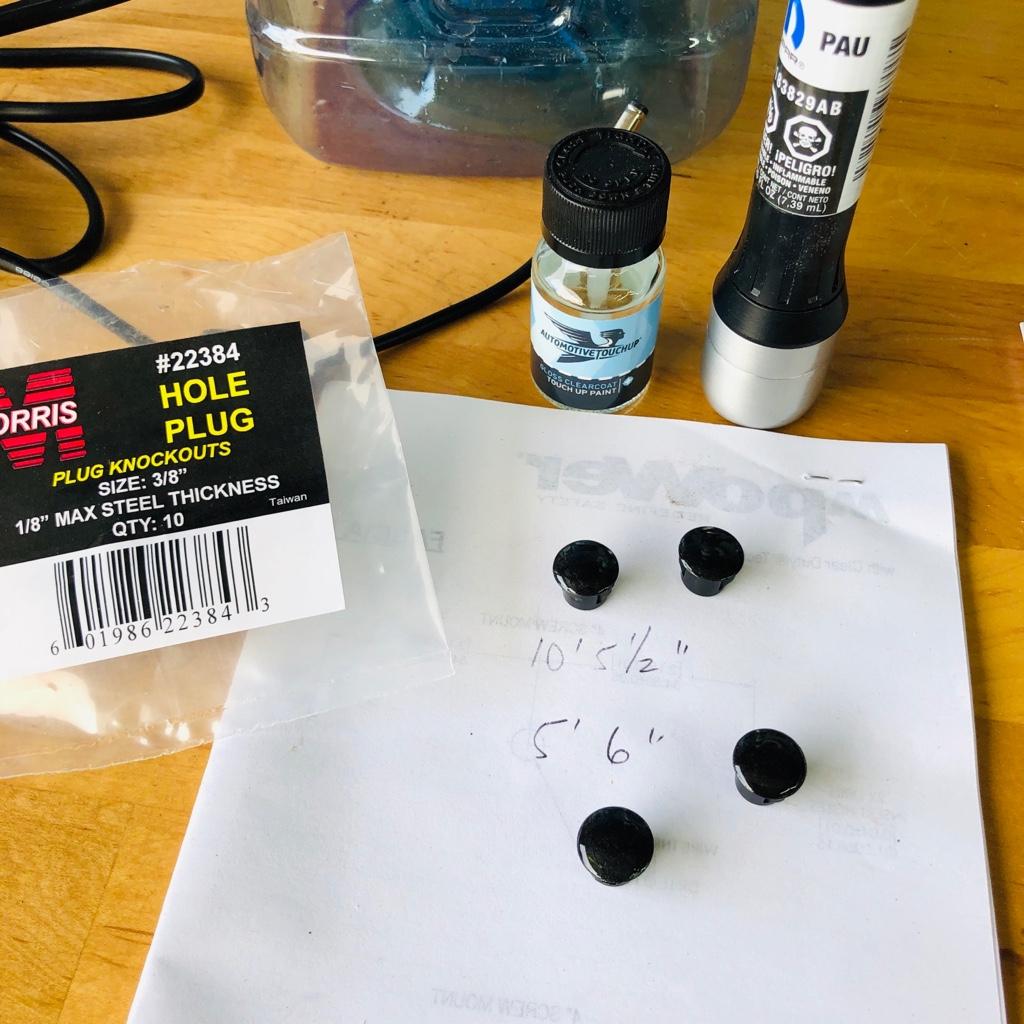
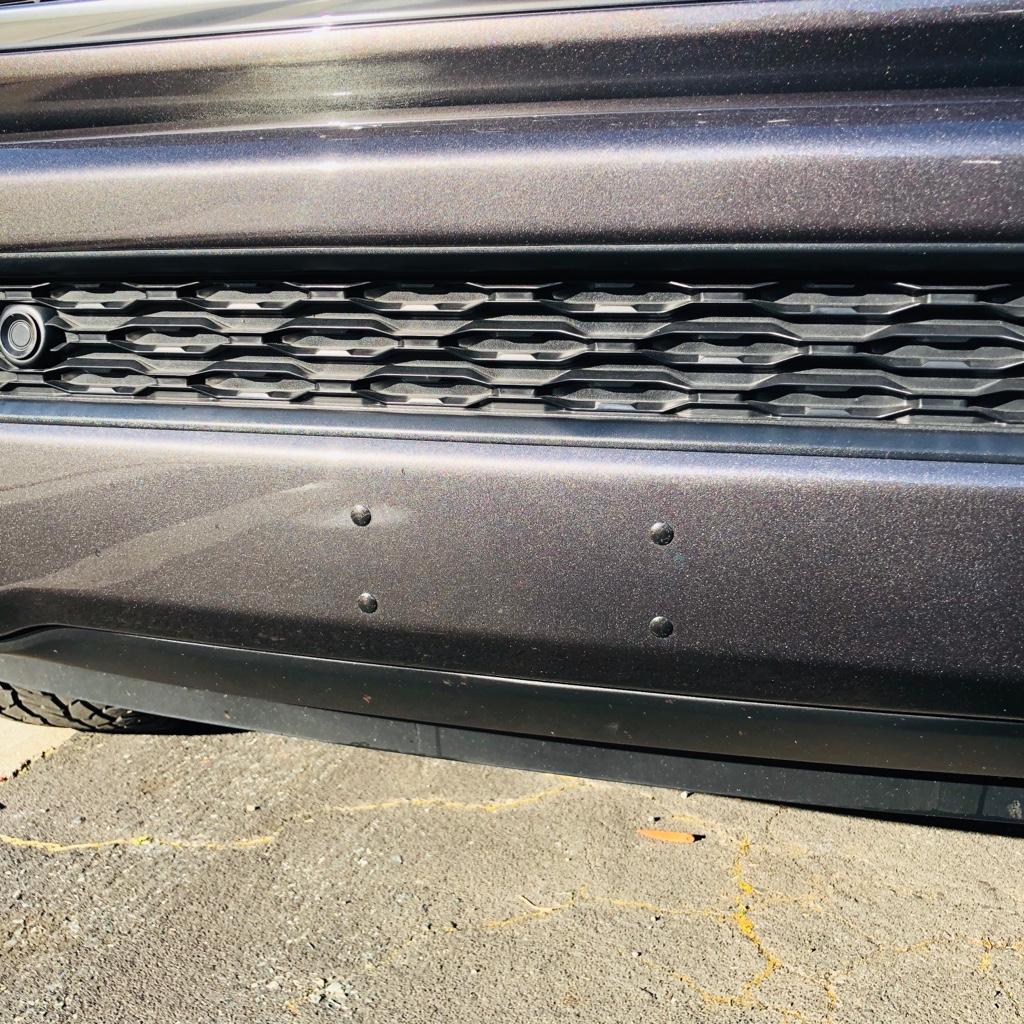
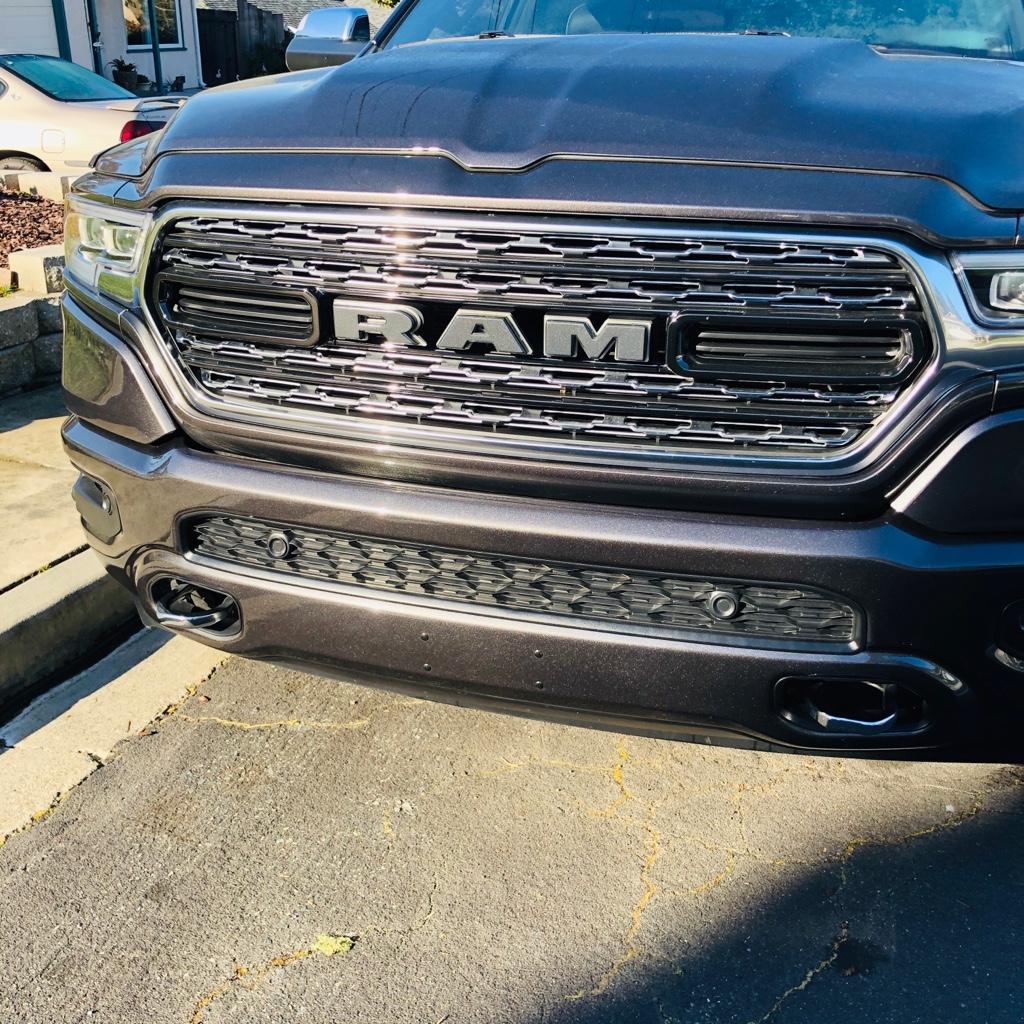
Ordered some plastic plugs I found here on the forum to fill the bumper holes. Painted with touch up paint. Install tomorrow.
rsmeanie
Well-Known Member
Ordered some plastic plugs I found here on the forum to fill the bumper holes. Painted with touch up paint. Install tomorrow.
These work perfectly for the bumper and the price is right. $5 for 10.
Sent from my iPhone using Tapatalk
RebelWraith
Polymath
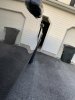
Purchased a set of ORP strut assemblies off a member here for a great price. Then switched out the stock shocks for 5100s and added a 1/2" top hat spacer. Did this all for a customer who has since not paid up. So, I slapped them on my Rebel to see how they fit and I gotta say I'm seriously debating on installing the BDS 4" kit as these shocks ride SOooooo much better than the stock Rebel Bilstein shocks. May rock this till BDS releases 4" coilovers.
Possibly the first Rebel with 5100s:

Possibly the first Rebel with 5100s:
5thGenRebel_AMK
Ram Guru
that's awesome. what size tires? and what would i have to do in order to have bilstein 5100's leveling shocks on my rebel (with coils)? i had them on my 4th gen Big Horn and loved themPurchased a set of ORP strut assemblies off a member here for a great price. Then switched out the stock shocks for 5100s and added a 1/2" top hat spacer. Did this all for a customer who has since not paid up. So, I slapped them on my Rebel to see how they fit and I gotta say I'm seriously debating on installing the BDS 4" kit as these shocks ride SOooooo much better than the stock Rebel Bilstein shocks. May rock this till BDS releases 4" coilovers.
Possibly the first Rebel with 5100s:
View attachment 46921
RebelWraith
Polymath
35" Ridge Grapplers. The 5100s will not fit with the Rebel spring seat. So, you at a minimum need a spring seat from an ORP shock or standard suspension shock. I didn't check to see if ORP and Rebel share the same spring. But, can check later today for you.that's awesome. what size tires? and what would i have to do in order to have bilstein 5100's leveling shocks on my rebel (with coils)? i had them on my 4th gen Big Horn and loved them
Site Vendors


Members online
Total: 2,057 (members: 6, guests: 2,051)